I love using emojis and stickers to express my feelings and emotions while communicating with my friends via iOS devices. So, being an iOS user, you must also love using emojis to express your love and gratitude. So, now in the new iOS 17 version in its many hidden features, one is that you will be able to get the feature of making emojis from a photo. Now, you must be curious about “How to make an emoji from a photo in iOS 17” and how to use this innovative feature. Scroll down and get the steps now.
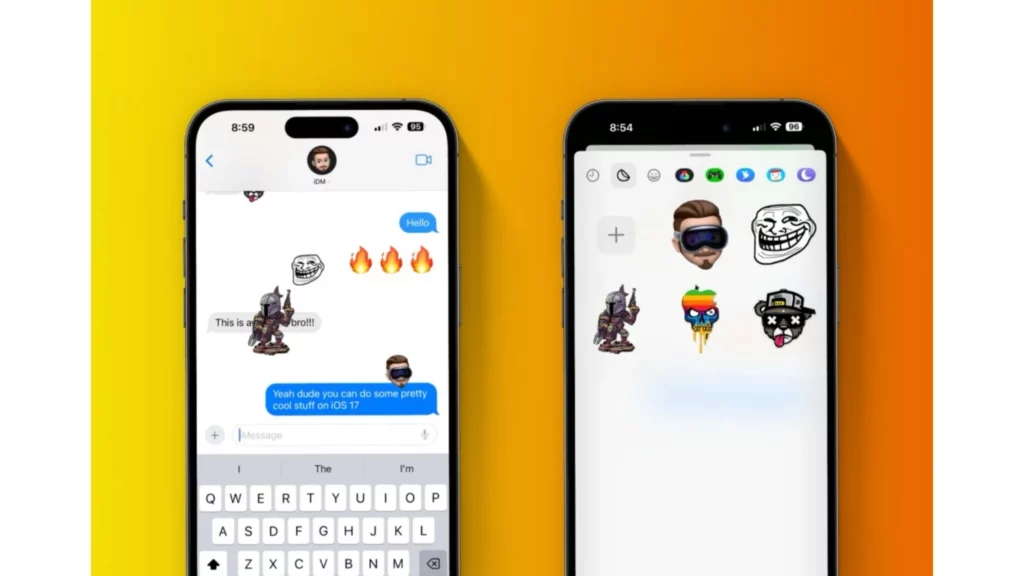
Emojis are a fun and expressive way to communicate with family and friends. They can be used to add a little bit of personality to your messages or help to convey specific emotions. So, on iOS 17, you can be able to create your own emojis by turning photos into stickers, with other features like a mood tracker to stay healthy, an Apple Check-in feature, etc. This is a great way to add a personal touch to your messages and create unique stickers for your friends and family.
In the below guide, I will help you understand the steps for “How to make an emoji from a photo in iOS 17?” Also, I will help you guide you with the steps for making emoji pictures.
In This Article
How to Make an Emoji From a Photo in iOS 17?
If you are excited to know the steps of making an emoji from a photo in iOS 17 on an iPhone, then you are in the correct place. Today, I will tell you how to make an emoji from a photo in iOS 17. So, let’s follow the steps carefully.
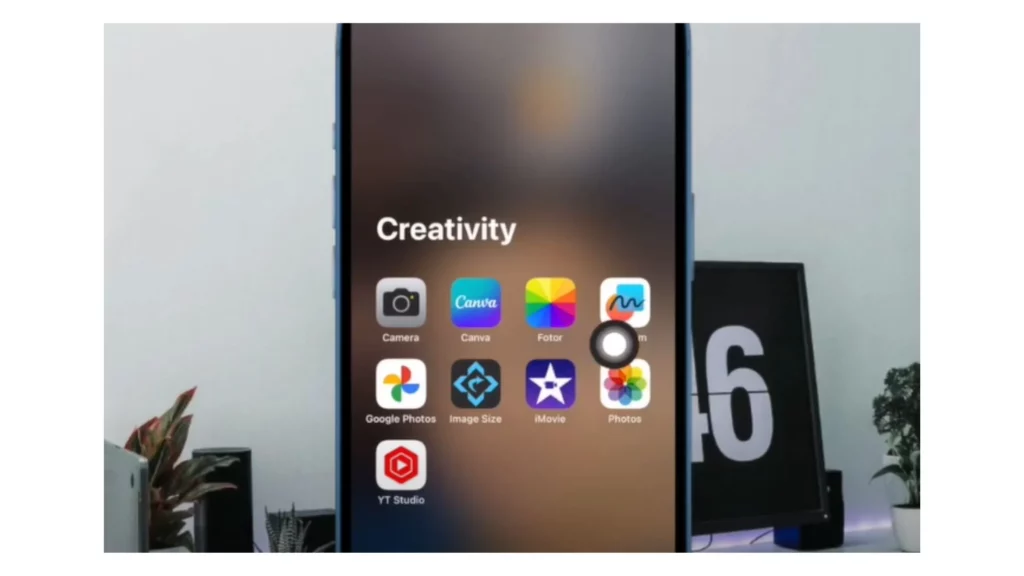
- First, open the Photos app on your iPhone.
2. Then, open the picture that you want to convert into an emoji.
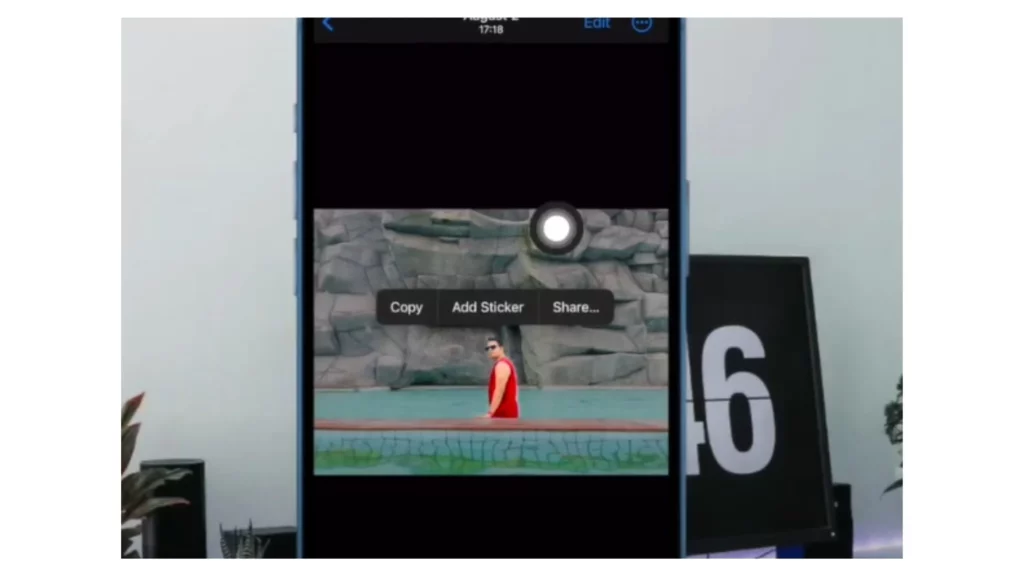
3. Next, press and hold the picture until you notice a menu on the screen.
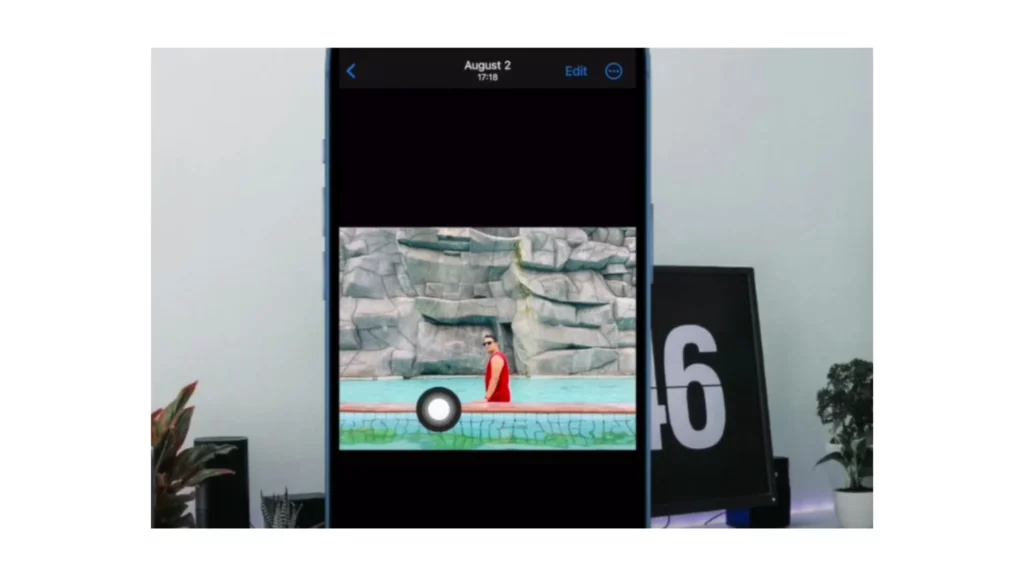
4. Select the “Add Sticker” option from the menu.
5. Now, click on the Add Effect tab.
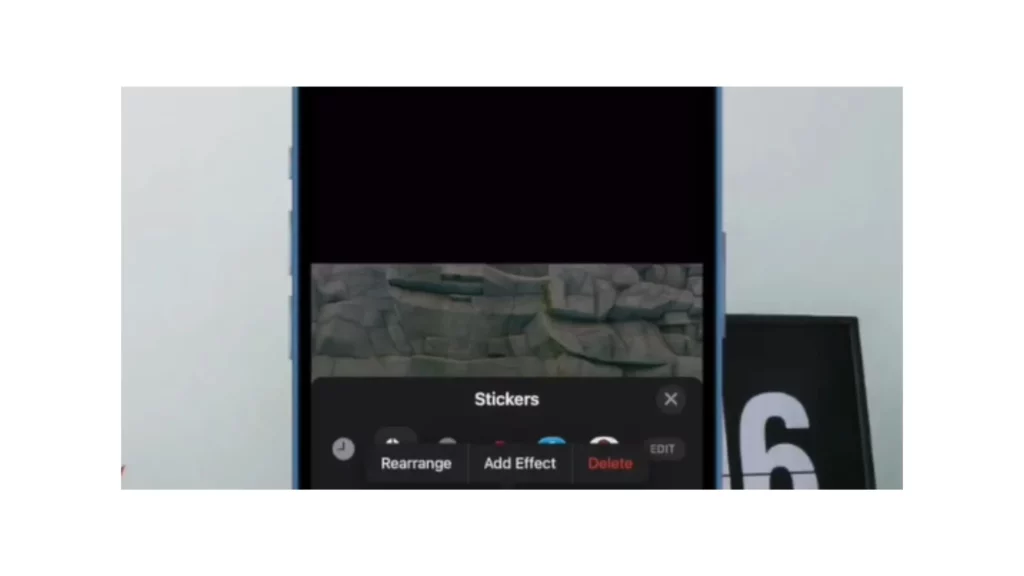
6. In this section, you must select from the Comic, Puffy, and Shiny types.
7. If you want your Live Photo sticker to move, then click on the Original option, and you need to make sure that the Live toggle is on.
8. Once you are done with creating your own customized sticker, click on the Done button.
How to Make an Emoji Pictures?
Making emoji pictures in iOS 17 on iPhone is a bit tricky. Actually, the process of making emoji pictures is lengthy. But once you follow all the steps properly, it will not be that tough for you. So, let’s follow the steps of making emoji pictures in iOS 17 on iPhone.
- Go to the App Store of your iPhone.
- Now, search for Top Stickers in the search bar.
- Then, select an application and tap on the Get button for downloading.
- After downloading the application, click on the Open button.
- Tap on the Allow Access to All Photos option if prompted, and now move to Step 10.
- You need to click on the Enable Library Access option if you do not receive a prompt.
- Next, click on the Photos tab.
- Select the All Photos option.
- Now, return to the Top Stickers application.
- Click on the Create button.
- Select a photo that you want to convert into an emoji.
- If, among many objects, you want to select a particular object, then click on the Magic Wand option to choose the object you want to turn into an emoji.
- You can use the Eraser Tool for editing the background and borders of your photo.
- Once you are satisfied with the selection, click on the Done button.
- You can pinch or reverse-pinch the photo if you wish to increase or decrease the size of the image image.
- You can also use other tools for editing your picture.
- By adjusting the crop of your emoji photo, you can crop it more closely to the photo. Then, tap on the Done button.
- You can select a pack already present there or also choose to create a New Pack option to put your sticker.
- If you choose the Create a New Pack option, then give the new pack a name. These packs are private and only available on your iPhone. You can also change the status from private to public if you want to allow anyone to find and utilize your emojis.
- Now, click on the Save button.
- Next, you might have to wait through a few ads.
- Then, click on the Send Stickers option.
- Choose the Send to iMessage option. This option will make your new stickers available in the Messages application.
- Now, close the Top Stickers and open the Messages application to choose a conversation where you wish to send your personalized emoji photos.
- Next, find the Top Stickers symbol by swiping left or right through the applications at the bottom of the screen.
- Now, choose Top Stickers.
- Then, select the emoji photo that you want to send to someone.
- Finally, click on the Send button.
How to Make an Emoji From a Photo in iOS 17? Tutorial Guide
Wrapping Up
Making emojis from photos is a fun and easy way to add personal touch to your messages. With a little bit of creativity, you can create unique stickers to give your friends and family an emotional touch or make them laugh. In the post, I have stated the steps in detail on “In the post.” So what are you waiting for? Scroll up and start using this new feature on your iOS 17 devices.
Do you find this post on “How to make an emoji from a photo in iOS 17” helpful? Please share your opinions with me in the comments section. Also, share this post with your friends and help them get the steps to make their own emojis or stickers from photos.
Frequently Asked Questions
1. How to Make an Emoji from a Photo in iOS 17?
Open a photo that you want to convert > Press and hold the photo until a menu appears > Select the Add Sticker option > Tap on the Add Effect button > Customize your emoji photo as per your requirements.
2. Can I convert a photo into an emoji?
Yes, with a free emoji customize application, you can easily convert photos into an emoji.
3. Can I use photos as emojis on my iPhone?
Yes, iOS 17 now lets you make emojis from pictures.