‘Could not connect’ Are you coming across this error message on Snapchat again and again? If so, you are on the right page, as I will tell you how to fix the Snapchat could not connect issue in this article. So come along!
Snapchat is an app like no other. In the Snapchat camera, you can find numerous filters using which you can capture aesthetic snaps, bitmoji styles to make your virtual avatar dress up exactly like you, and many other things. However, many users are complaining that Snapchat is not working for them as they are coming across an error message that says ‘Snapchat Could not connect.’
So, without further ado, let’s jump into the article and learn how to fix the Snapchat could not connect issue. Why wait, then? Let’s begin!
In This Article
Why Snapchat Says Could Not Connect?

Following are the most possible reasons for coming across the ‘Could not connect’ error message on Snapchat:
- Poor Internet Connection
- Using Third Party App
- Using outdated app
- The Snapchat server is down.
- A Bug or glitch
How to Fix Snapchat Could Not Connect Issue?
Now that you know the reason for coming across could not connect issue on Snapchat, it is time to look at the fixes that will help you resolve the issue.
1. Check Your Internet Connection

The first and foremost cause of Snapchat to say could not connect is poor internet connectivity. So, you should first check your internet connectivity using any online tool Speedtest. If you find your internet speed is extremely slow, consider connecting to a stable network.
2. Check Snapchat Server Status

If the error persists even after connecting to a stable internet connection, check Snapchat’s server status. For this purpose, you can use the online tool Downdetector. On checking if you find Snapchat service is down, wait till the services are resumed.
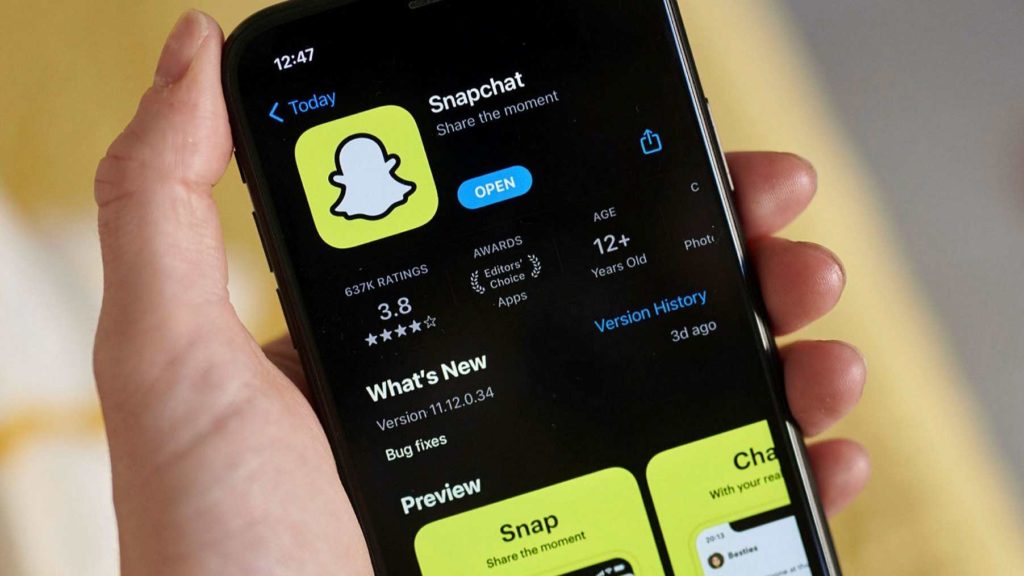
3. Update Your Snapchat App

If the Snapchat server is sound, but you still come across could not connect error message on Snapchat, update your app to the latest version. To update your Snapchat app, go to the Play Store or App Store and search for Snapchat. If there is an available update, you will find the Update button next to Snapchat. Tap on the update button and update your app to get rid of the issue.
3. Uninstall Any Third-party App You Are Using
Using third-party apps can also sometimes result in such issues. Therefore, you should uninstall any third-party app you are using to get rid of the issue.
5. Disable VPN

Apart from using third-party apps, using a VPN can also result in such issues. So, if you are using a VPN while accessing Snapchat, turn it off to get rid of the issue.
6. Clear App Cache

The piled-up cache is another reason that can result in the ‘could not connect’ error message on Snapchat. So, you should clear your app cache to get rid of this error.
You can clear your app cache from the Snapchat app as well as from your device’s settings app. Below are the steps you need to follow to clear the app cache from the Snapchat app:
Step 1: Open Snapchat.
Step 2: Tap on your Bitmoji in the top left corner.
Step 3: Tap on the gear icon at the top right corner.
Step 4: Scroll down to Account Actions and tap on Clear Cache.
Step 5: Tap on the Continue button.
Another way to clear the cache is from your device’s Settings app. Below are the steps you need to follow to clear the cache from the device settings app.
Step 1: Go to Settings.
Step 2: Locate Apps option.
Step 3: Tap on Apps Management.
Step 4: Look for Snapchat.
Step 5: Tap on it and head to storage.
Step 6: Select Clear Data.
Step 7: Now tap on Clear Cache.
And with this, you are done! This is how you can clear Snapchat cache files and fix the issue of ‘Could not connect’ on Snapchat.
7. Forec Stop Snapchat App
If that doesn’t work, try force-stopping your Snapchat app to fix the issue of ‘Could not connect.’ To force stop the Snapchat app, follow the steps stated below:
Step 1: Go to Settings.
Step 2: Locate Apps option.
Step 3: Tap on Apps Management.
Step 4: Locate Snapchat and tap on it.
Step 5: Tap on Force Stop.
And with this, you are done! This is how you can force-stop the Snapchat app.
Wrapping Up
With this, I came to the end of this blog, and I hope you now know how to fix the Snapchat could not connect issue. So go ahead, try these fixes out, and get the issue of Snapchat not connecting resolved. And yeah, for any further queries related to Snapchat, you can comment in the comments section below.
So, guys, that is it for today. Take care! And keep visiting our website, Path of EX, for more such queries related to Social media, Gaming and Technology. Till then, Bye! Bye!