We already know that ChatGPT is one of the most advanced Artificial Intelligence tools for creating essay writings, poems, stories, scripts, and coding, and we can even play games with ChatGPT. The OpenAI Chatbot has so much potential that it has stunned university professors with the content it generates. As more and more people are using the trial period of ChatGPT. They are also experiencing various types of internal errors. One of which is ChatGPT 403 Forbidden Error. In this article, I will explain how to Fix ChatGPT 403 Forbidden Error with simple and easy methods.
ChatGPT is not stopping anywhere with the potential it carries to generate incomparable types of content. You need to input the query in the box, and ChatGPT will generate the answer in seconds. However, The errors annoy the users to enjoy the immense benefit of ChatGPT.
This article will give you simple and easy methods for Fix Chat GPT 403 Forbidden Error in an all-inclusive manner.
In This Article
How to Fix ChatGPT 403 Forbidden Error?
The following are simple and straightforward methods to fix Chat GPT 403 Forbidden Error. Let’s see each one of them avoid this error.
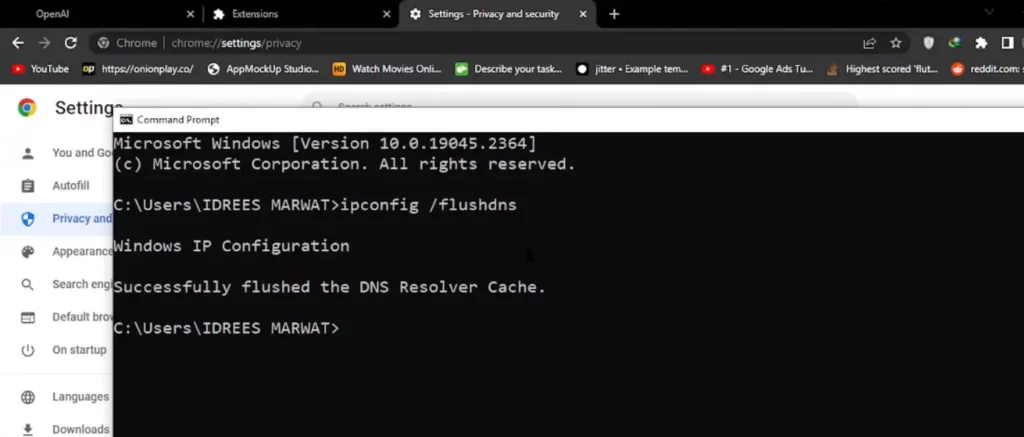
1. Flush DNS
1. Firstly, you just need to go to the command prompt on your computer.
2. Type the following command “Ipconfig /flushdns” and press enter.

Once you press enter, it will flush the DNS, and it will, in turn, clear all the IP addresses and the DNS cache in your system.
This will help in resolving security, internet connectivity, and other issues.
Check out to see if the Chat GPT 403 forbidden error has vanished. If the error is still annoying you, then you can proceed with the next method.
2. Update Browser And Clear Cache
If the first method does not work, then you can go with this method. In this method, you just need to update the browser you are using in your system.
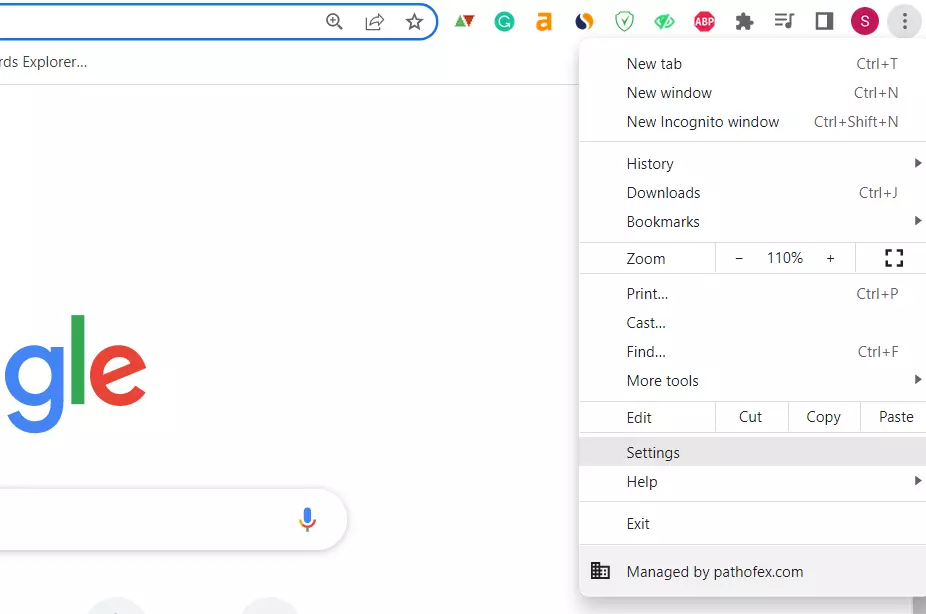
1. If you are using the Chrome browser in Windows, open Chrome Settings.
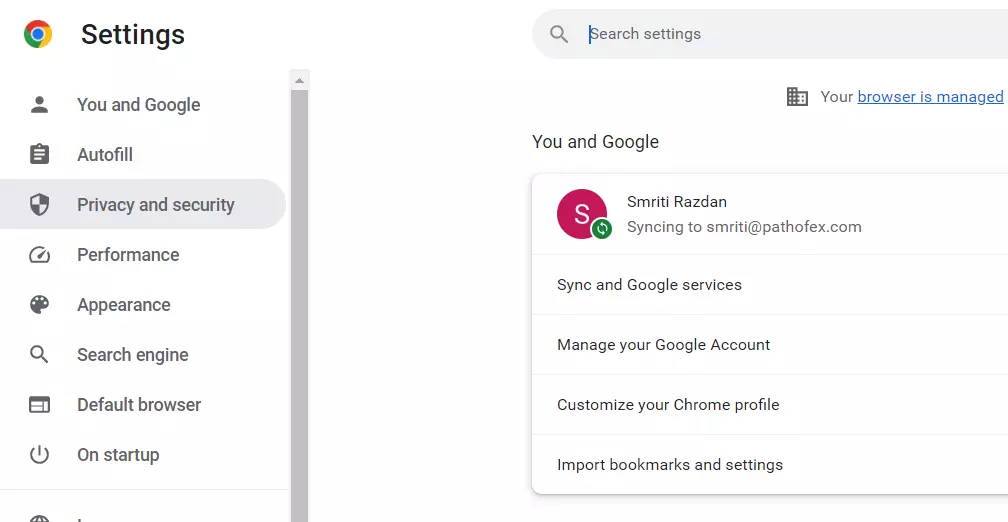
2. Click on Privacy and Security.
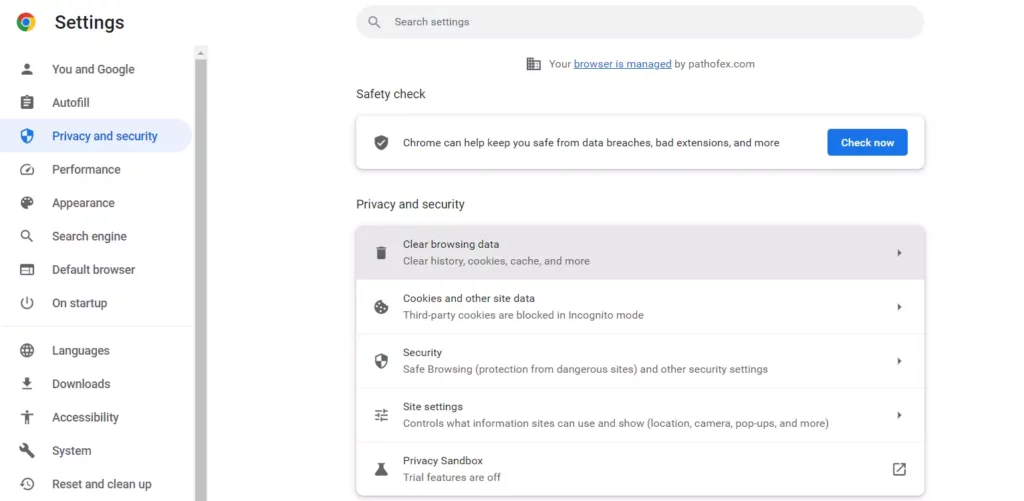
3. Now click on Clear browsing data.
4. Select Browsing history, Cookies, and other site data. Select the time range to be All time.
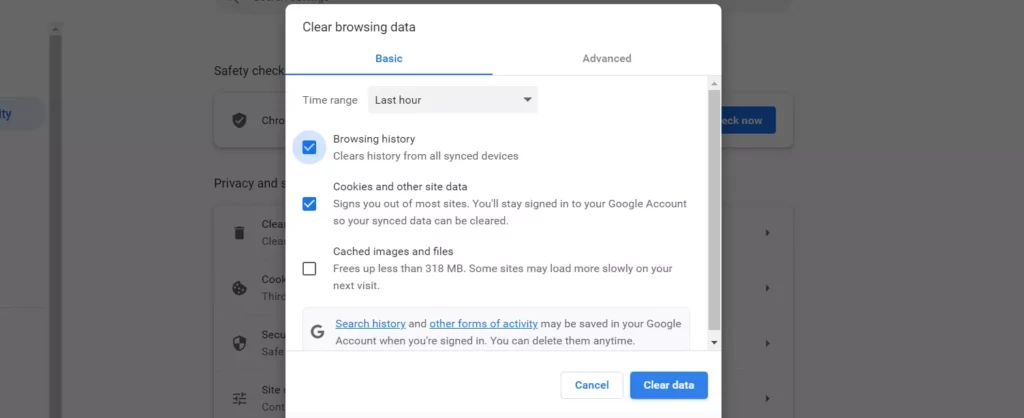
5. Click on Clear data.
With the help of this method, you will be able to eradicate the Chat GPT 403 forbidden error. I hope this method will work out, and if not, then you can proceed with the next method.
3. Remove the VPN or Third Party Plugins
The next thing you have to do is remove the VPN if installed in your system. It may cause ChatGPT 403 Forbidden error. Removing the VPN from your system may get you to resume the ChatGPT. The VPN may work for you for other things, and it has many benefits, but in this case, ChatGPT may resume working after removing the error.
The second thing you need to do is remove the third-party plugins from your system. The extensions in our system sometimes disturb the workflow of some websites or applications. So it is recommended to remove the unwanted chrome extensions from your system.
4. Change The DNS 8.8.8.8 to 8.8.8.4
To change the DNS-
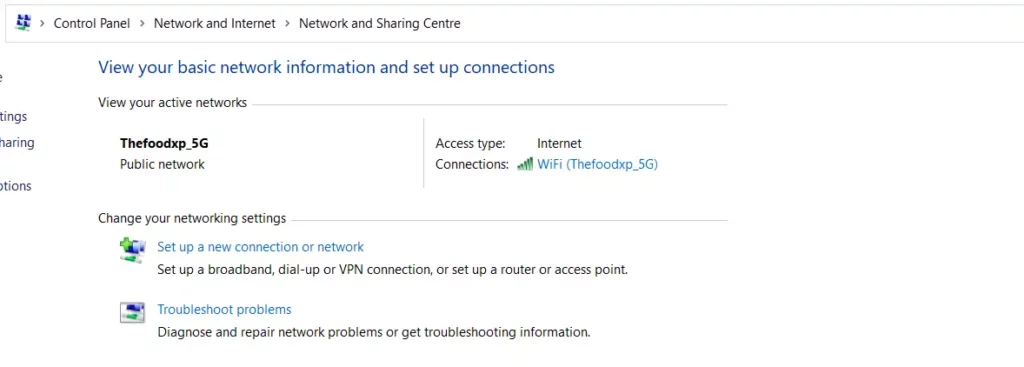
1. Open the Control Panel.
2. Click on Network and Internet.
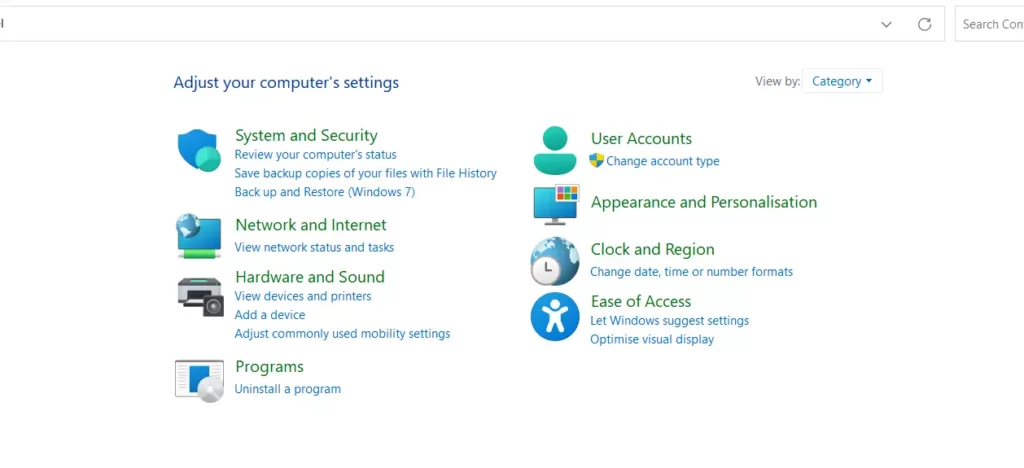
3. Select Network and Sharing Center.
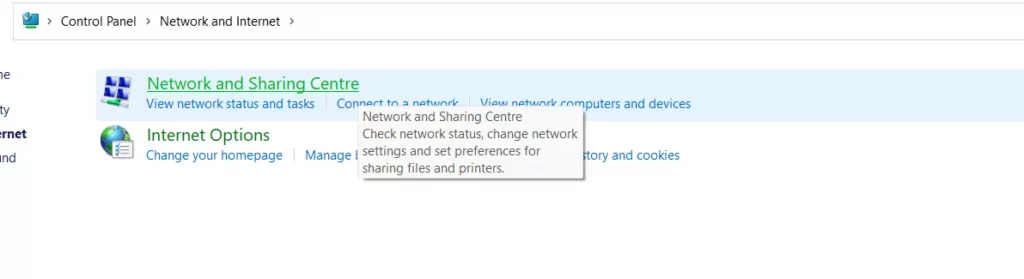
4. Now just beside Connections: you will see the name of the Wi-Fi your system is connected with. Click on the name of Wifi.
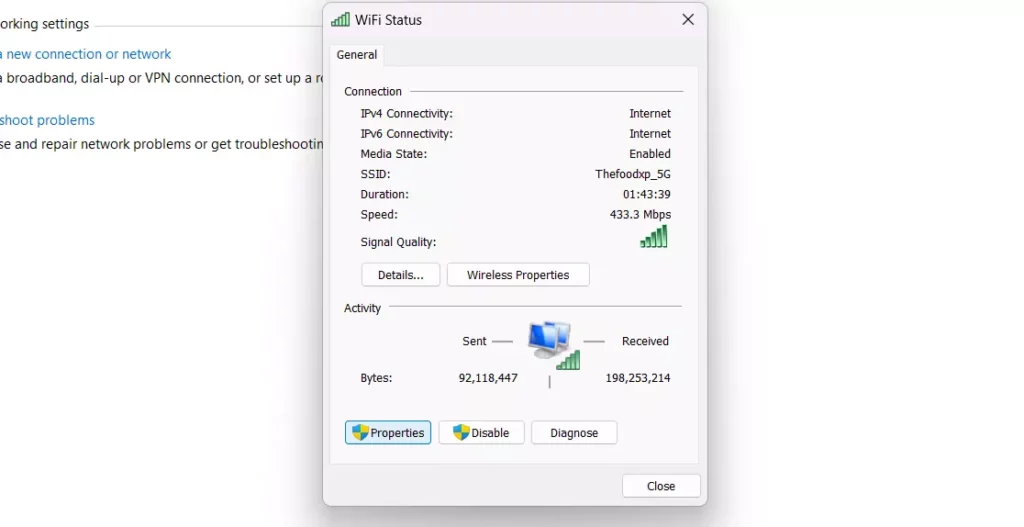
5. Click on the Properties button.
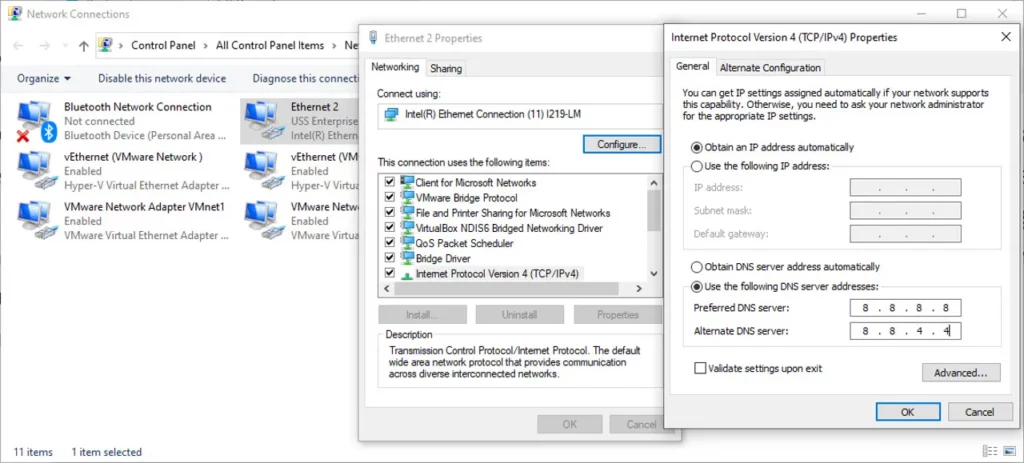
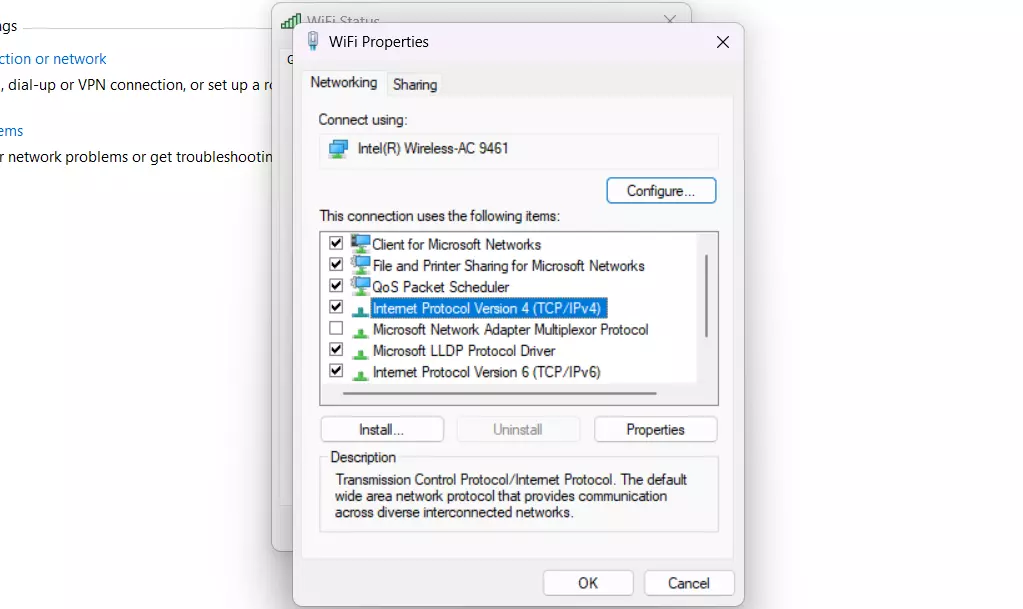
6. In the Dialog box of Wi-Fi Properties, click on Internet Protocol Version 4 (TCP/IPv4).
7. Select Use the following DNS server addresses: bullet point. There are two text boxes, one for Preferred DNS server: and next is Alternate DNS server:.
8. In Preferred DNS server box, write- 8.8.8.8
9. In Alternate DNS server box, write- 8.8.8.4.
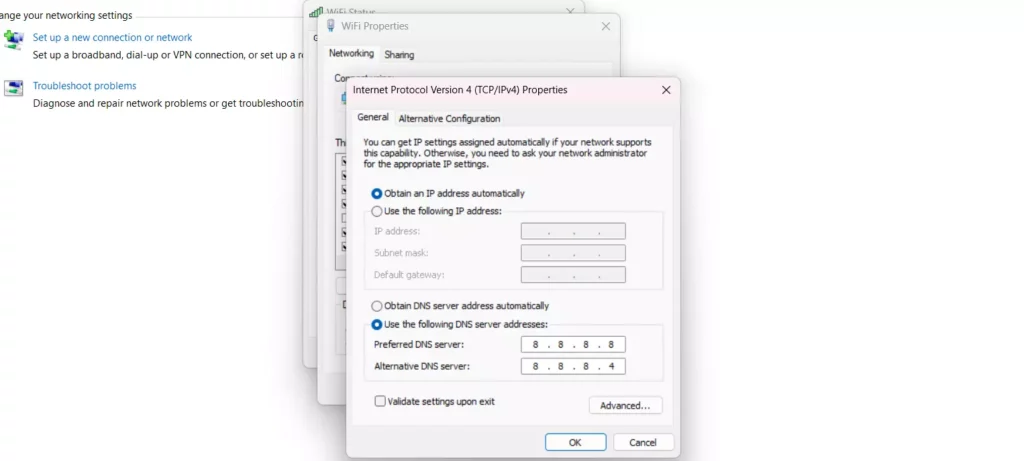
10. Click on OK. Then on the next dialog box, again hit Ok.
And its done! You have successfully changed your DNS to fix ChatGPT 403 forbidden error.
5. Contact the Support Team
If any of the aforementioned methods do not work in our favor, then you can contact the OpenAI Support team can ask them for help. This is the only option left, and the support team will definitely look into the matter and get back to you with a possible solution.
There are also some communities and forums of ChatGPT where you can ask for the solution for the same error. The users of ChatGPT will revert back if the have previously faced the same issue and help you in overcoming the ChatGPT 403 forbidden error.
Wrapping Up
This article talks about Fixing ChatGPT 403 Forbidden Error in a comprehensive manner. I have here shown you the five methods to fix the error. These methods are quite useful to get rid of the aforementioned error and let you enjoy the ChatGPT experience. Comment down if you find the article insightful, and share your thoughts on the experience you are having with the exceptionally brilliant OpenAI ChatGPT.