TikTok introduced a new way to have an amazing collaboration with your fellow users. You can bring them virtually on your video, by simply reading this article on how to stitch a video on TikTok. We being humans in the 21st century, addictively engaged ourselves on TikTok. We continually keep nurturing our relationships with our friends by overflowing their timelines with creative content.
We all love to do editing on our photos, videos and make you feel wow!. It needs an effort to search for the best applications, downloading, then learning takes a lot of time to make it happen on your photos or videos. To make it convenient for you, TikTok enhanced your experience while being virtually connected with your favorite ones with a new feature “Stitch”.
Read the entire article and get tons of likes and views on your videos. I know you are taking time from your busiest hours and are searching for a good page to clarify your query. Worry not! I am listing a simple guide here.
In This Article
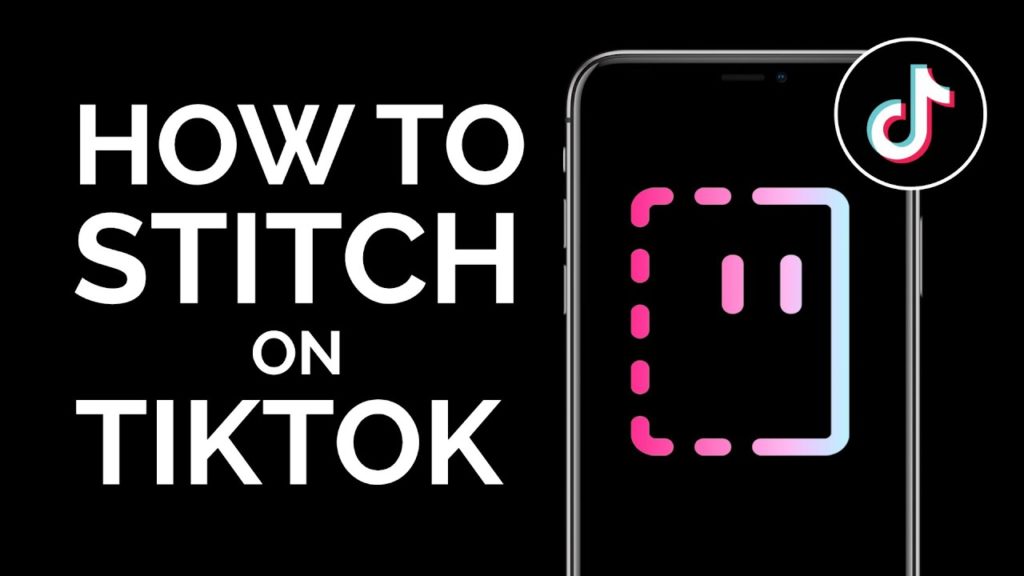
How To Stitch A Video On TikTok Application?
You all are aware of the duet videos that we do on our social media platforms like Instagram, musically, and on our favorite platform TikTok. We all want to learn every tech-savvy feature on social media. If you want to learn about the new feature of how to stitch a video on TikTok, you have to read the steps below one by one:
Step 1
Open the TikTok application. Enter the login details.
Create a new video or find an old video that you want to stitch.
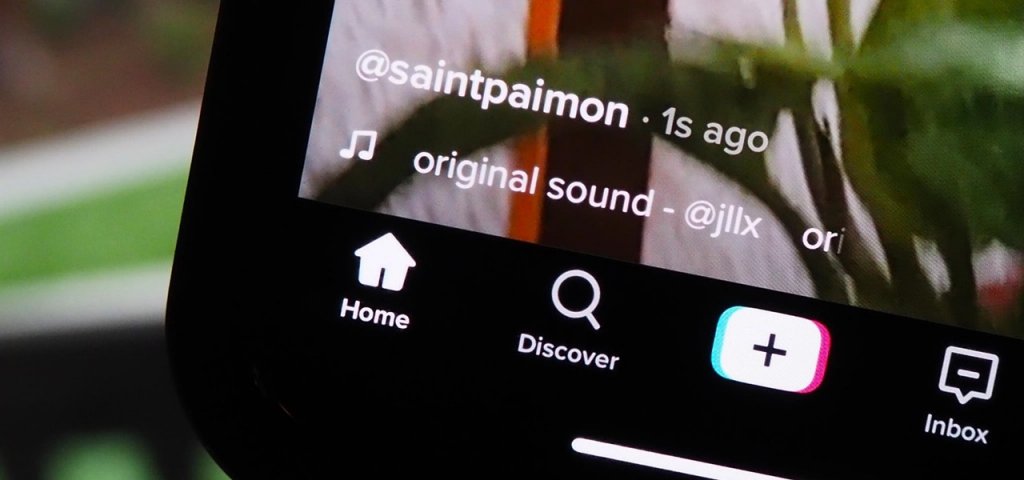
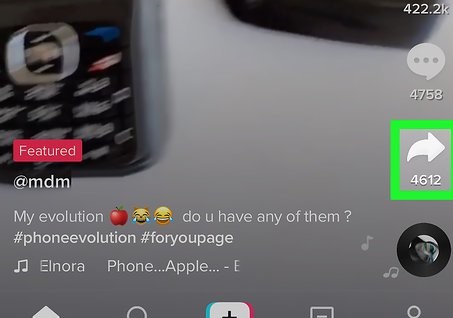
Once the video will open. You will see three options that appear vertically on video: Like comment and share.
Step 2
Click on the share icon that appears as an arrow.
You will be directed to the page where you see a big list of options in two horizontal lines.
The second line will show the options like Report, Save video, Duet, Stitch, Add to favorites, and Live photo.
Click on the Stitch icon.
Step 3
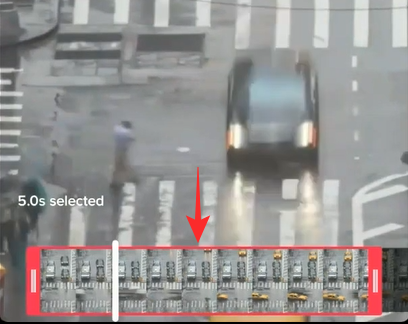
Next, you will be directed to a page and you will be given 5 seconds to cut the video and apply it in your video.
You can use the slider to drag from left and right and choose only that portion of the video that you want.
Once you have finished, click on the Next icon.
Step 4
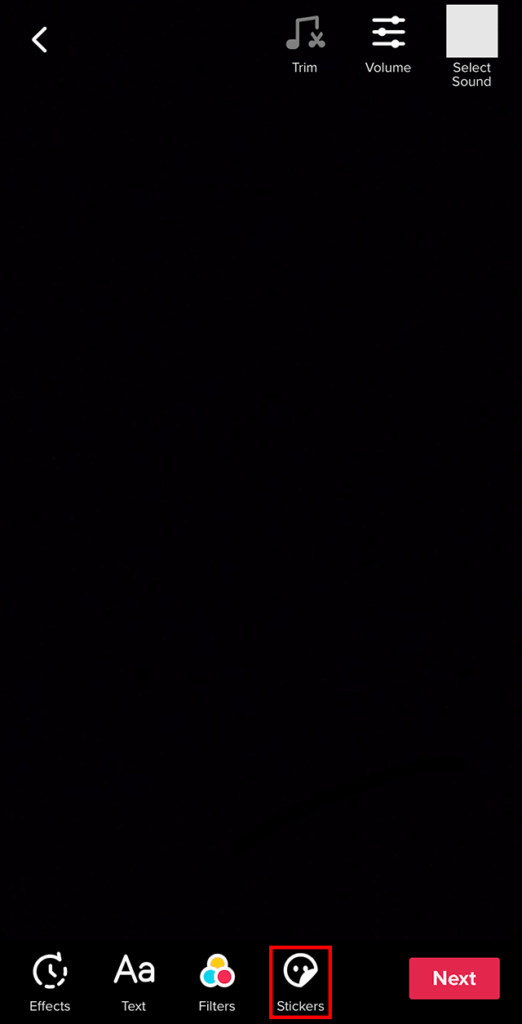
You will be redirected to the camera page where you record the video by holding on to a big red circle icon.
You can use all the options like filters, adding sound, stickers, etc. on your video.
Click on the Next icon.
You will be directed to the Post page. Add caption, hashtags, and friends, whatever you want.
Under the posting page, you will see different options like who can watch this video, Allow comments, Allow duet, Allow Stitch, and save to device.
Step 5
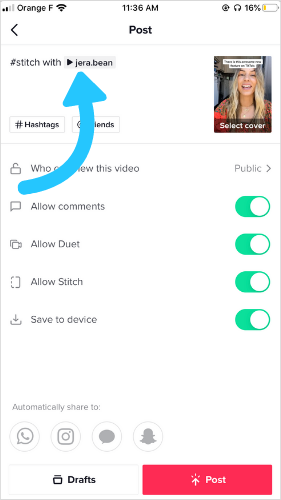
Drag the slider on Allow Stich Icon to turn it on. You can also turn it off if you do not want others to stitch with your video.
The stitch icon feature will not work on disabling. If your friend wants to stitch a video with your video, it will not show up on their screen.
With the use of the above steps, you learned an easy way for how to stitch a video on TikTok.
If you want to mute the sound of the video that you want to stitch with your video, you can do it with a simple trick.
You have to cut the 5-sec video and post it privately so that nobody will see your video. Then, record your voice and complete the rest part of the video. Finally, integrate both videos and upload them on your timeline.
Wrapping Up
Now enjoy stitching by adding some novel ideas and be like a pro on TikTok. I hope the entire article provided you with information by applying simple 5 steps to your video. It is time to say goodbye now. You can share this article with your friends. Feel free to comment. Keep visiting Path Of Ex. You will never miss an update. Have a nice day!