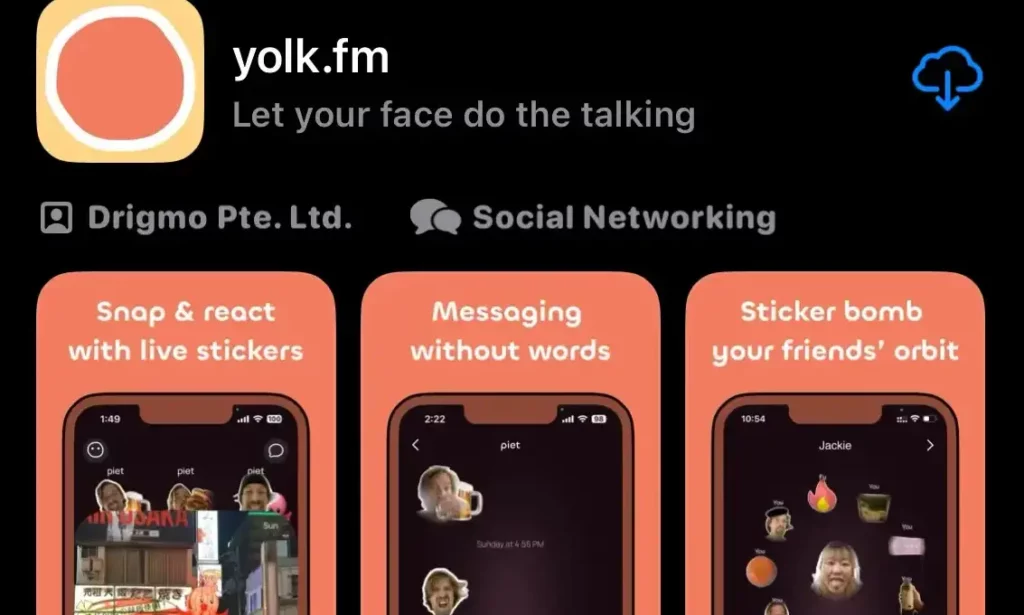
Being new to the fore, many users are not well-versed in the functioning of the Yolk app. It has, however, managed to create curiosity, thereby adding to the number of users. However, without having friends, such an app is of no use. That is why I will tell you how to add friends on Yolk app. If you want to know more about it, stay connected.
Yolk is one the youngest and the most latest entrant to the field of social media. Unlike other social media apps, it is based on the premise of forwarding visual messages, therefore distinctive from the rest of the apps, which have made texting their forte.
How to Add Friends on Yolk App? Let us dive in to the steps involved in adding friends on this app.
In This Article
How to Add Friends on Yolk App?

There are two ways to add people to your friends list. One is by inviting you at the start of installing the app, and another one by adding friends. Here is how you can add friends on the Yolk app.
1. Open the Yolk app on your iPhone.
2. Click on the “circle with two dots” in the top left corner of your phone’s screen.

3. Tap on the “Add Friends” to add a new friend to the list of your Yolk friends.

4. Invite your friend with your live sticker by tapping on “Grant Contacts Access.”

Note: If you have not been granted permission to Contact previously, only then will this option appear.
5. Scroll through the list of contacts and tap invite to add. You can even search for the name to add by typing the name in the search bar “search contact by name.”
6. Tap the “invite” and capture the live sticker. Tap “Use” to send the Live sticker.
7. You are directed to the “New Message” section. Click on the arrow beside the link to add a friend on the Yolk app.

How to Add Friends on Yolk App While Installing the App?
You can invite friends even at the time of installing the process without having used any other feature of the app. Rather, it is one such feature that welcomes you to the app’s interface. Here is how to invite friends by using the steps given below.
1. Once downloaded, open the app.
2. Grant permission to Camera and Contacts and tap Next.
3. Type your Mobile number and tap Next.
4. Verify your mobile number by entering the OTP.
5. “Make Your First Face,” which will be your profile’s live sticker. Tap the “Capture button” to capture the live sticker.”

6. You can “Retake” if you don’t like your first face.
7. Type your name in the “What’s your name?” section. Followed by tapping “Next.”
8. Add friends to Yolk. You can invite them with your personalized live stickers.
9. You can also type in the name of the friend you want to invite and tap “Invite” to proceed. Use a sticker to invite. Once, Captured tap Use to send an invite.

10. The message will appear in the iMessage title New iMessage. Tap the arrow in blue to send.
You can tap “cancel” at the top right corner to cancel it.
11. The name of the user will appear at the top of the screen with the invited icon of the name of the person invited. Tap “Done.” to complete.
Wrapping Up
If you are one of those who are using the Yolk app and experiencing an altogether new and different social media experience. You can make the space more engaging and more interactive by adding more friends. If you are looking for ways how to add friends on Yolk app. Refer to this article to learn in detail and get an appraisal of the steps involved.
I hope this article will be of some help to you. You can write back to us with your feedback. Your feedback is well appreciated. You can visit our website for content like this and much more.


