Do you want to reach more people on Facebook? I know you are putting your efforts into making organic content, using good advertising tools, and many more. If you still are unable to maintain brand consistency, then you must know about the amazing feature of Scheduled Facebook posts. It helps you to reach the people at the right time at the right place. To take the benefits of using this feature, here. I will be telling you about How to Use Scheduled Facebook Posts.
Social media has given you a vast platform to stay connected with the audience. In just a few clicks, your content reaches a wide audience. However, you need to follow some strategies that make people stop scrolling your page. For this, you have to maintain consistency in your posts on social media platforms like Facebook. You can achieve this goal with the help of scheduling Facebook posts.
If you want to know more about this feature, go through my entire article and read the tips for using scheduled Facebook posts. You can easily make your content available based on the audience’s time.
In This Article
How to Use Scheduled Facebook Posts in 2022?

Facebook is built with so many advanced features. Whether you have a personal profile or business profile, you can benefit from using these features and see the success flowing on your profile.
If you are running a Facebook business page, you must be aware that brand awareness is important to grow your business and gain a big list of followers. However, your target audience decides your success, and you can serve them with your fresh content, but that needs to be available with the proper time management. So, here I am helping you with the best tips for using Scheduled Facebook posts.
You can schedule posts on Facebook in two ways:
- The built-in publishing scheduler on the Facebook application.
- Third-party schedulers are also used. Hootsuite and various post scheduler tools on different social media platforms.
Step 1: Create your Post

- Go to your business’s Facebook Page.
- Go to Pages in the upper left corner of your homepage.
- In the menu, select Business Suite.
- Go ahead and tap on Create Post.
Step 2: Take a Look at the Post Before You Publish
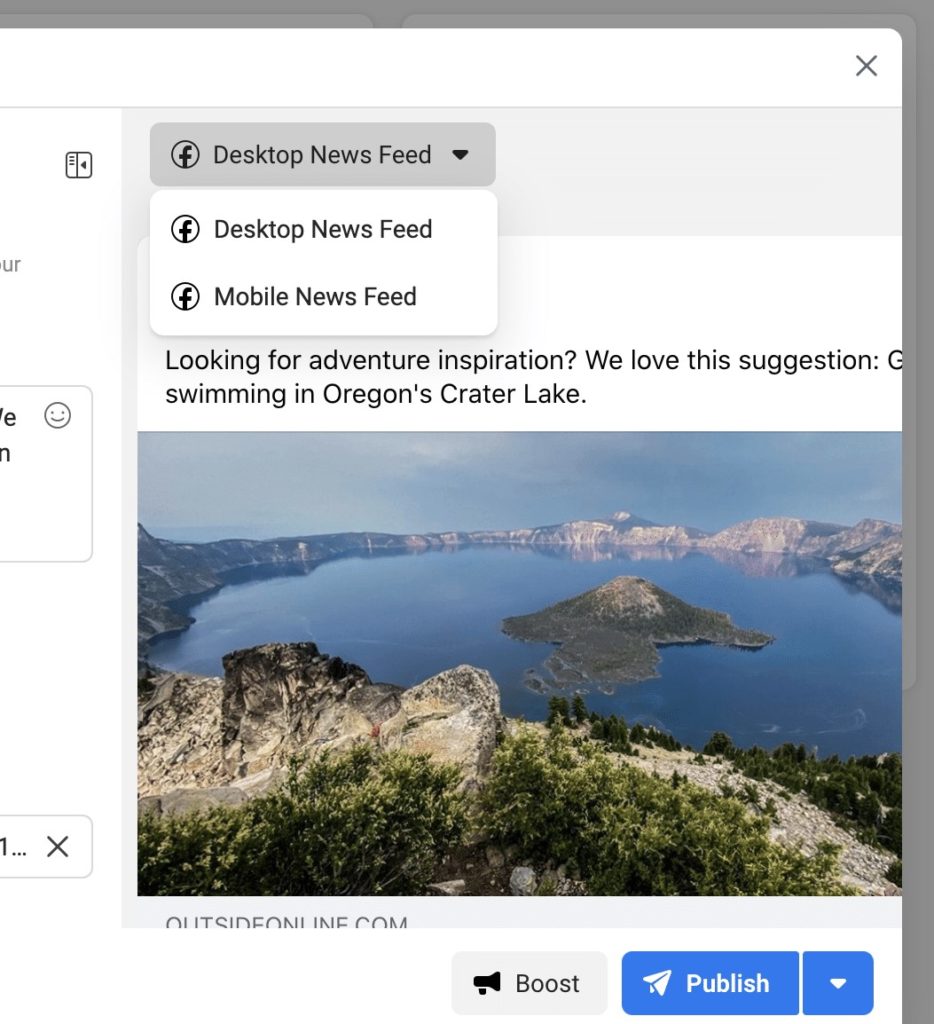
Check where you want your post to appear in the Placements section. You’ll be able to post it to both your Page and the Instagram account associated with it simultaneously.
You’ll be able to see how the article will look on desktop and mobile as you write it. If anything appears out of place, make the necessary modifications to improve the content. It’s now time to double-check that link previews are being generated correctly.
Step 3: Choose a Date and Time that Works for you
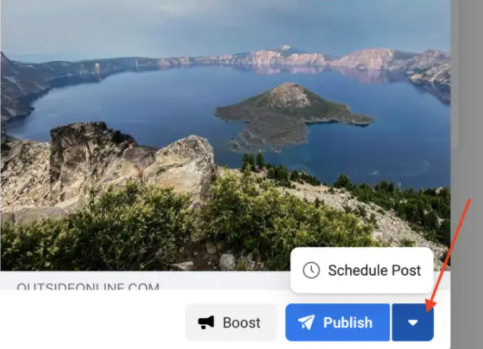
Simply tap next to the Publish button at the bottom of the page. If you might not want to publish a post straight away, decide the day and hour you would like the post to go live.
Finally, tap the Save button.
Step 4: Schedule Post
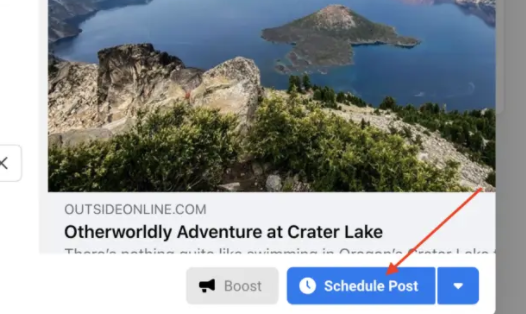
That’s it! Simply tap the Schedule Post button. Your post has been queued for publication. This indicates that it is ready to go live on the scheduled date and time you choose.
Thus, the above steps can be used as tips for using scheduled Facebook posts.
How To Schedule Facebook Posts Using Hootsuite?
If you want to use some third-party apps, you can use various scheduling tools like Hootsuite to schedule your Facebook posts. Let’s learn some amazing tips for using scheduled Facebook posts.
Step 1: Select Create Post from the Drop-Drown Menu
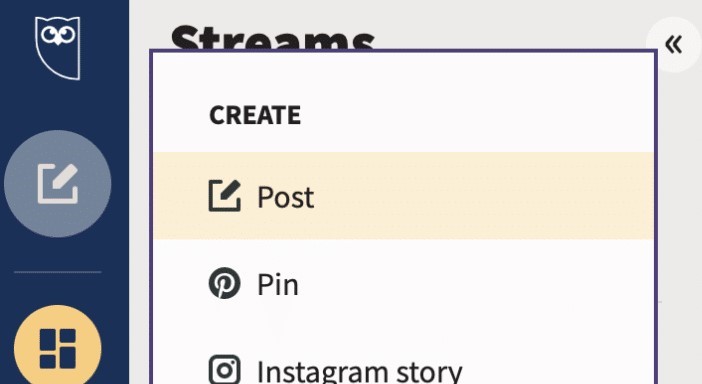
Click on the content creation option in the dashboard’s left-hand menu. Then press the Post button.
Step 2: Choose the Facebook Page to which you want to Post
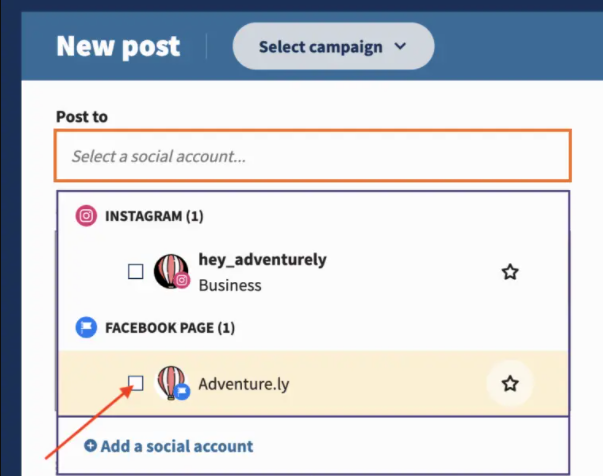
Select the appropriate Facebook account by checking the box next to it.
Step 3: Write your Post
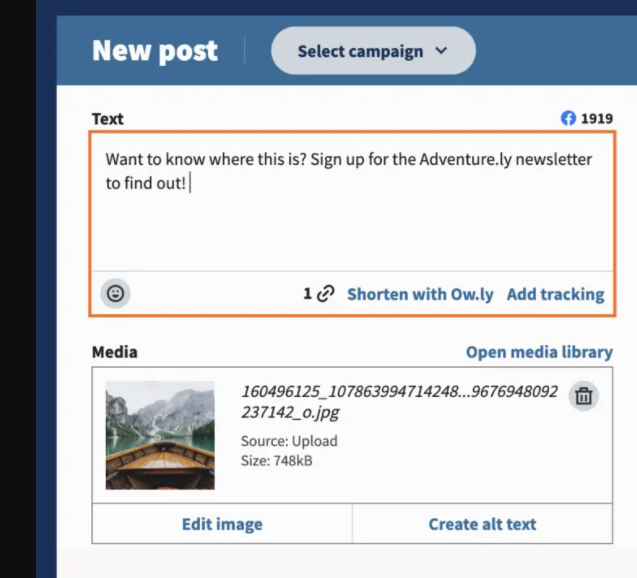
Add a text, upload and update your image, and include a link.
Step 4: Schedule a Date for your Posts
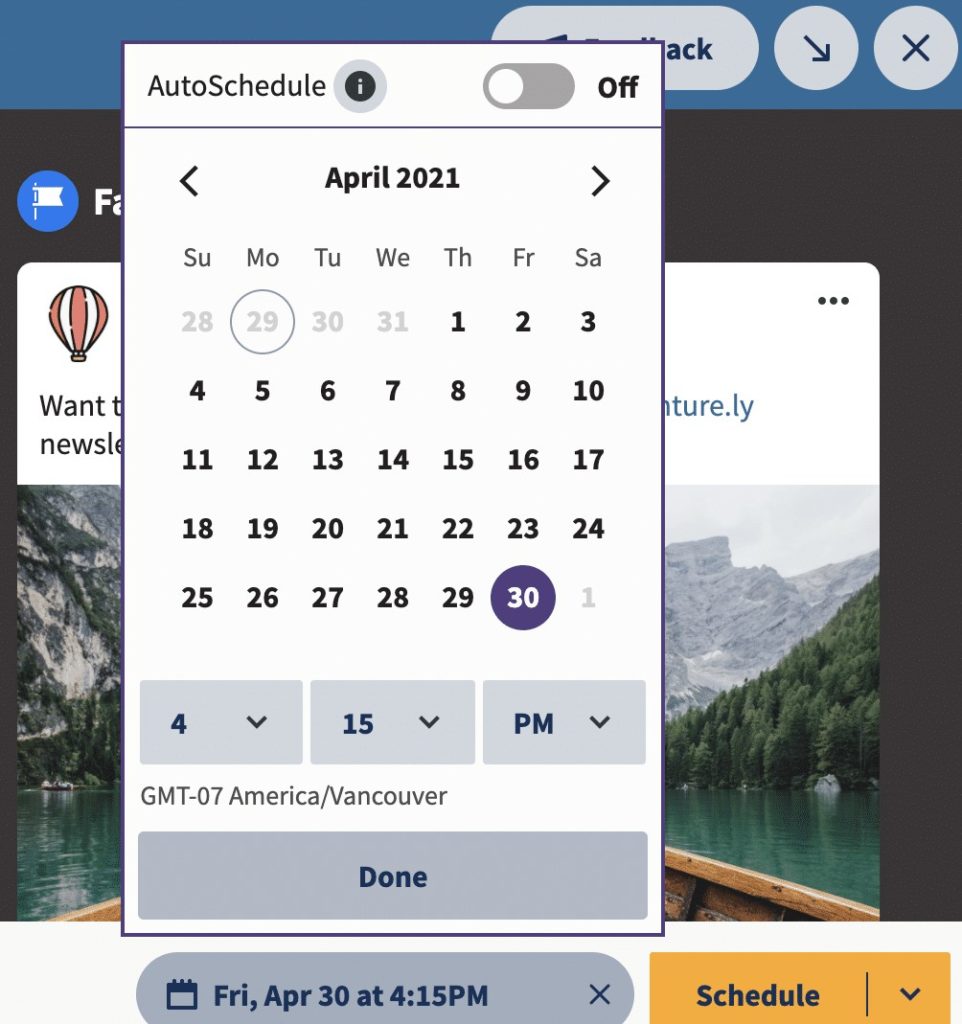
To schedule something for later, tap Schedule. A calendar will appear as a result of this. Select the date and hour when you want the post to go live.
Step 5: Go to the Schedule Tab
On the schedule Tab, your post is set to go live and will be uploaded at the right time.
How to Post Multiple Scheduled Facebook Posts?

If you want to schedule multiple posts, you can use Hootsuite to schedule multiple posts. For this, go through the following steps.
- The bulk scheduling option in Hootsuite makes managing a hectic posting schedule easier. You can schedule up to 350 posts at a time with this tool.
- Save your Facebook material as a CSV file to schedule multiple Facebook posts. Include the following information in each post:
- The date and time that your post should go live (in 24-hour time).
- The text in the caption.
- A web address (this is optional).
- You can’t include emojis, photos, or videos in bulk posts. However, you can add them afterward by updating each scheduled post individually in Hootsuite.
- The Bulk Composer prompts you to examine all of the posts after you upload your CSV file. Select Schedule when you’ve completed your adjustments and uploaded any extra media assets. Remember that you can modify individual posts.
Wrapping Up
So this was all about the best tips for using scheduled Facebook posts. You can post your engaging content on Facebook and let the audience consume it. Now, it is time for a wrap-up. Keep visiting Path of EX for all the exciting updates. Have a good day!