Back in the year 2011, the gaming industry was in one of its strongest eras. Studios had tons of ideas and solid budgets behind their backs, so the graphics and gameplay were getting increasingly impressive. We were drooling over games like Call of Duty: Modern Warfare 3, Portal 2, and Batman: Arkham City and spending hours upon hours trying to master them.
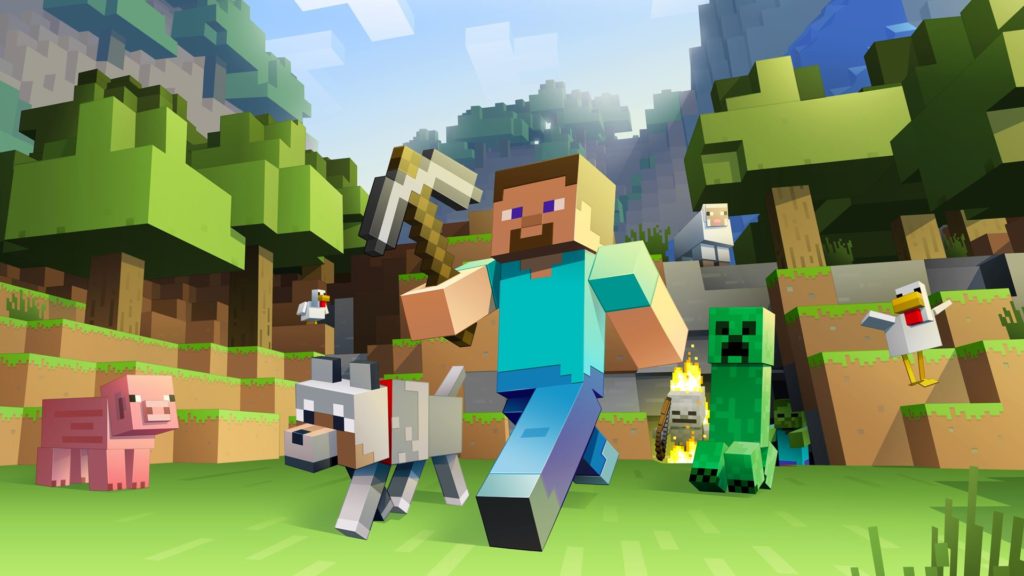
And then came Minecraft.
Very few suspected that such a simple concept of using various materials and blocks to build structures in a pixelated sandbox would take the world by storm so fast. What’s more, the game still brings millions of people online to this day with various ages, beliefs, and interests.
This Minecraft VPS guide will help players learn more about hosting a Minecraft server and building a thriving online community of like-minded people.
In This Article
What is a Minecraft VPS?
VPS services are a type of web hosting where the host splits a single physical server into several isolated virtual instances, each belonging to a different client. The users get a dedicated set of resources and complete control over their virtual server copy.
So, how does that relate to our favorite pixel-art game?
For starters, Minecraft VPS plans offer a pre-configured server with the right environment to easily host your own games. This often means your machine is able to handle Java and its variations (JRE, JDK), support BungeeCord, and keep your latency to a minimum. The game now offers thousands of different mods and plugins, so your chosen VPS should also be prepared for that.
In its nature, the Minecraft VPS functions very much like a traditional one but is also packed with all essentials for hosting your favorite game with your friends.
Minecraft VPS Benefits
With so many chat rooms, forums, and online communities out there, joining a Minecraft game is super easy and doesn’t take more than a few minutes. It’s easy to imagine that not so many people are keen on hosting a server themselves, especially without any prior experience, but the pros can far exceed the cons here:
- Full Game Control – You can use your VPS to run all popular Minecraft server types (Paper, Spigot, Vanilla, CraftBukkit, etc.) and create games with the exact mods and plugins you want. Change the world settings, teleport players, set the time of day – practically everything you need to create a unique experience for your players. Custom plugin ports are available in each plan.
- Optimal Performance – The client can fine-tune the chosen solution with the exact amount of CPU, RAM, and disk space for their project, and the VPS scalability will ensure they can smoothly handle as much growth as needed. The cloud technology guarantees an uninterrupted internet connection with low latency and constant connectivity to your server.
- Enhanced Security – Cybercrimes are a pressing issue, and no online project is safe when malicious attacks are concerned. The very nature of the underlying VPS environment solves a lot of problems – the instances on each physical server are isolated, so no breaches are possible through a neighboring account. To top that, many hosts include extra features like advanced malware filtering, DDoS protection, and proxy/VPN blocking, so you can further protect your Minecraft project.
- Alternative Uses – Some hosting providers go a step further and configure their VPS for multipurpose use. Apart from your custom Minecraft project, you can easily utilize those to build your very own website or host your emails. This creates educational opportunities for Minecraft players to expand their abilities and gain more experience in website building.
And that’s just scratching the surface.
Considering you already found the right Minecraft VPS provider, here are some useful tips that can further ease your experience with the virtual server.
Minecraft VPS Tips and Tricks
Building a successful Minecraft community goes far beyond just securing a solid server with plenty of system resources. With so many other options to play the game, you have to create a unique experience for your users and make them want to stay more.
Consider the following:
- Get a Domain Name
Giving your Minecraft project a great name will not only help you popularize your online brand but will also make it easier for people to find you. Without a domain, users will have to memorize and type a long IP string, which is rather inconvenient even when you’re hosting a LAN party between your friends.
- Install Java
Java is one of the few key requirements when running Minecraft. You can download the Java Runtime Environment (JRE) version of your choice and install it on your server. Your hosting support can also help with that if you’re on a managed plan.
- Choose the Right Server Type
Head on to the official Minecraft website and download the latest server version you prefer to play. It will come in the form of a .jar file you can save on your computer for the time being. Once your VPS is up and running, you can follow the instructions to install it there.
- Configure Your Server Settings
One of the files that Minecraft installs is called server.properties. It takes care of all essential settings for your world build. You can customize things like your game mode (Survival, Creative, Hardcore, Spectator, Adventure), level name, maximum players, friendly fire, command blocks, and many more. This is where you can create a truly one-of-a-kind game.
- Pick the Best Plugins
Various Minecraft sources offer plugins for the game – in fact, there are over 40,000 add-ons you can utilize for a custom-tailored experience. Naturally, the right selection heavily depends on your project specifics, but you can always consider some of the most popular choices:
– WorldGuard – area locking
– EssentialsX – multipurpose command tool
– CodeProtect – player actions log
– ClearLagg – lag reduction
– NoCheatPlus – hack prevention
– Staff+ – admin moderation
As with website building, keep in mind that each plugin puts more weight on the server, so only install the essential add-ons that are mission-critical for your Minecraft game.
- Build a Great Spawning Area
The spawning area is the first thing your users see when landing on your server, so you have to ensure it will create a lasting impression. Spend some time tweaking the design of your spawning area, add signs, show clear instructions – everything that might help a new player get orientated easily.
- Port Forwarding
One of the most important aspects if you want to take your Minecraft VPS to a global audience. If your players are not within the same network, you need to open a separate port for them to see your server. If you’re unsure how – your hosting provider can help with that step.
- Grow Your User Base
Now that your game is good to go, you can start promoting it among your peers and other Minecraft enthusiasts. Here are some popular forums you can use to get the word going:
– minecraftforum.net
– minecraftforum.net
– mcservers.org
– minecraftservers.net
– minecraft-mp.com
As your user base grows, make sure to keep an eye on your server resources as more players = more RAM. Minecraft VPS solutions allow you to scale your system resources steadily without any downtimes to your hosted games.
Any other tips that helped you when you were a Minecraft rookie? Share your experience in the comment section!


