As we know, the iPhone is an amazing device whose features and functions are like a never-ending process. Among many other beautiful features of the iPhone, one among them is audio messages. You would not need to install any app to send audio messages to friends and relatives while using iPhone. In this article, you will learn how to save Audio Messages on your iPhone once you thoroughly go through every single step.
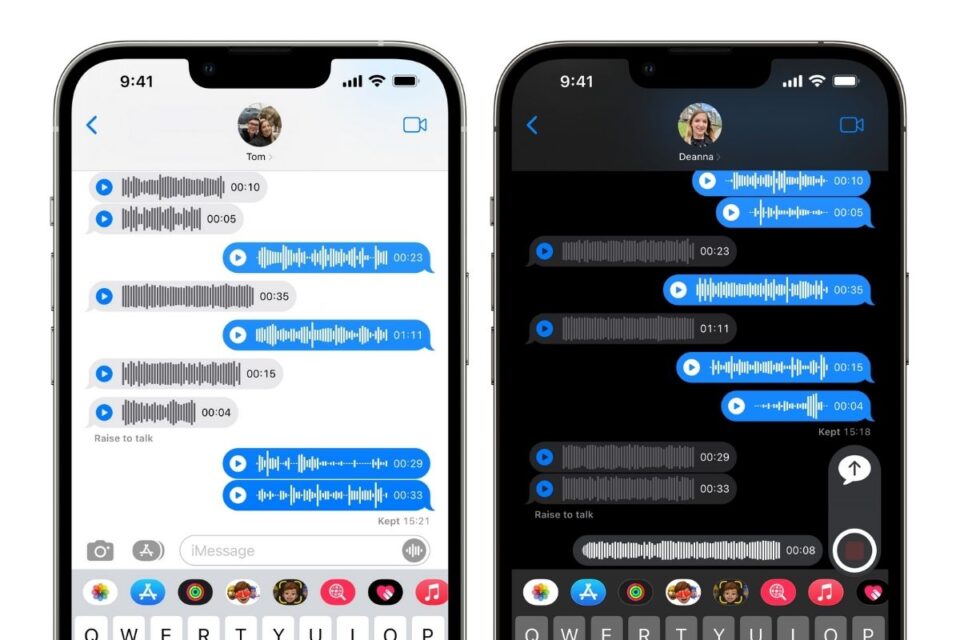
Audio messages are a simple and fast method to communicate with your connections by utilizing audio recordings as part of your iMessage discussions. Therefore, you may capture your message and listen to audio messages from others rather than tapping out or reciting a message. Keep reading further about the entire process of audio messages on iPhone.
Let’s get ready to go through the write-up in detail to understand how to save Audio Messages on iPhone if you don’t want to use any installed app.
In This Article
How to Save Audio Messages on iPhone and iPad | Find the Steps Below
Where did my iPhone audio messages go? It may have crossed your mind if you’ve already delivered audio notes and then returned to the dialogue. Indeed, by standard, audio messages in the Messages application are deleted after just two minutes (how to save Audio Messages on iPhone).
Although you could save the audio messages to preserve them recorded and stored on your device, when they’re finished, they’re gone.
To protect an audio message from being immediately deleted, press “Keep” next to the message you want to preserve.
You may stop your iPhone from erasing your sent and received audio messages if you want to retain them altogether. Additionally, you won’t have to select whether to “Keep” each message. This is how (how to save Audio Messages on iPhone).
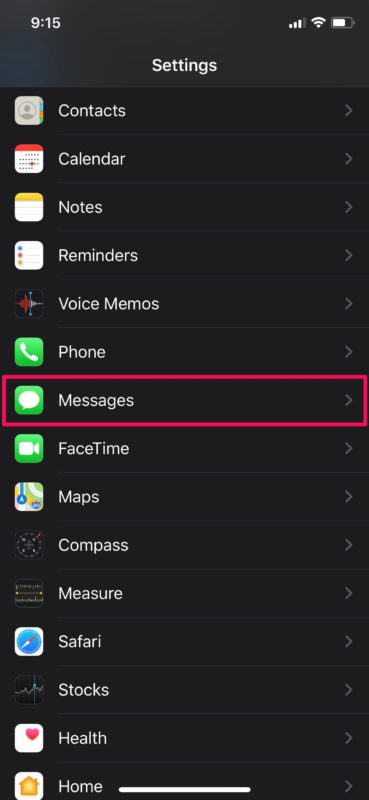
1. Launch the Preferences application on your iPad or iPhone.
2. Click “Messages” after scrolling down.
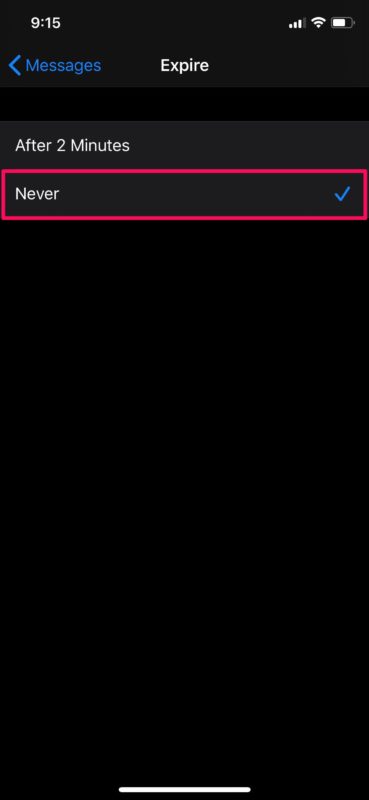
3. Select “Expire” next to “AUDIO MESSAGES” in this list.
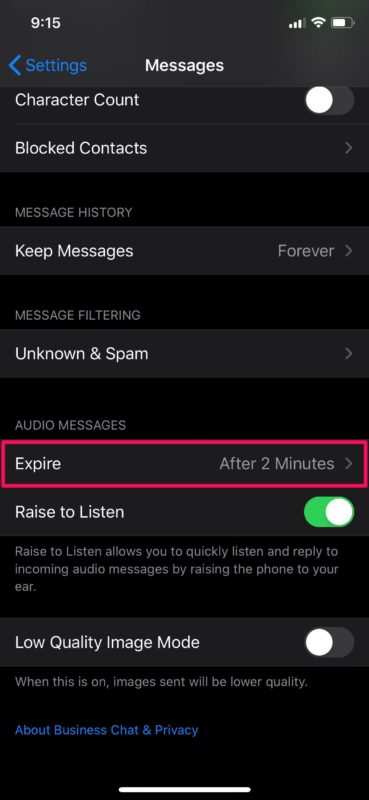
4. Select “Never” to make sure that your audio messages sent and received are never deleted immediately from your devices.
Reconfigure Your Microsoft PC’s Audio Messages
You will want a third-party alternative is able to reach your messages and store them on your Computer because the Apple Messages application cannot be installed on Windows.
With TouchCopy, you can backup all iPhone data, including messages, contacts, photos, call logs, and notes, to your computer.
For the sake of this instruction, we’ll focus on seeing and copying iPhone/iPad messages on a desktop, such as any files like Audio Messages. Let us just start now.
1. Install TouchCopy on your PC after downloading it.
2. Open TouchCopy and link your iPhone or iPad to your PC through WiFi or a USB cable.
3. Select the chats containing the audio messages you want.
4. By selecting “Click to listen” in TouchCopy, you can listen to your audio message on your PC.
5. Pick chats can be exported to your PC by clicking “Copy Messages.”
6. Hit “OK” after deciding where on your computer you want to save the files. TouchCopy will save your chat as an HTML file, which you may access using your preferred web browser.
7. Your message attachments, including any audio messages, photos, or videos, will be saved in a separate folder by TouchCopy.
How to Save Audio Messages from iPhone/iPad to Your Mac
So far as how to save Audio messages on iPhone is concerned, You undoubtedly understand that you could always use iMessages straight on your desktop if you own a Mac. The ability to synchronize your iMessages so that you may check your iPhone/iPad discussions on your Mac is a terrific tool.
This is enormously beneficial for the reasons of this post since it allows you to listen to audio messages and even save them to your Mac’s hard disc. You must make sure that your Mac’s iMessages are configured with the same Apple ID as your iPhone or iPad before you can proceed.
How to Download Audio Messages to Your Mac
To know how to download Audio messages on your Mac (How to save Audio messages on iPhone, please follow the steps given below:
1. On your Mac, launch the Messages program.
2. Decide which discussion contains the audio message you want to hear.
3. Select “Copy” when you right-click the audio message.
4. Open the spot on your Mac where you want to save the file by launching Finder.
5. To add an item, right-click on the file and select “Paste item”.
It’s simple to play back recorded audio messages on a Mac. The messages would be saved as the standard file types for Macs,.caf or.amr (How to save Audio messages on iPhone). To open such a folder, simply select “Open With” from the context menu of the right-clicking menu.
How to Send Audio Messages from iPad or iPad
The steps below to send an audio message:
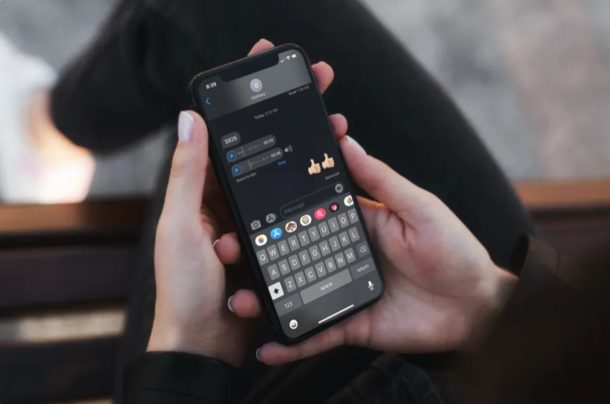
1. Launch the Messages application on your iPad or iPhone.
2. Tap the group chat to which you want to send a message.
3. Tap and hold the voice symbol in place of where you would typically type your response.
4. Message can now be recorded.
5. To halt recording, let go of the voice icon.
6. Tap “play” to see a preview of your message.
7. To stop and delete the recording, tap the “x” icon.
8. You may also send your voice message by tapping the upward-pointing arrow.
By following the above given steps, you must be able to understand How to save Audio messages on iPhone and how to send them on iPhone or iPad also.
Wrapping Up
I sincerely hope that this information (How to save Audio messages on iPhone) helped you comprehend and take charge of your audio messages.
Note that even if you want to save them, audio messages would be immediately removed from your gadgets after a brief period.
Through Messages on a Mac or TouchCopy on a PC, you may backup your audio messages to your desktop!
If there is any other question related to the How to save Audio messages on iPhone, please write back to me in the comments section below.