Who doesn’t want an organized iPhone? At least I get frustrated from time to time seeing too many apps. Some apps we use daily, some sometimes, and some never. It’s better to group apps in folders for organized access to all the apps. But how to make folders on iPhone?
Scrolling through multiple screens just to find an app is not exactly the smart thing to do. I mean it saves a lot of time when you have every app in categorized folders. For people with obsessive organizational preferences, an unorganized phone can be a nightmare. Fortunately, you can hide apps as well as put apps in folders on iPhones.
So, in this article, we will talk about how to make folders on iPhone. I hope you don’t have to go elsewhere to find an answer to your query. You can easily compile apps into folders according to your convenience. Let me show you how.
In This Article
How to Make Folders on iPhone?
Making folders on iPhone is actually as easy as it can get.
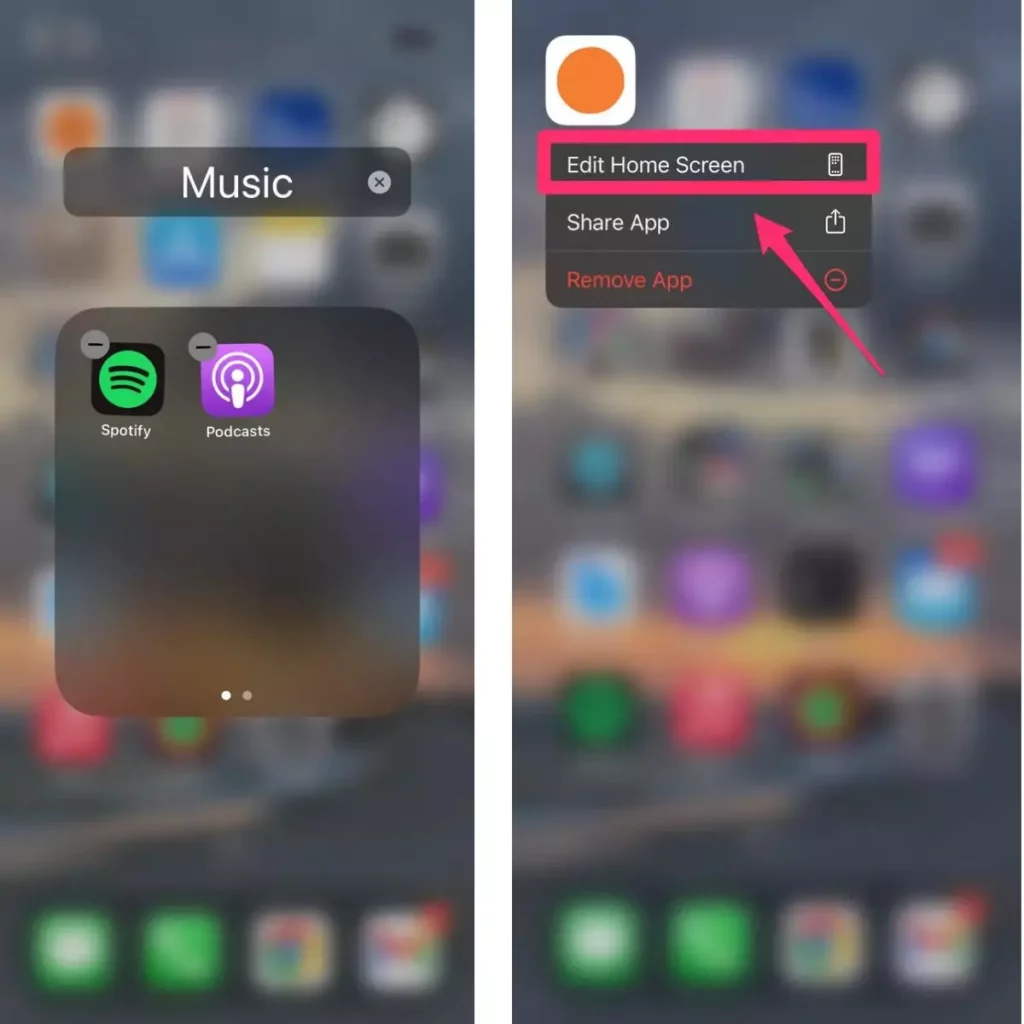
1. Press and hold the app you want to move to a folder.
2. Tap on Edit Home Screen in the pop-up menu.
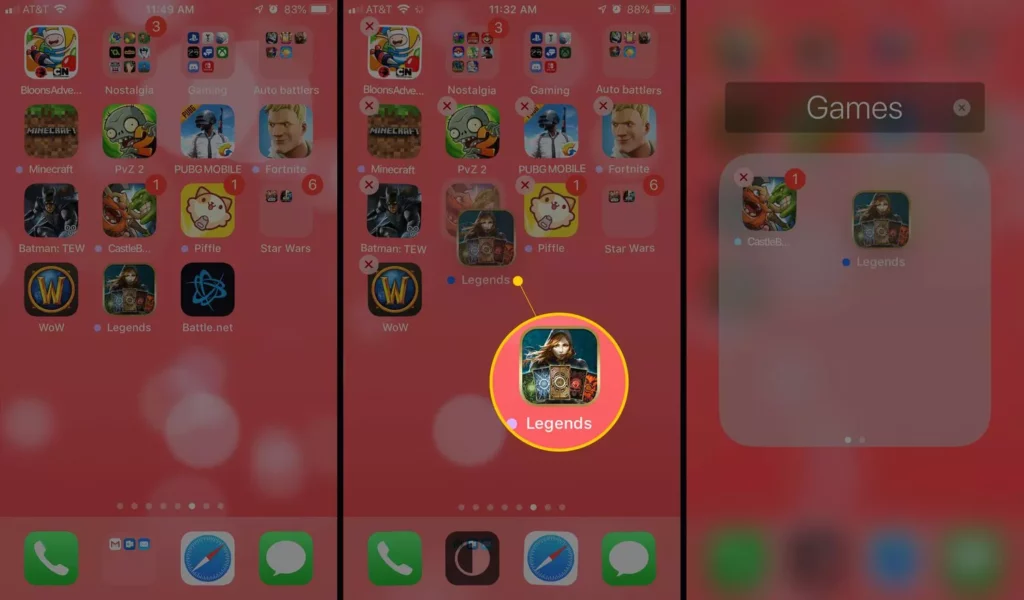
3. All your application icons must be shaking by now. You should see a small “-” above each icon. Hold and drag the app icon over to another app. When you see a folder, release your finger. This will put both apps in one folder.
So, that is how to make folders on iPhone.
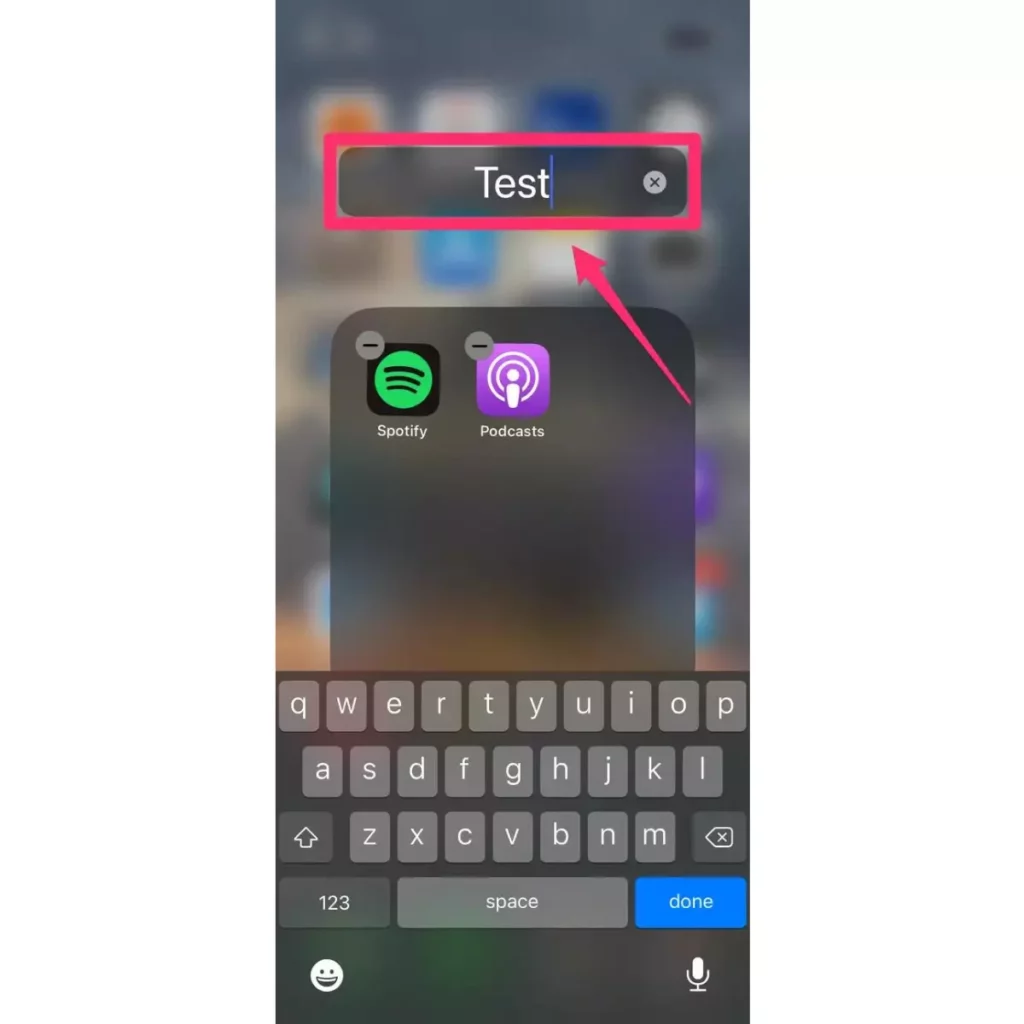
How to Change Folder Names on iPhone?
Yes, the method to change folder names is the same as creating folders.
1. Press and hold the folder you want to change the name of. The apps within it will start to shake and a small “-” will appear above each app icon.
2. You should see a title box above the folder. This title box is editable. Tap on it and give the name you want to give it.
How to Delete an iPhone Folder?
After learning how to make folders on iPhone, you’d also want to delete a folder someday. When you delete a folder, the folder gets disappears, and the apps get restored to their original locations. To make this happen,
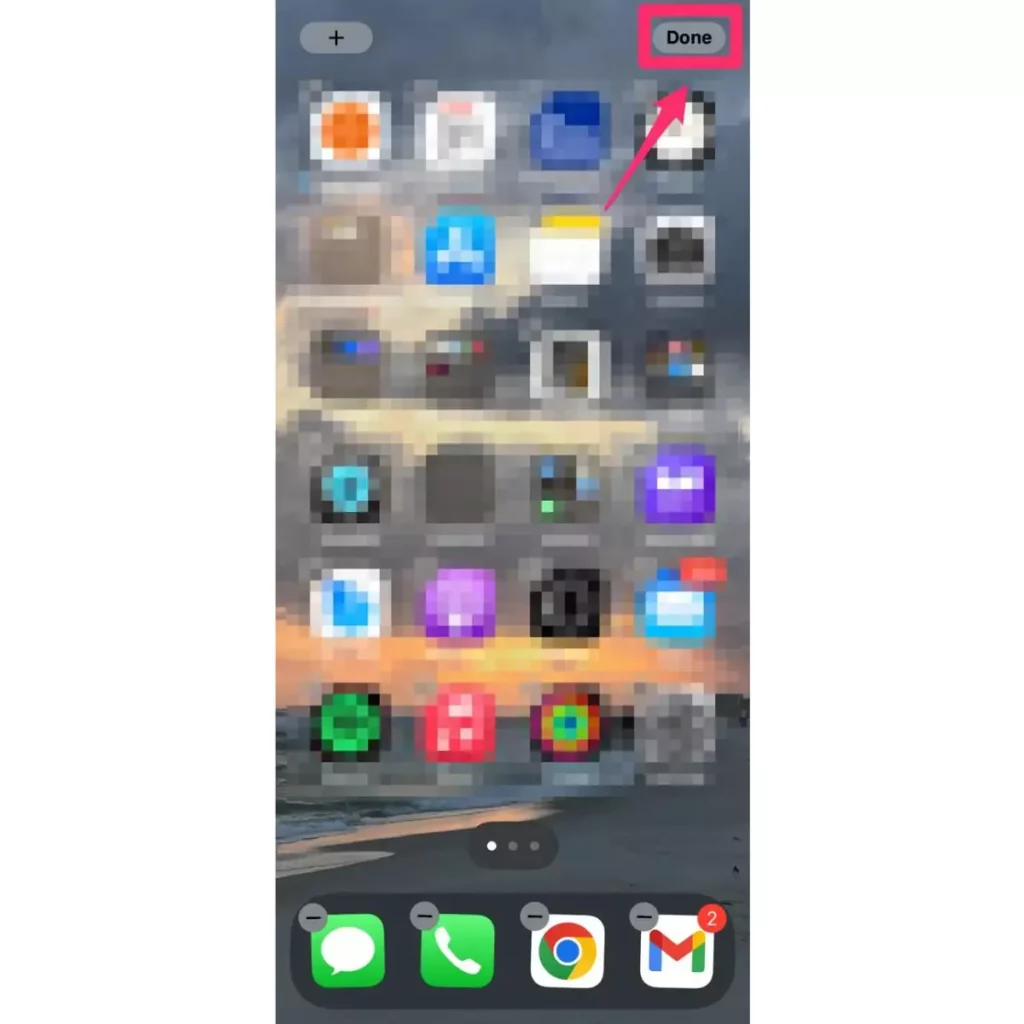
1. Press and hold an app from inside the folder you want to delete. Hold it until all the apps inside the folder start shaking.
2. Press, hold, and drag the apps out of the folder to the home screen one by one. The folder gets deleted automatically once it gets empty.
3. Hit Done at the top-right corner of the screen.
How to Move an App From One Page to Another?
If you want to move an app to a new page, follow the steps below:
1. Press and hold the app you want to move.
2. Select Edit Home Screen.
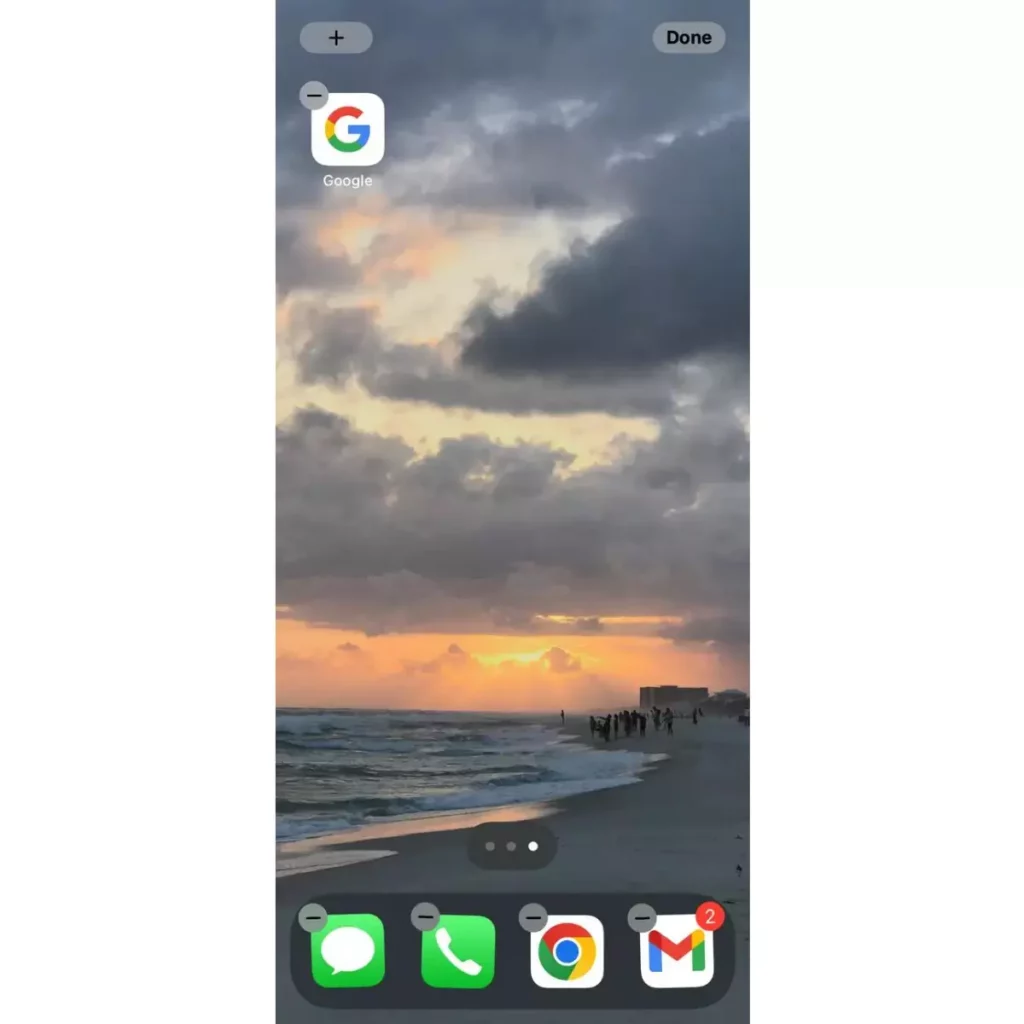
3. You need to drag the app to the extreme right side of the screen to open a new page.
4. Let go of the app and it will be dropped on the new page.
For other iPhone-related queries, like how to make folders on iPhone, you can visit the official Apple Support webpage.
How to Make Folders on iPhone?
Wrapping Up
Now that you know how to make folders on iPhone you have all the scope to keep your apps in bundles in folders of your choice. Categorize them and keep them in distinguished folders. Once you get the hang of it, you will create folders and move apps with closed eyes. I think that’s all for this article. I’ll see you again. Ciao!
Frequently Asked Questions
How do I put my apps into Folders?
On your iPhone or iPad, tap and hold an app and drag it toward another app. When you hover over the other app, a folder will automatically be created containing the two apps. To add an app to the folder, simply drag the app over to the folder.
How to Make Folders on iPhone 14?
Follow these steps to make folders on iPhone 14:
1. Place your finger on the home screen and keep it placed until all the apps start to jiggle.
2. Now drag an app onto another app and a folder will be created.
3. You can drag other apps over to the folder and add them to the folder.
4. To rename a folder, simply press and hold the album and then hit Rename, and enter your desired name.