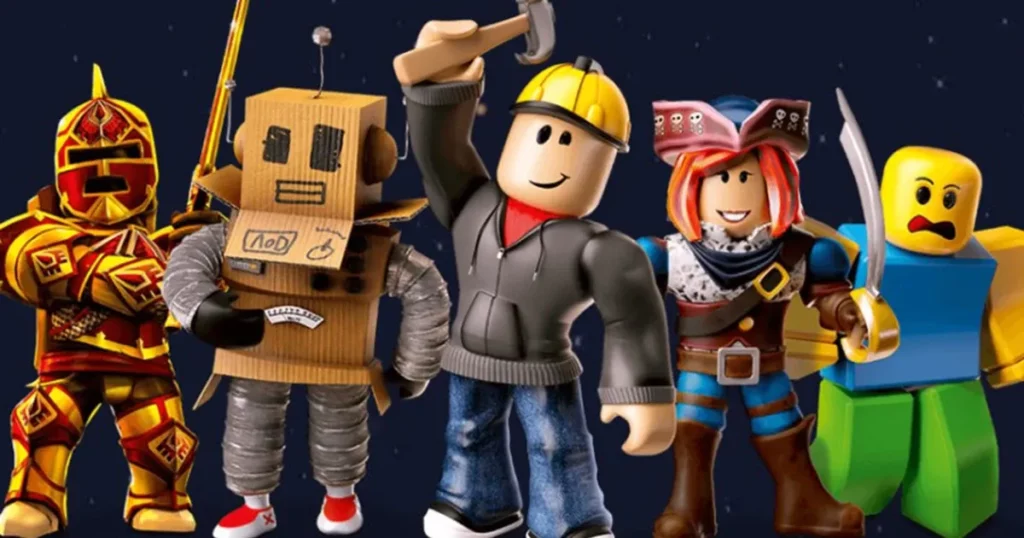
Roblox has its clothing collection, but you can create your own if you’re bored of the same old designs. If you want to sell your creations and make Robux, you must create them first. If you’re lucky, you might earn a lot of cash! But first, you need to learn how to make clothes on Roblox.
At first, making clothing can be confusing, especially if you need to learn how the clothing templates work or the process of uploading the clothing. You’ll need a few things before you can start making your clothes, and our Gaming Guide is here to help.
So, let’s get your creative juices flowing and make a collection of apparel you’ll be proud of (and possibly sell!). Let’s dive right in and find out how to make clothes on Roblox in a few easy steps!
In This Article
Things Required to Make Clothes on Roblox
You need some things before you can start to learn how to make clothes on Roblox and upload your designs. Here’s a list of the things you need to make Roblox clothes:
- A Premium Membership (Why? Explained in the article)
- An Image Editing Program (Free options mentioned)
- Clothing Templates (Available for free on the website)
- Roblox Studio (Not necessary, but it’s an option)
How to Make Clothes on Roblox?
You can create three kinds of clothing on Roblox: T-shirts, Shirts, and Pants. If you’re wondering which are the easiest clothes to make on Roblox, it’s T-shirts. Let’s see what the process in steps to make clothes on Roblox is:
1. Download the Templates
- Navigate to the Create tab (only available if you’ve got a Premium Membership)
- Go to My Creations.
- Select Shirts, Shirts, or Pants from the list of options
The easiest way to get started and ensure you have the right sizes and colors is to download the basic templates.
2. Edit the Image to Your Liking
When you’ve downloaded the template, you can edit the image to create your design right now. Here are a few free options to choose from:
- Paint App on your Desktop
- Krita Editor
- Photopea Online Editor
3. Create Clothes on Roblox
The process of creating clothes on Roblox is easy, whether it’s creating T-Shirts, Shirts, or Pants. That said, making a T-shirt is comparatively easier. Here’s how to do it:
- Save the image on your device.
- Upload the image to Roblox using the Asset Manager.
I’ve explained the full process of making T-Shirts, Shirts, or Pants with and without Roblox studio in this article after the steps.
4. Preview or Test Clothes on Roblox?
Before uploading, I advise you to test and see how your creations will appear on avatars using Roblox Studio. Here’s how to do it:
- Open the Plugins tab in Roblox Studio and select Build Rig on any terrain.
- Create your gear, and a “Dummy” avatar will spawn.
- If you mouse over Dummy, the + symbol appears. Click on it to open the Explorer window.
- Upload the completed templates.
- After that, the Dummy avatar will wear the outfit, allowing you to preview or test it!
You can equip and sell the item once it has been approved by Roblox as one of your creations. Neat, right?
How to Make T-shirts on Roblox | Create Custom Roblox T-shirts
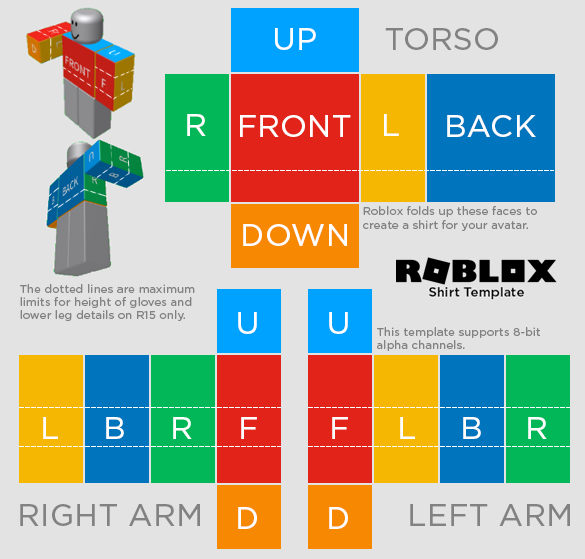
You can create T-shirts in Roblox with the help of Roblox Studio, but you can also do without it. T-shirts are square images applied to the front of an avatar. To make a t-shirt, create a square image you’d like to see. Follow these steps:
To Create with Roblox Studio:
- Save the image on your device.
- Upload the image to Roblox using the Asset Manager.
To Create without Roblox Studio:
- Log into the Roblox website, and click on “Create.”
- Under ‘My Creations”, click T-Shirts
- Click on “choose file.”
- Select the image you saved earlier.
- Name your t-shirt.
- Click upload.
- Enjoy your new t-shirt!
If you have a Premium subscription, you can even sell it in the catalog and make some money. But you can still wear your own t-shirt without premium, so don’t worry. Keep learning how to make clothes on Roblox.
Always double-check your designs using your hard-earned Robux because you can’t post shirts or pants to Roblox without paying for them. You can do so with Roblox Studio, which you can get for free here by clicking on Start Creating when you open this link.
How to Make Shirts And Pants on Roblox | Create Custom Roblox Shirts & Pants

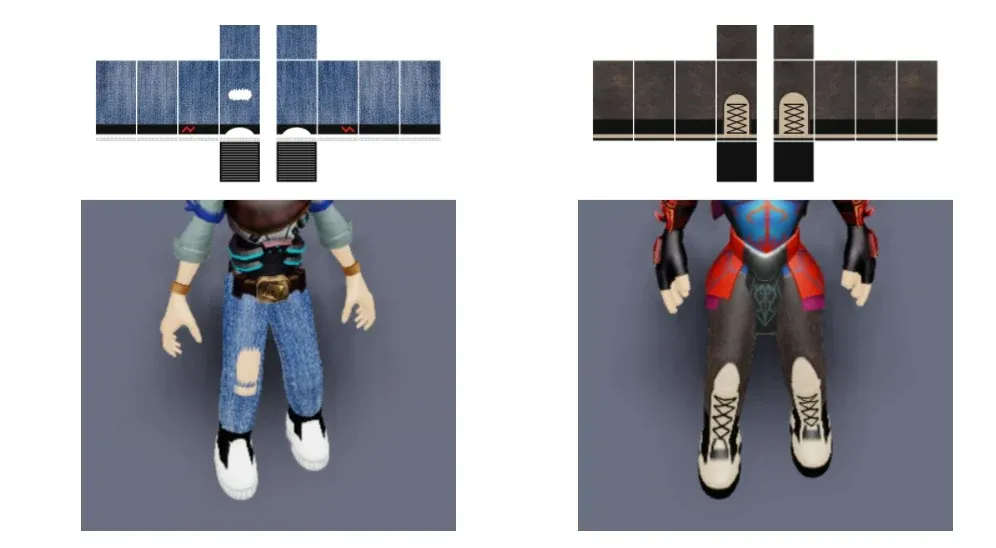
Roblox has made it easy to create clothes by setting them into separate images rather than one large image.
To Create with Roblox Studio:
- Click Build Rig under the Plugins menu in Roblox Studio.
- After choosing a Build Rig, open the Explorer window and place your cursor over the Dummy object.
- Next, based on the design you picked, click the Add button and select ShirtGraphic (Pants or Shirt.)
- Find and pick the new clothing item or Shirt Graphic inside the Dummy.
- Next, click within the row to choose the property in the properties box.
- Next, head to the website, select whatever clothing piece you designed (shirts or pants), and upload it.
- That’s it!
Note: It will cost 10 Robux to upload each of your creations.
To Create without Roblox Studio:
- Open up the template file in the paint tool.
- Color in the boxes or copy, paste and resize images into them.
- Make sure your design is 585 x 559 pixels, and upload it!
How to Earn Robux From Your Clothes In Roblox?
A portion of the purchase price goes to ROBLOX when your item is sold. In the case of T-shirts, shirts, and pants, this cut is 70/30, with 70% of the revenue going to the creator. No wonder everyone wants to know how to make clothes on Roblox!
Wrapping Up
Learning how to make clothes on Roblox is easier than it might seem. With a little effort, you should be able to make any clothing in Roblox. When you design your own clothes, you can sharpen your editing skills and add your favorite shades and textures to the template’s color blocks, not to mention the money you can make!
Share your Catalog with Path of EX, and let us show our appreciation.
Happy Gaming!