
If you are using Windows 10, you might not be aware that Windows 10 comes with multiple font styles. It all depends on the language package you use. There are also a variety of fonts (both free and paid) that you can get online. These fonts can be installed on your Windows 10 computer easily. If you want to know how to do it, read the entire article on how to install fonts on Windows 10.
Every one of you is aware of how important fonts are. Well, the normal text looks boring until you will not spice up your words. This can be achieved with the help of the Fonts. There is a big list of fonts that you can use to change the style of your words. You need to get the fonts installed on your desktop to make them look creative.
If you want to learn how to install fonts on Windows 10, read the complete post and learn everything you need to know right now. It is quick and straightforward to obtain all of the fonts without having to dive deep into the settings.
In This Article
How to Install Fonts on Windows 10 in the Microsoft Store?
Installing Fonts on Windows 10 is a straightforward process. You can get a variety of fonts on your desktop with just a few simple steps. However, there are in-built fonts available on the operating system. If you are looking for how to find fonts on your desktop, I will tell you how to locate them on your desktop. So, let’s get started and learn how to install fonts on Windows 10, follow the step-by-step process below-
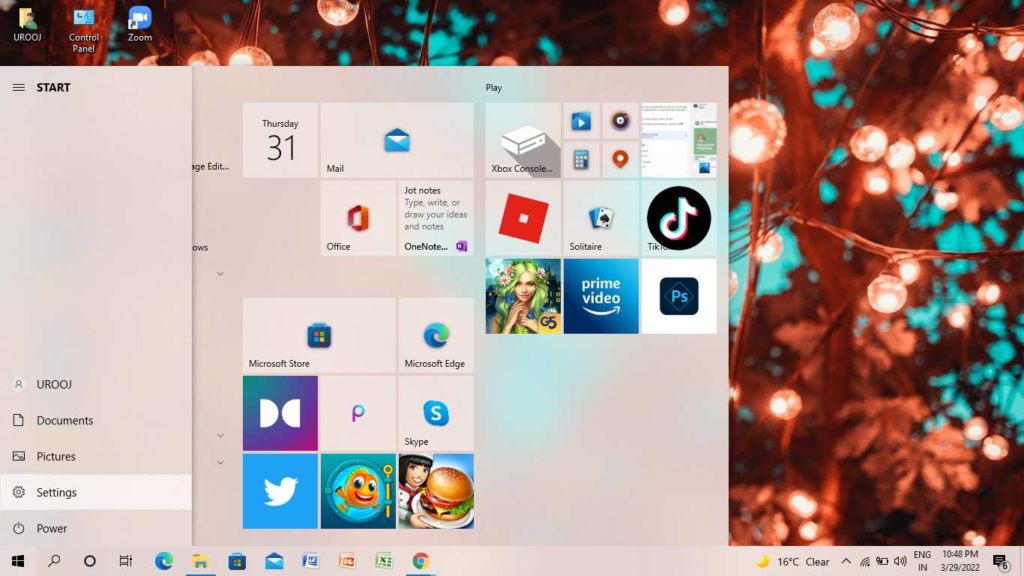
- Go to the Windows icon( start icon) on the left side of the screen.

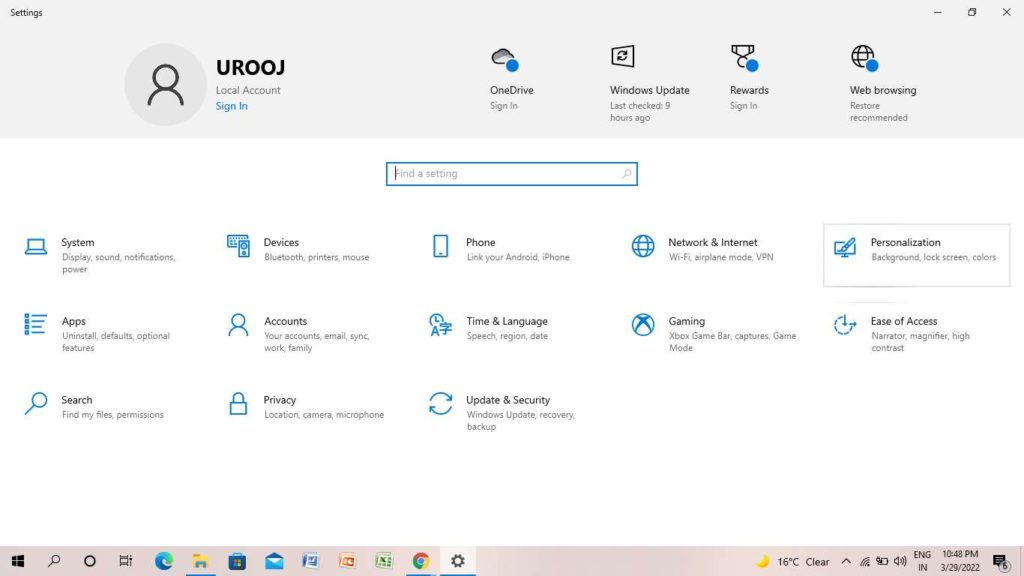
2. Tap on the Settings icon.
3. Click on the Personalization icon.
4. Click on Get More fonts in Microsoft Store.
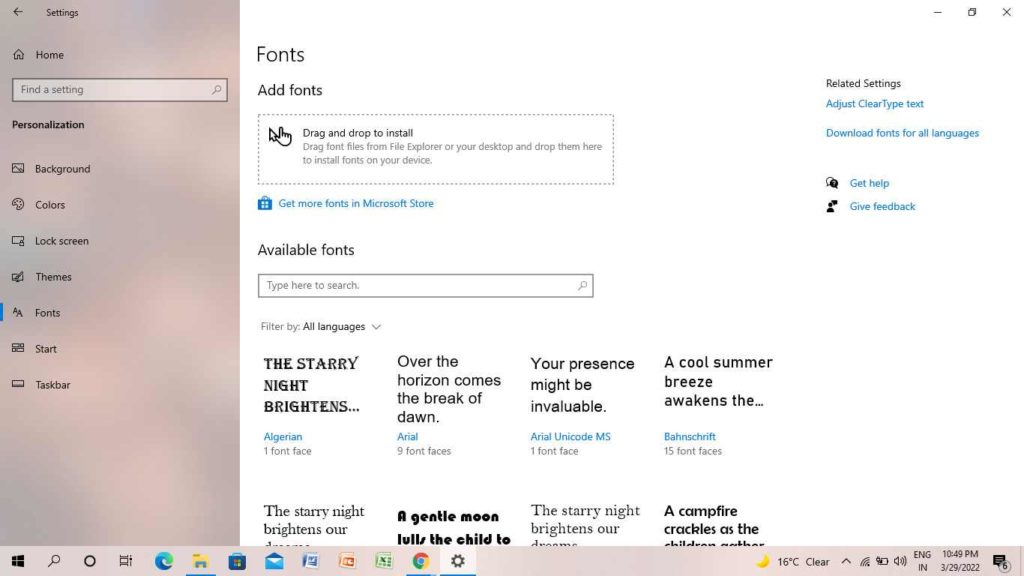
5. On the next page, select font.
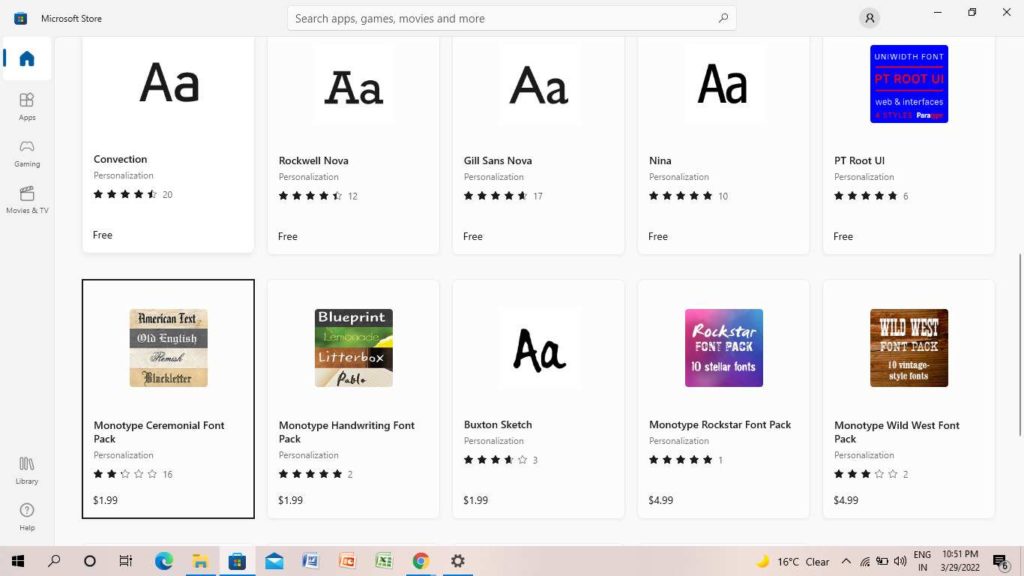
6. Click on Get.
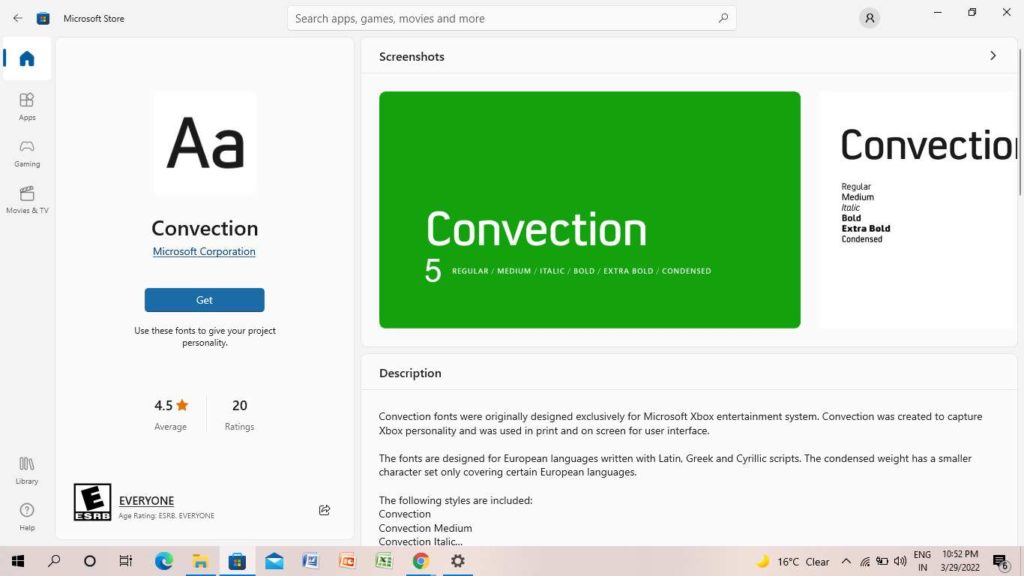
7. A new pop-up will appear on the screen. Select No thanks or Sign in.
Once the font is downloaded, you can install it on your computer or laptop. You can see the font shown in the font list.
You can also drag font files from file explorer or your desktop and drop them in the Add Fonts box to install fonts on your device.
How to Install Fonts on Windows 10 in Control Panel
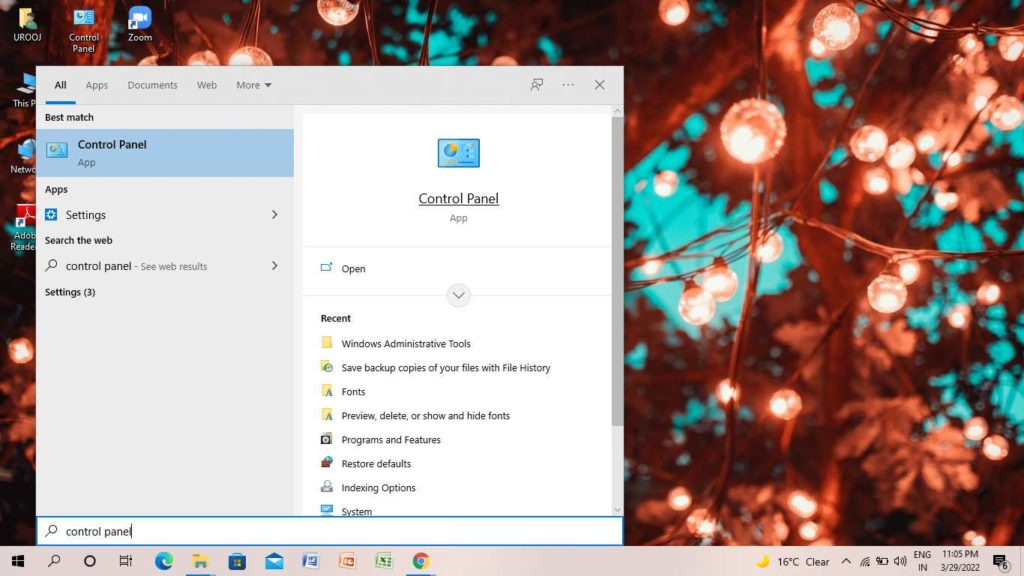
If you want to install fonts on Windows 10, you can easily do it in the Control Panel on your desktop. For this, follow the steps below-
- Open the Control Panel on your desktop.
2. Click on Appearance and Personalization.
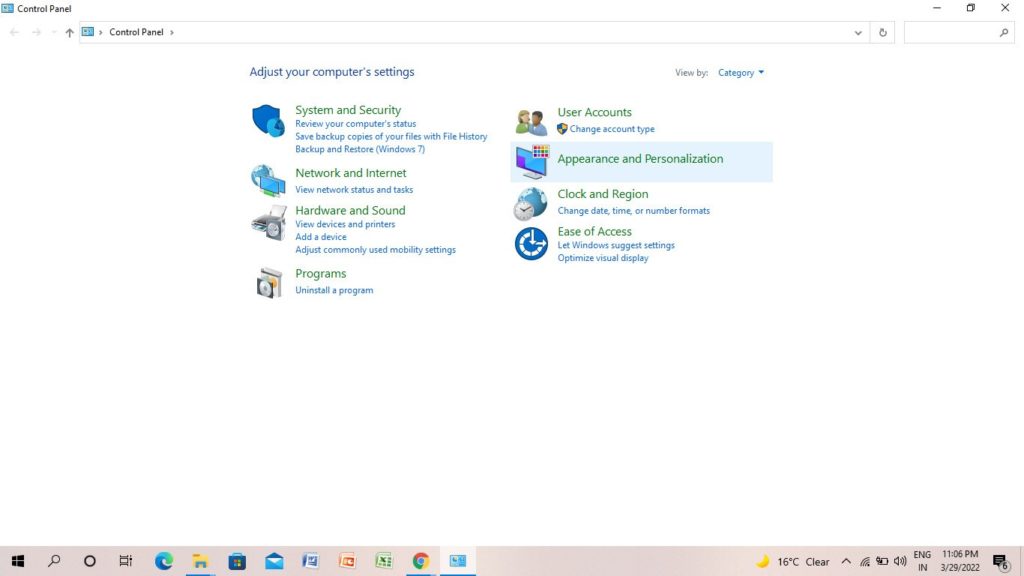
3. Click on Fonts.
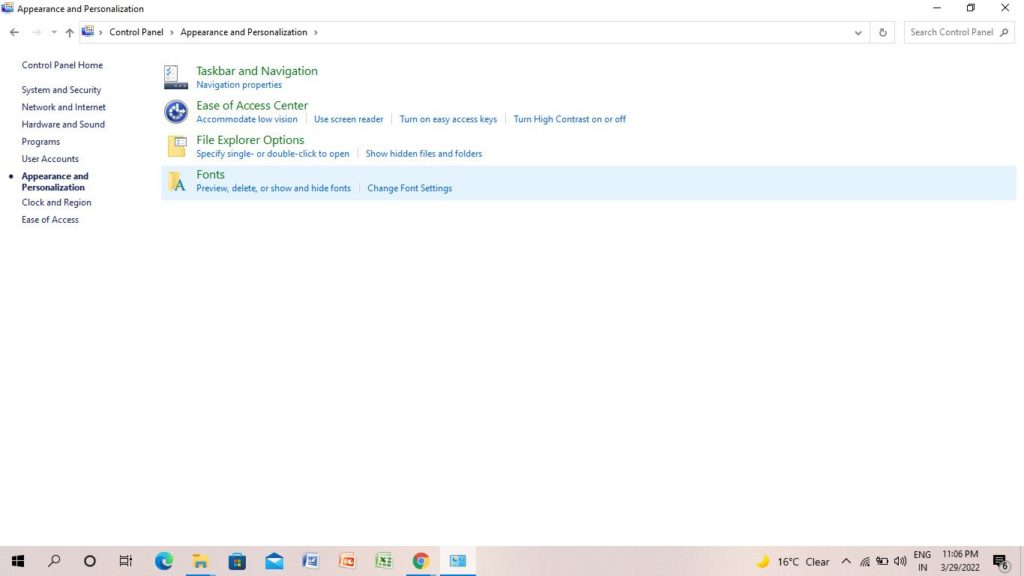
4. Click on the Fonts and tap on Install.
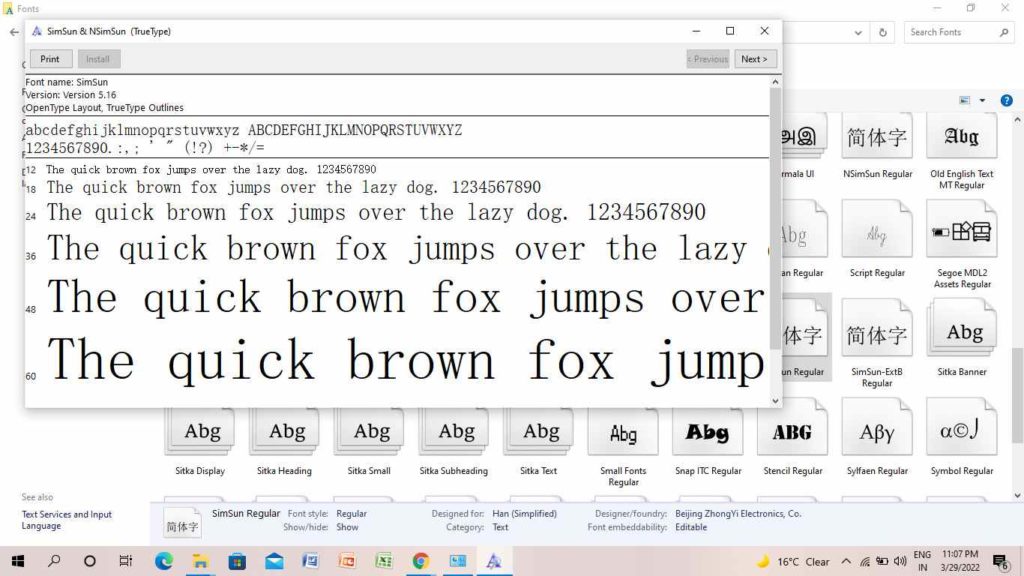
If you want to delete the font, simply right-click on the font, tap on delete, and a pop-up will appear on the screen. Click on Yes.
How to Install Fonts on Windows 10 from the Web?
If you want to get a big variety of fonts on your desktop, you can either get them from the in-built fonts on your desktop, or you can get the fonts from the web. To know how to install fonts on Windows 10 if you have downloaded them from the web, follow the steps below-
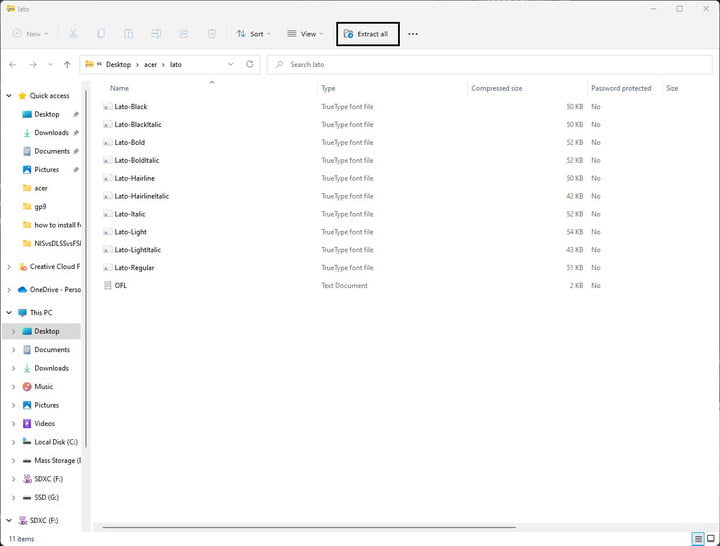
- Once you have downloaded the Font, extract the Font file.
Note:- Font usually comes in a Zip file.
2. Tap on Extract All.
3. Go to the Windows start menu.
4. Tap on the Settings.
5. Tap on Personalization.
6. On the Font page, locate your extracted font folder.
7. Search TTF (True Type Font) files.
8. Drag the file into the Rectangular box.
How to Un-install Fonts on Windows 10?
If you want to remove some downloaded fonts from your desktop, you can do it easily with the help of the following steps-
- Go to the Windows icon( start icon) on the left side of the screen.
2. Tap on the Settings icon.
3. Click on the Personalization icon.
4. In the font list, click on the Font.
5. Click on uninstall.
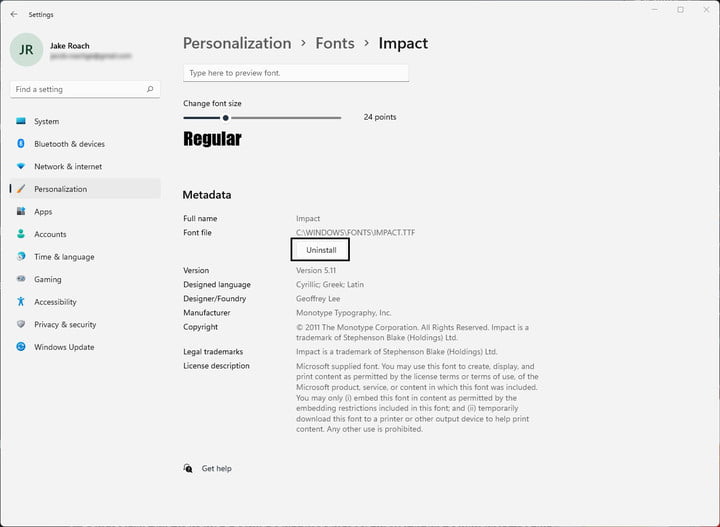
6. Finally, a pop-up will appear, and tap on Uninstall.
Wrapping Up
This was all about how to install fonts on Windows 10. Get multiple varieties of fonts and use them while writing any document on your desktop. Share your thoughts in the comment section if you find the article useful. Now, it is time for a wrap-up. Stay tuned for all the trending stuff.
Frequently Asked Questions
Why can’t I install fonts on Windows 10?
Simply go to the Start menu, then Settings, tap on Personalization, and select the fonts that you want to use. If you are unable to use it, download it from the web and follow the same procedure.
Why Can’t I install the font that I downloaded?
If you can’t install a font that you have downloaded, you simply have to extract the font file. This is because the font file usually comes in a Zip file.
What are TTF and OTF?
TTF stands for True Type Font, and OTF stands for Open Type Fonts. These are the extensions of a file that is a font. You can use them when you frame a document.