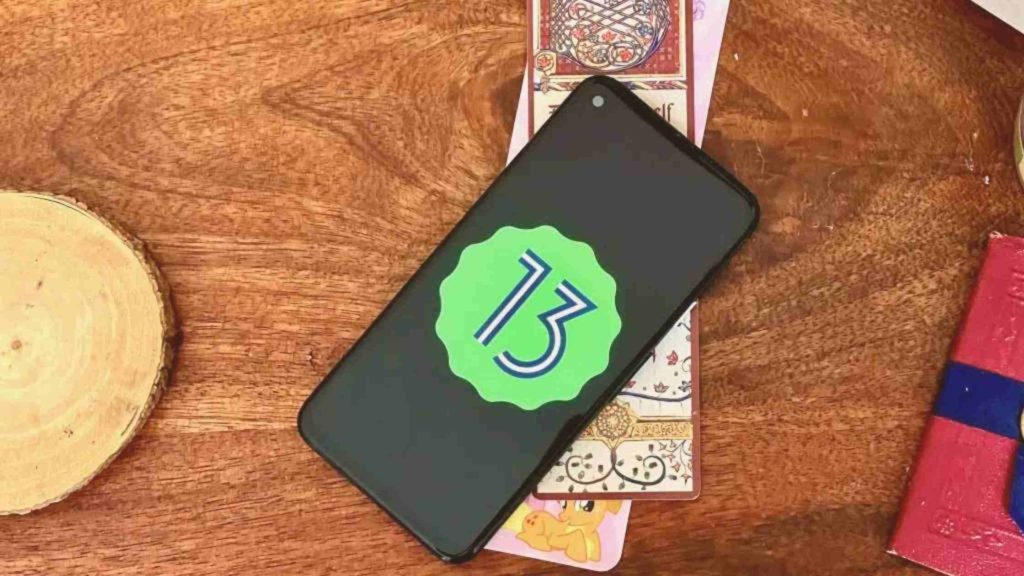
Google dropped the first Developer Preview of Android 13 a few months back along with the news of Google I/O, which means many would be wondering what’s new in Android 13. While installing a final version only takes you to press a download button, installing a beta version isn’t that easy. Considering the fact that the Developer Previews & beta versions are targeted towards a different audience, aka developers, you probably have to know the basics of the beta versions beforehand. However, if you need some help, scroll a little and learn how to install Android 13 Beta 1 on Google Pixel.
If you are a regular user, then think twice before getting a beta version. Since developer previews come with many bugs, you shouldn’t risk losing your device. Do not install beta versions of any software if you need a fully functional device. Being a developer means you try the beta versions that aren’t out to the public yet to provide quality feedback to Google.
Having said that, Google has cleared all the details regarding Android 13, and you can easily get your hands on full factory images for every eligible Pixel device. Since you can only sideload the developer updates, you need to follow the below-written steps precisely to learn how to install Android 13 Beta 1 on Google Pixel.
In This Article
Is Your Google Pixel Compatible with the New Android 13 Beta?
Google is slowly discontinuing the Pixel 3 series. We can say it because Pixel 3 didn’t get any updates in February 2022. Moreover, the Pixel 3a series will have its final update by next quarter. So, that limits the number of Pixel devices compatible with Android 13. Here’s a list of all devices eligible to install Android 13 Beta-
- Pixel 6 Pro
- Pixel 6
- Pixel 5a (5G)
- Pixel 5
- Pixel 4a 5G
- Pixel 4a
- Pixel 4/XL
- Google Pixel 4
What’s New in Android 13?
Needless to say, Android 13 is built on the foundation of Android 12, but that doesn’t mean this new update doesn’t have any major features. From a much-needed Photo Picker to choosing per-app language preferences, Android 13 is definitely a great update so far.
There is a new shortcut for the QR scanner, a screensaver entirely revamped, and MIDI 2.0 support. You can also launch a particular application in split-screen just from its notification.
Among many shiny features, one is definitely the cinematic wallpapers. Your wallpaper will move whenever your phone moves in 2D or 3D. Now that’s something entirely new and uber-cool. There are many more features of Android 13 that will soon be launched in the final version of the update.
Prerequisites for Installing Android 13 Beta on Google Pixel
You just cannot install Beta 1 on Android 13 with just an eligible Google Pixel device. You need a few more things to start the process to install Android 13 Beta on Google Pixel. Check out the following list to know the prerequisites-
- A computer system with either Windows, macOS or Linux. If you are a professional developer, then you can also use an Android phone instead of a system. However, this Android phone must have USB OTG functionality.
- A device to install Android 13 beta among eligible Google Pixel devices.
- A cable to connect your system to your phone. If you are using an Android device instead of a system, then you will use an appropriate cable to connect your Android device with the Pixel device.
- A browser such as Google Chrome or Microsoft Edge.
How to Install Android 13 Beta 1 on Google Pixel with the Android Flash Tool?
Android Flash Tool is a specific tool designed to help developers quickly flash beta versions without installing any extra tools. This makes the whole installation process super easy and a lot less hassle. If you already have some knowledge of Google’s flash tool, then follow the below-written steps to learn how to install Android 13 Beta on Google Pixel with the Android Flash Tool-
1. Connect your Google Pixel device with your system using a USB cable.
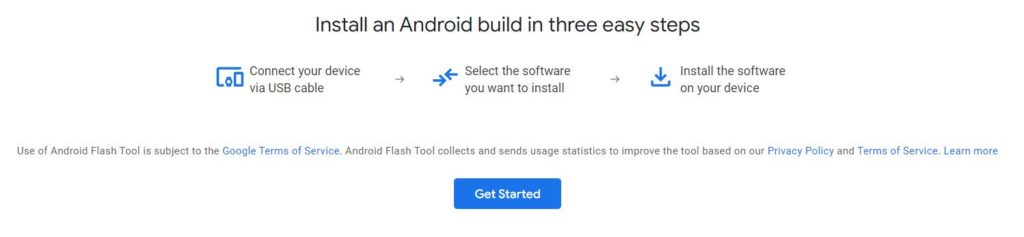
2. Visit the official Android Flash Tool website or simply click on this link https://flash.android.com/welcome, from your system.
3. Click on the “Get Started” button.
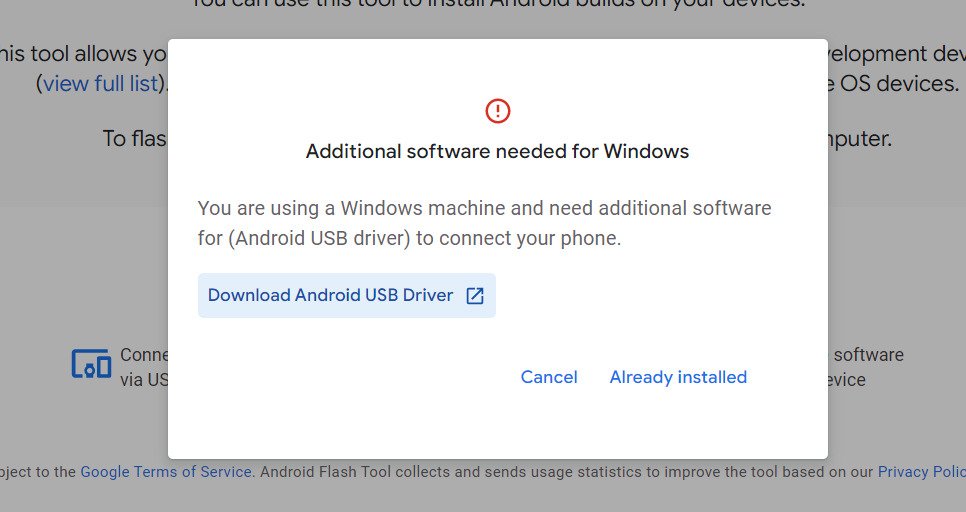
4. Click on “Download Android USB Driver” and complete all the instructions.
OR
If you already have the USB Driver on your computer, click on “Already Installed.”
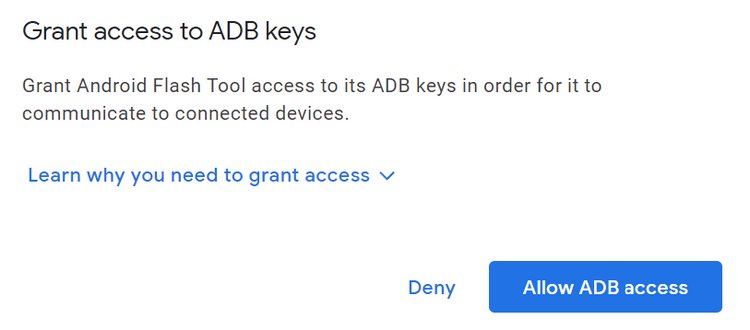
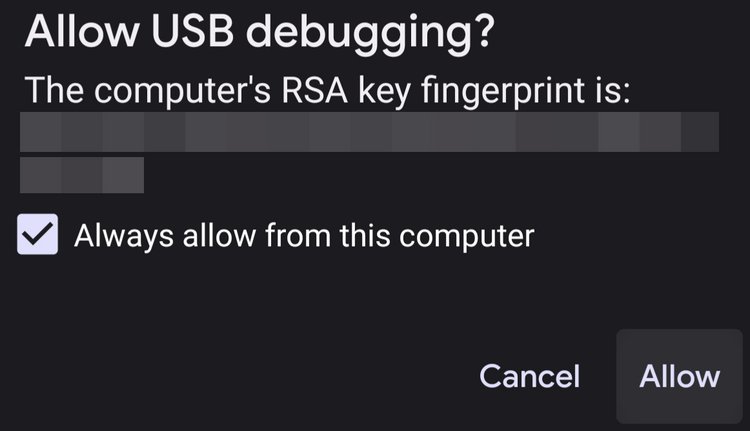
5. If you have not given access to ADB keys, then a popup box will display on your screen. Follow its instructions.
6. Select “Allow ADB access.” It will allow both devices to share data bidirectionally.
7. A prompt message will appear on the screen of your Pixel mobile. Click on “Allow.”
8. Follow the on-screen instructions if you see a “No devices available” message on your system screen.
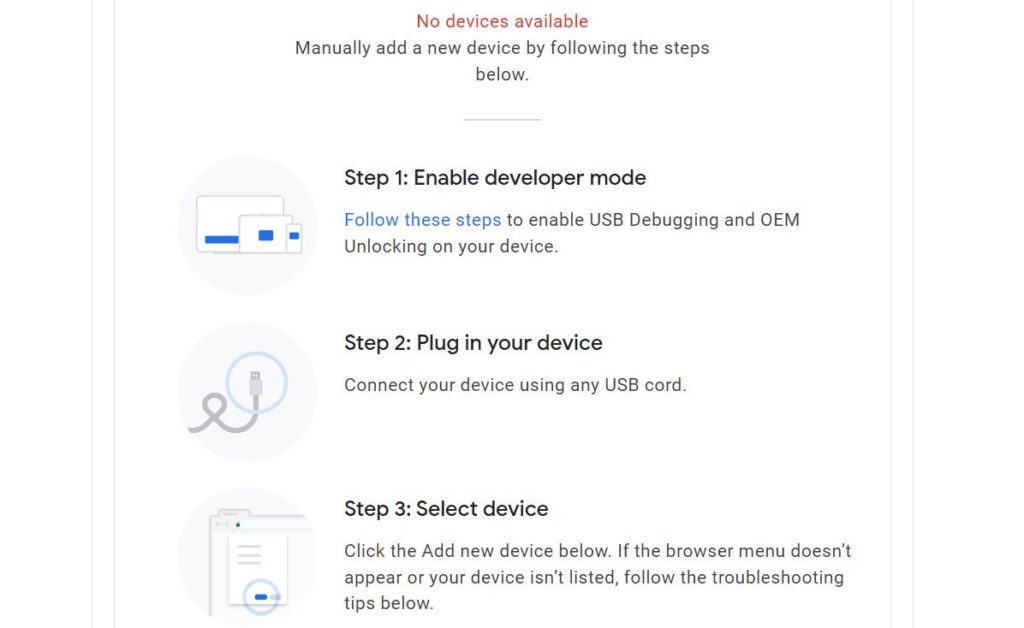
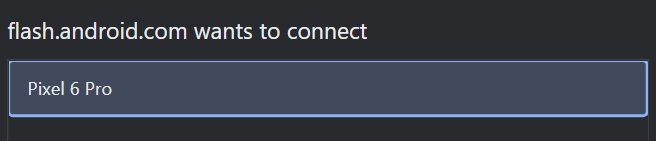
9. Click on “Add new device” after the setup.
10. Choose your Pixel device in the popup and then click on the “Connect” button.
Now that your Pixel is connected to your system, you can install any build. Under the Popular builds section, you will find the Android 13 preview. Choose the latest Android 13 DP to install on your Google Pixel device.
Also, installing a beta version does not override the last Android on your device. It will factory reset your Pixel, relock the bootloader and then replace the old system’s files with the latest ones.
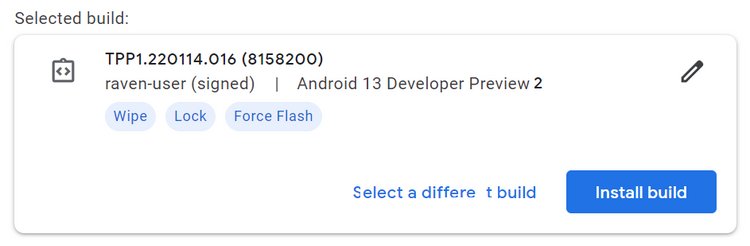
If you do not want this to happen when you install Android 13 Beta 1 on Google Pixel device, you can click on the Pencil icon to change these settings. Hover over the question marks beside all the options to know what they are for and select or deselect them according to your needs.
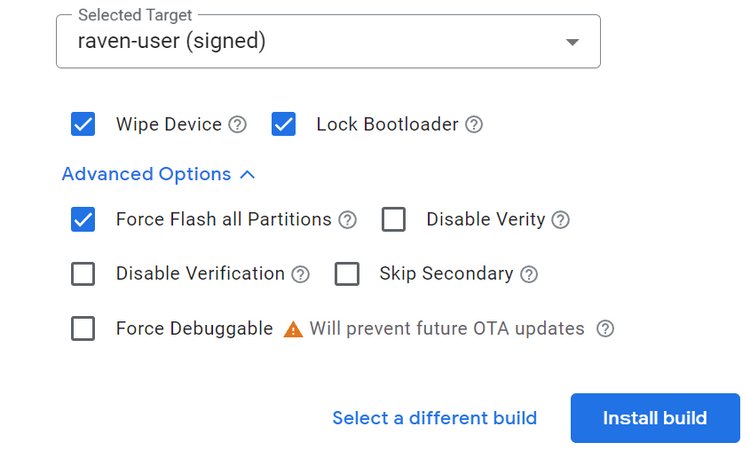
After you have chosen all the necessary options, click on “Install build” to install Android 13 Beta 1 on Google Pixel with the Android Flash Tool.
In some time, your Pixel will reboot, and you will have the all-new beta of Android 13 right in your hands.
How to Install Android 13 Beta 1 on Google Pixel Manually?
The first choice should always be to install Android 13 Beta 1 on Google Pixel through the Android Flash tool. It is a lot easier and requires only a few quick steps. However, if you still want to go through the long way, then here’s how you can learn how to install Android 13 Beta on Google Pixel manually.
1. Install USB drivers and Android SDK tools on your system.
2. Visit the DeveloperAndroid‘s official website to download the OTA image for your Pixel device.
3. Now, connect your Pixel to your computer.
4. Switch off your Pixel and then press the Power button and Volume down button simultaneously until you see the Bootloader page.
- With the Volume Up button to move up and Volume down button to move down, scroll to the “Recovery mode.” Click on the Power button to select the recovery mode.
- When you see a small Android icon with a question mark, press the Power and Volume Up buttons.
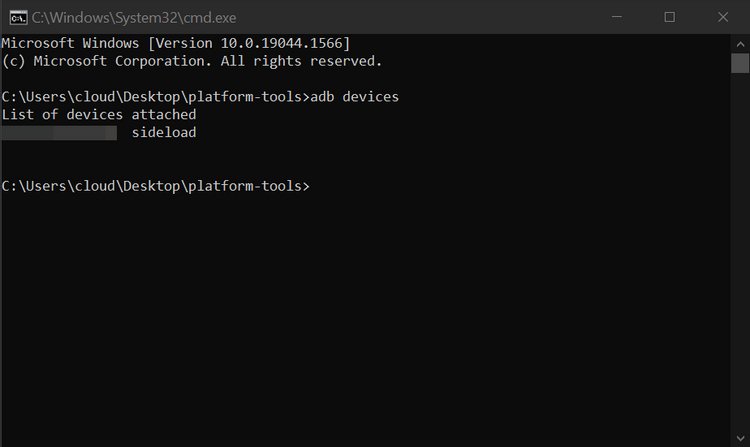
5. Using the volume buttons, scroll down to “Apply update from ADB” and click on the power button to select it.
- You can also check whether the above steps worked or not by looking through the command prompt. Enter adb devices. If the above steps work correctly, you will see your phone’s identifier and “sideload” state.
6. In the command prompt or shell, enter adb sideload raven file_name_here.zip and this will flash OTA.
If you do not remember the file’s name, you can type adb sideload in the command window drag and drop the file after adb sideload. It will help you get the correct file name without any errors.
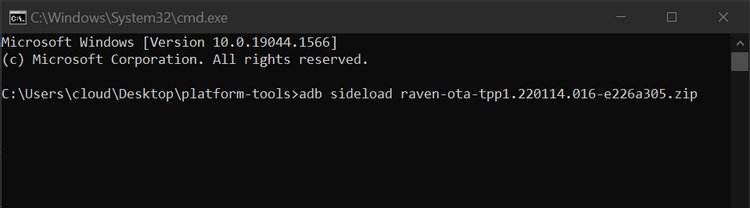
The filename is the name of the OTA file you downloaded in step 2. Sometimes, you need to use ./ at the beginning of the commands.
7. Wait for the Android 13 to install into your phone.
8. Reboot your device when it has installed Android 13.
That’s how you install Android 13 on Google Pixel manually.
Wrapping Up
After following through the whole process, you will have an Android 13 beta 1 installed on your Google Pixel device. I explained the process with two methods, one with Android Flash Tool, and the other process was manual installation. That was all about this article on “How to Install Android 13 Beta 1 on Google Pixel?”
If you have any doubts or queries, just comment below, and I will definitely try to help you. Share this article with your developer folks and tell us about your reviews.
Frequently Asked Questions
How to get Android 13 on Pixel?
To get Android 13 on Pixel, you can either use the Android Flash Tool or you can download the beta files manually. You just have to visit the official developer website of Google, connect your PC or Android Pixel with it, and install the setup to download the beta version.
Can I download Android 13?
Yes, you can download Android 13. Since it is not officially released, you can only download the Android 13 beta 1 version. Most of the times these versions have many errors and that’s why you should wait if you don’t want to harm your Android.
Will Pixel 3 get Android 13?
No, Pixel 3 is not compatible with Android 13. That’s why Pixel 3 won’t get Android 13.
Will the Pixel 4a get Android 13?
No, Pixel 4a is not compatible with Android 13. That’s why Pixel 4a won’t get Android 13.