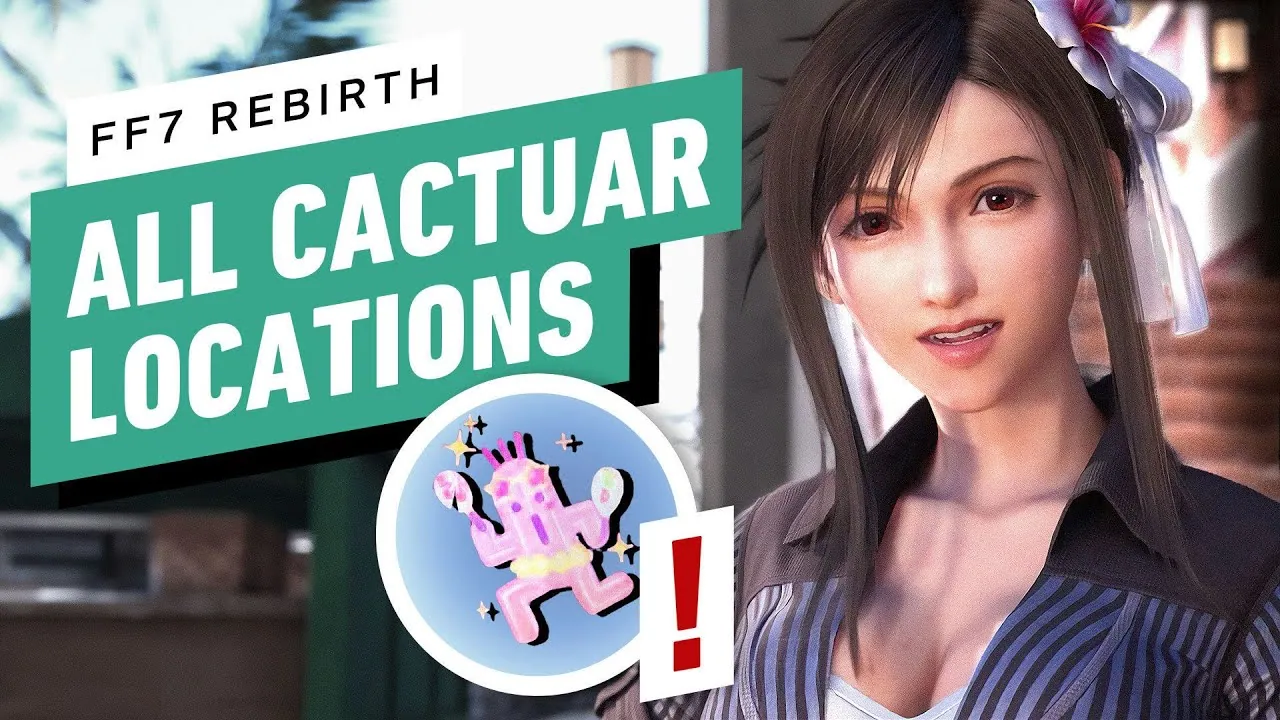
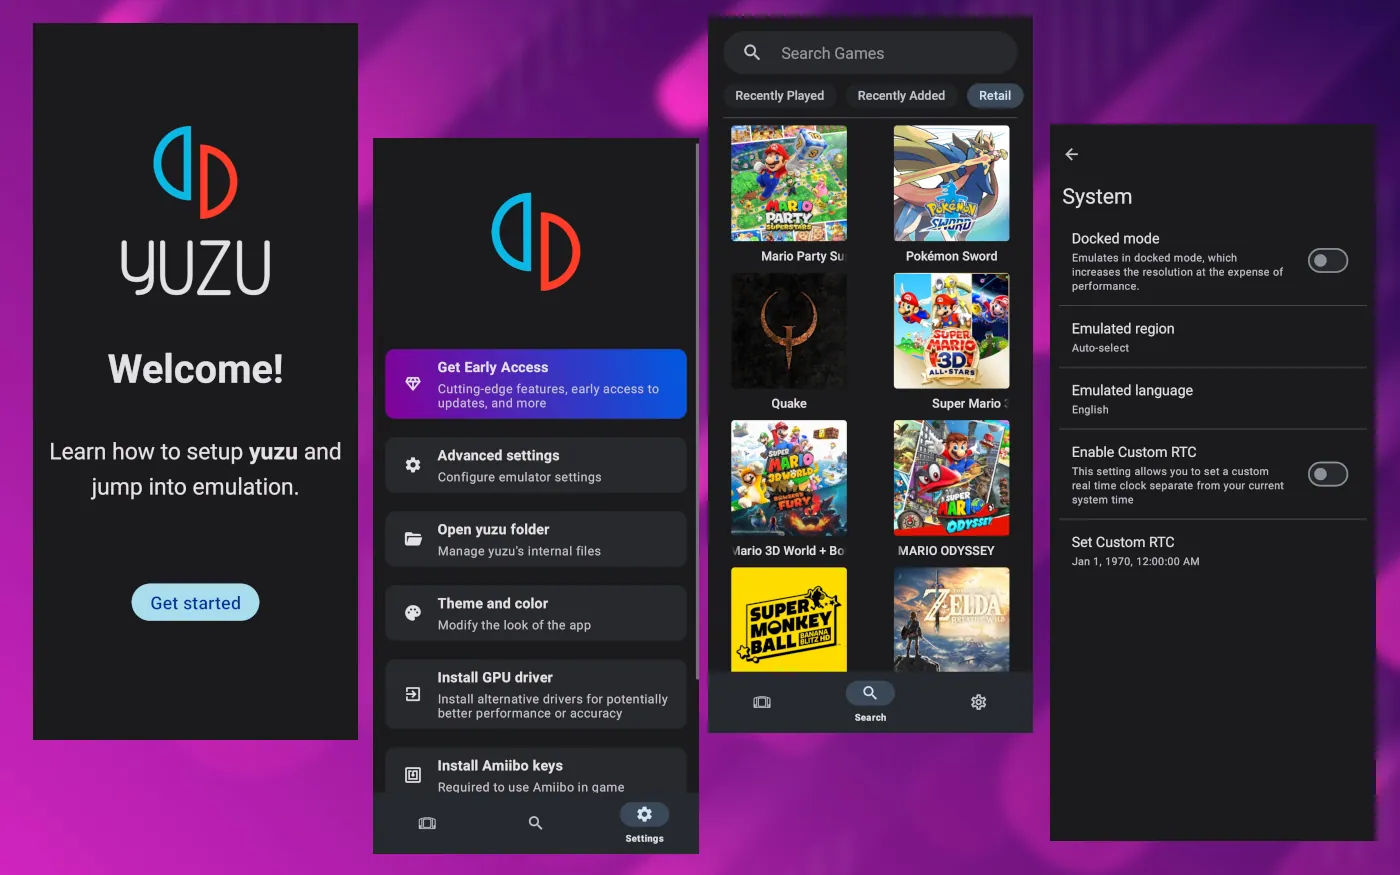
Are you ready to take your Bondee experience to the next level? Bondee is the new social media sensation that is taking the virtual world by storm. With its unique combination of adventure and social media, Bondee is the perfect app for anyone looking for a fun, engaging and interactive experience. With this guide, I’ll be showing you how to have floating album on Bondee and add the cherry on top of your Bondee experience. So, sit back, relax, and let’s get started.
Bondee is more than just a game or a social media app; it’s a whole new world waiting to be explored. You can add friends, customize your Bondee spaces (aka rooms), sail the floating sea, and more. But what sets Bondee apart from other social media apps is its Floating Album. With this feature, you can keep all your precious memories and moments in one place and display them for everyone to see.
Want to know how to have a Floating Album on Bondee? Look no further! This guide is simple, straightforward, and easy to follow. All you need is a few minutes, and you’ll be on your way to having the most beautiful Floating Album on Bondee. So, put on your virtual sailor hat, grab your cup of tea, and let’s dive into the world of Bondee and the Floating Album.
How to Have Floating Album on Bondee?
Ready to embark on an enchanted journey and create your very own floating album in Bondee? It’s easier than you think! Follow these simple steps to have Floating Album on Bondee and let the magic unfold before your very eyes.
Step 01: Navigate to the Triangle Icon
On the top left of your Bondee app screen, find the triangular icon and give it a tap. Get ready to set sail!
Step 02: Enjoy the Sights and Sounds
Watch as the sea and boat load, surrounded by the sounds of the ocean. Take a deep breath and let the adventure begin.
Step 03: Press Set Sail
With the press of a button, you’re off! Change positions and allow Bondee to capture breathtaking snaps.

Also, read Know Bondee Spectacles in 1 Minute: A Treasure Trove of Fun!
Step 04: Change Positions
Get creative and change your position to capture different sceneries. Trust us; you won’t regret it.

Step 05: Check Your Snaps
When Bondee processes your snaps, you’ll know by the red dot on the image icons. Give it a swipe left or right to view your stunning floating album.

Also, read What is Bondee Floating: The Floaty World of Bondee in 2023
Step 06: Download Your Memories
Don’t let your memories float away! Make sure to download your images, or Bondee will delete them after 7 days. Can’t wait to capture a moment? No problem, just take a screenshot! And remember, your floating album will refresh every 7 days, so make the most of it!

Sail the seas and have floating album on Bondee that will be cherished for a lifetime. Happy sailing!
Also, read How to Fix Bondee Network Error: 10 Easy Ways to Say Goodbye to Bondee Blues
How to Have Floating Album on Bondee?
Wrapping Up
I hope this guide was able to provide you with a comprehensive understanding of how to have floating album on Bondee. From hitting the triangular icon to viewing your snaps, I have covered all the steps necessary to enjoy this exciting feature. Don’t forget to download your images before they are deleted after seven days. If you have any further questions, feel free to share them in the comment section below. And for more Bondee-related information, tips, and tricks, be sure to keep exploring Path of EX.