
Hello,
I want to create a video for my project using Filmora video editor, but I don’t know how to go about it. Can you share a detailed stepwise guide to create videos with Filmora and add a watermark? Thanks.
It’s easy to create videos with right video editing tools. It does not matter whether you’re creating YouTube videos, YouTube shorts, TikTok videos, podcast videos, or more, free video editing software like Wondershare Filmora got you covered with the powerful toolset to carry out the job with high quality.
Whatever your reason for creating a video might be, you can rely on Filmora to operate seamlessly. Besides, if you don’t have professional video editing skills, worry less because video editing will take only a few clicks when you have Filmora at your fingertips.
This article will introduce all you need to know about the handy video editing tools. From its features to how it works and the pricing plans. Just stick with us to find out more.
In This Article
What is Filmora?
Wondershare Filmora is a video platform that helps users with any level of experience in editing and creating video projects. It offers you the best tools to execute both basic and advanced video editing operations. Plus, you can use it for other types of audio editing tasks as well. In all, editing videos with this software is very straightforward and easy-to-use.
If you wish to create professional videos without hassles, Filmora offers you the ideal toolset for the operation. From cutting to trimming, Motion Tracking, AI Portrait, Speed Ramping, Transition, Video Effects, and many more.
Additionally, Filmora offers excellent audio editing and recording features like Audio Ducking, Silence Detection, Auto Synchronization, Speech-to-text/text-to-speech, etc.
Filmora Interface
Unsurprisingly, Filmora is one of the best video editing software with a simple user interface. It’s a beginner-friendly video editor that anyone can use without requiring advanced video editing knowledge. From basic editing to advanced editing, you can never go wrong with this tool at your fingertips.
Moreover, Filmora boasts comprehensive features. So, it does not matter if you have video editing skills or not, chances are you’ll be able to navigate around the interface of the software like a pro, and executing any kind of video or audio editing tasks will be straightforward.
Basic Video Editing Functionalities
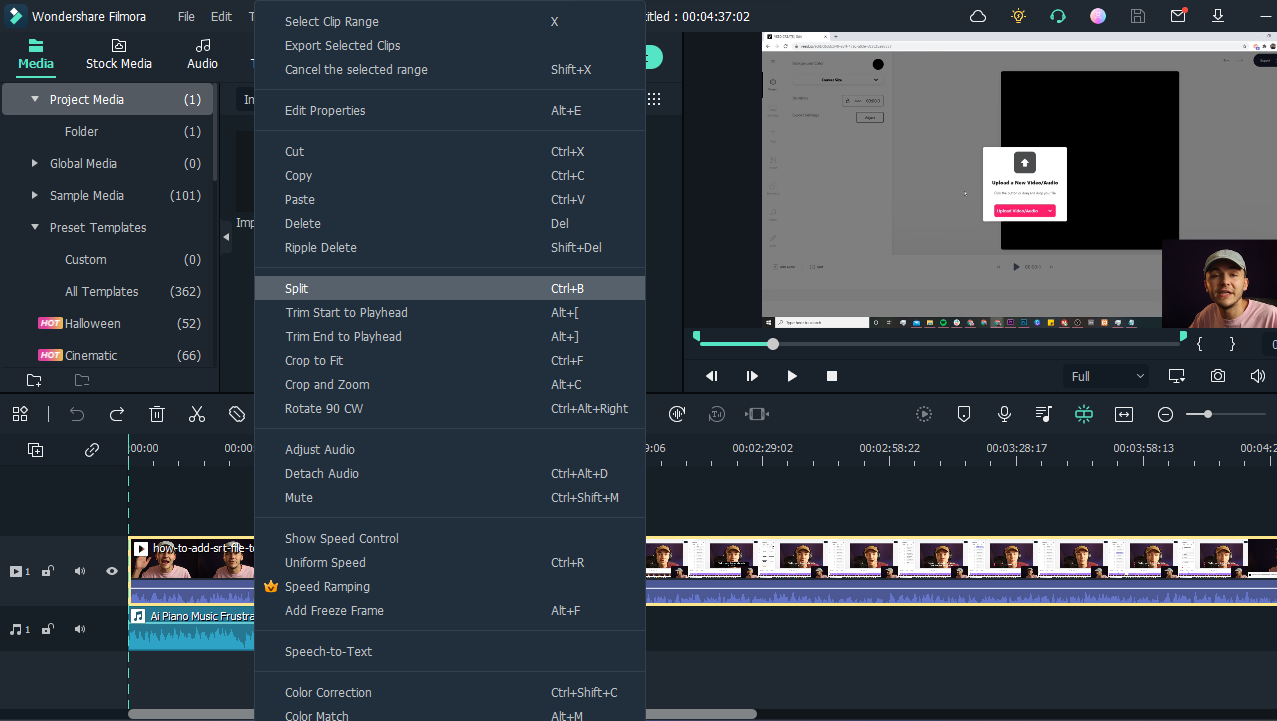
In terms of basic video editing tasks, Filmora offers many features, including cut, trim, split, delete, and many others. These features are easy to use, and we’ve explained some of them below;
Cut videos
To eliminate sections of your video, you can easily use the cut feature to perform the task. All you need to do is to select the part of the video you wish to cut, and right-click the video clip, then select the Cut option from the pop-up list.

Trim videos
Filmora also allows you to focus on the important part of your video by trimming the video clip’s beginning or ending. To use this feature, you just have to drag the video clip in the timeline to the part where you want it
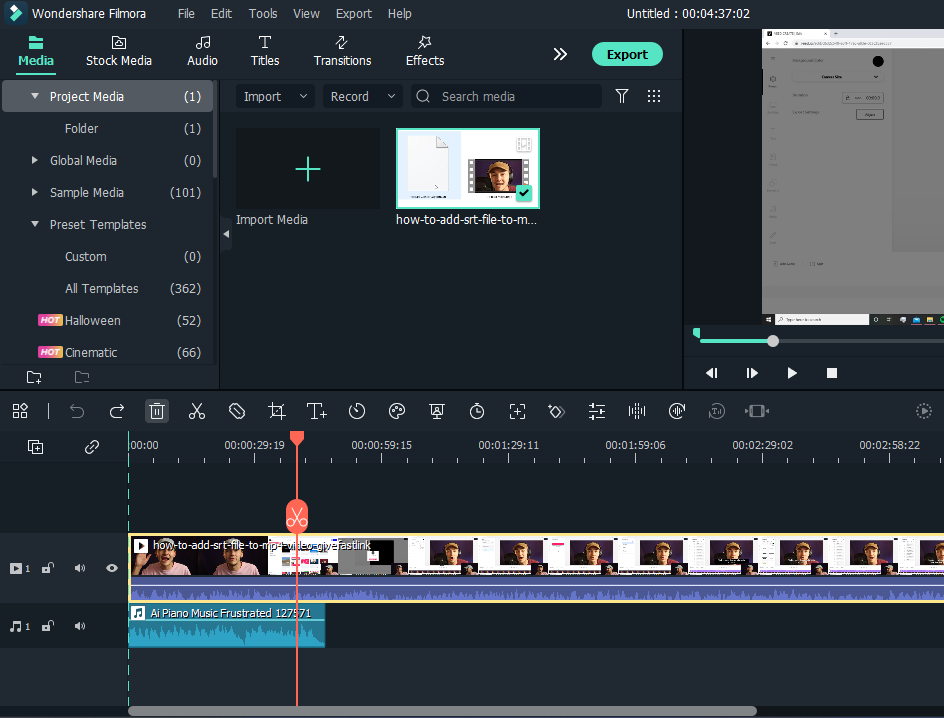
Split videos
Splitting videos into different sections has never been considered a simple task. Still, the Filmora software will allow you to do that in just one click, and over thirty split-screen templates are available to utilize to achieve the frames you want. With this feature, you can easily create comparison videos, photos & video collages, intro and outro videos, and lots more. It allows you to tell your story in a way viewers will understand.
Delete videos
To remove unwanted parts of a video, the delete feature can help you get the job done easily. All it takes is just for you to select the part of the video you want to remove and use the delete button to eliminate it.
Advanced Video Editing Features
Filmora also offers many advanced video editing features for users to make their videos look more professional. You will find features like Motion Tracking, Color Match, Video Effects & Transitions, Masking, Speed Ramping, Green Screen, AI Portrait, etc.
Motion Tracking
Another amazing feature of Filmora is Motion tracking. This tool makes it easy to track the movement of objects in videos, thus allowing you to add media files that suits the object’s motion.
Color Match/Correction
To save you the stress of making the color across multiple videos match perfectly, Filmora offers a color match/correction tool that blends the colors in multiple videos automatically. This makes your video’ color look consistent, it does not matter if you have color grading or color correction knowledge.
Below are some of the advanced video editing tools Filmora offers users;
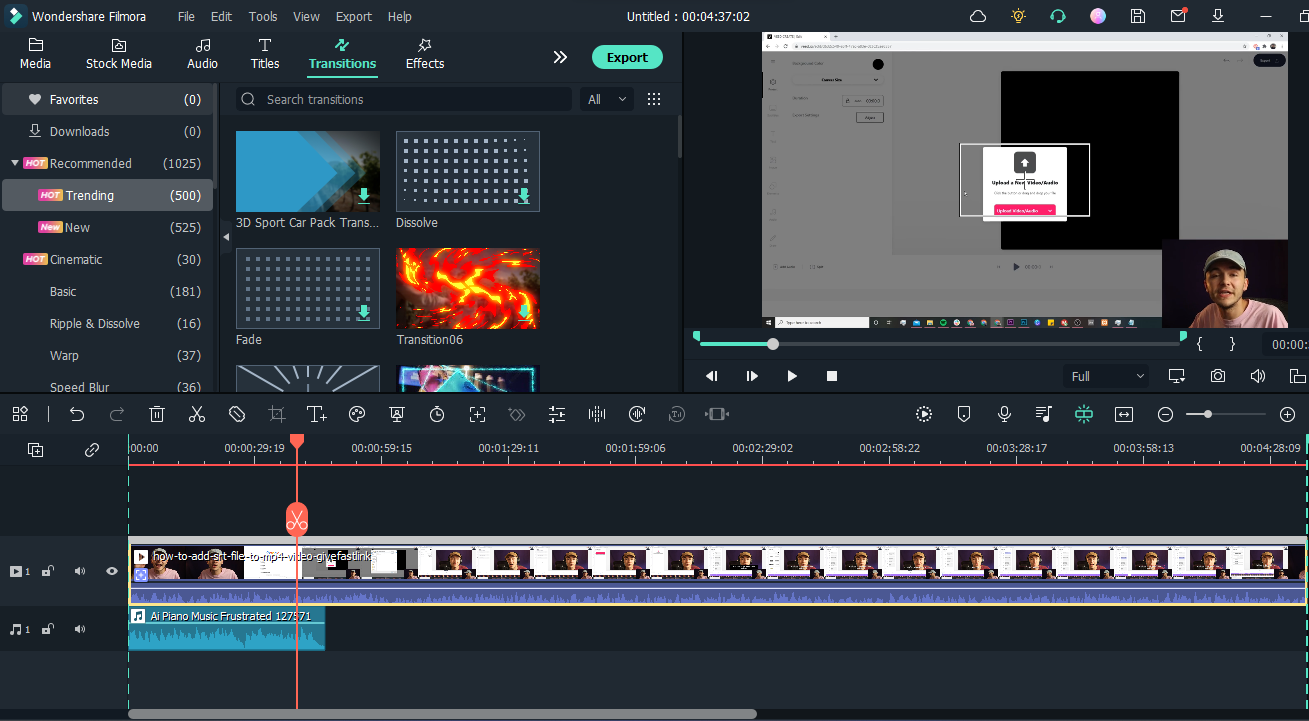
Video Effects & Transitions
The video editing software hosts a plethora of effects that you can use to create transitional videos and make them look more amazing. You can find effects like filters, titles, motion effects, and lots more. There are over 1000 excellent options available for you to explore. The new version allows you to access to the visual effects provided by Boris FX and NewBlue FX. You can find these effects under Stock Media, transitions, titles, or effects.
Masking
Another amazing feature is Masking. This is a creative feature that allows users to select a specific video and use overlays to hide or modify the footage. Filmora offers different shapes that you can use to get the job done. To add a mask to your video, double-click the video clip and select mask under video from the pop-up window. The process is just like a piece of cake.

Speed Ramping
The speed ramping feature will allow you to increase or slow down your video’s speed so you can have better control of your keyframes. To use this feature, just right-click on the video clip from the timeline and select Speed Ramping from the pop-up list. Then, adjust the settings from the pop-up window.
Filmora Audio Editing
Besides video creation and editing, Filmora also offers excellent audio editing features that tick boxes around. These features facilitate simple editing of the audio part of videos quickly and easily. You can find the following audio editing features on Filmora;
Audio Ducking
Making the audio aspect of your video track is easy with the Audio Ducking feature. This allows you to automatically reduce the volume of one track to make the other easier. It’s very efficient for recording voiceovers, podcasts, translations, etc. To use his tool, just right-click on the audio clip and select Adjust Audio to activate it.
Speech-to-Text
Creating subtitles for your video is just like a walk in the park with the Filmora Speech-to-Text tool. It facilitates transcribing subtitles, and you don’t need technical knowledge to use it. You can use the Speech-to-Text feature by right-clicking the video clip from the timeline and selecting it from the pop-up list.

Silence Detection
You can also detect silence in your videos and remove them automatically according to your requirements using the silence detection tool on Filmora. It takes only a few clicks.
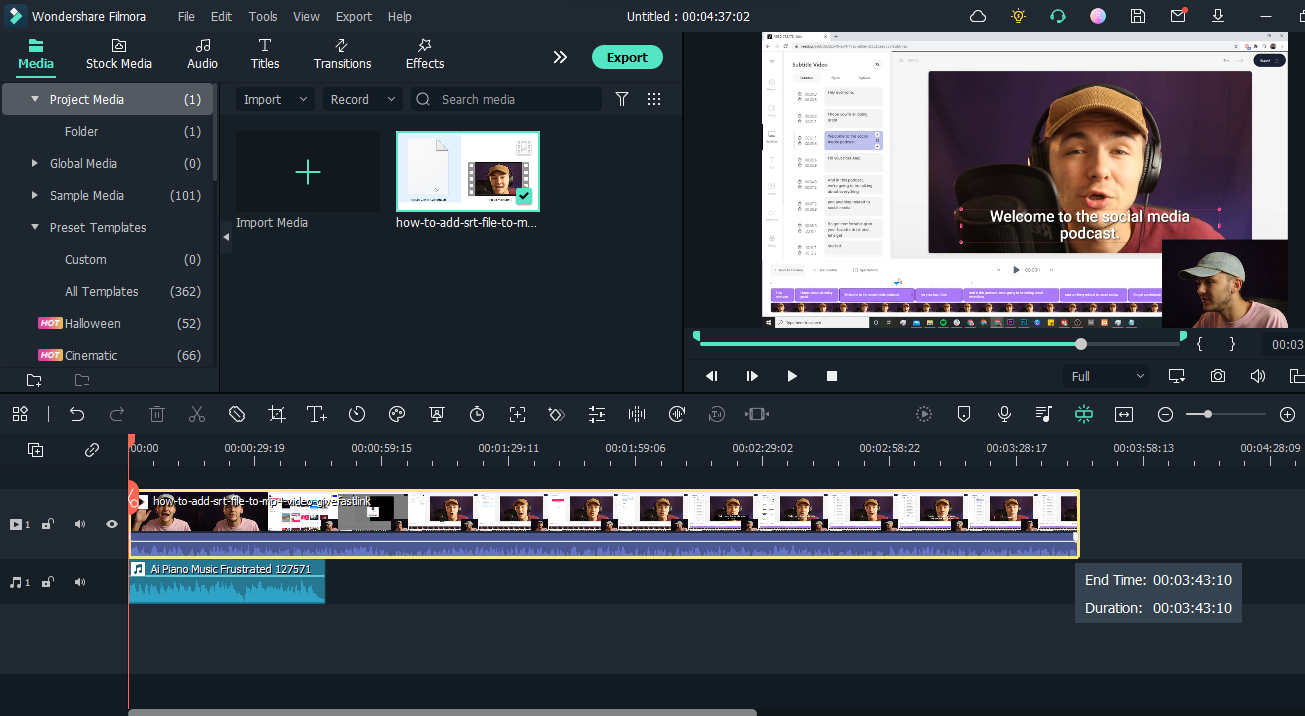
Steps to Create Videos With Filmora
Step 1: Visit the official website and download the latest version of Filmora on your PC or Mac. Then, install it, launch the editing program, and click Create New Project.

Step 2: Upload the video you want to use and drag-n-drop it to the timeline.
Step 3: Remove Unwanted Background With AI Portrait
Click Effects from the top of the screen > select AI Portrait from the left-hand side, and choose a suitable effect. Then, drag-n-drop it to the timeline.

- You can adjust the start and end point of the AI Portrait effect from the timeline. Then double-click on it to change settings.

Step 4: Add Video Effects
After you remove the background, you can add effects from the 1000+ stock media effects available. You can click Transition to use transition effects, Stock Meda is where you’ll find royalty-free video effects from third-party platforms like Pixabay, Unsplash, etc. Just select the effect you want and drag-n-drop it to the timeline.
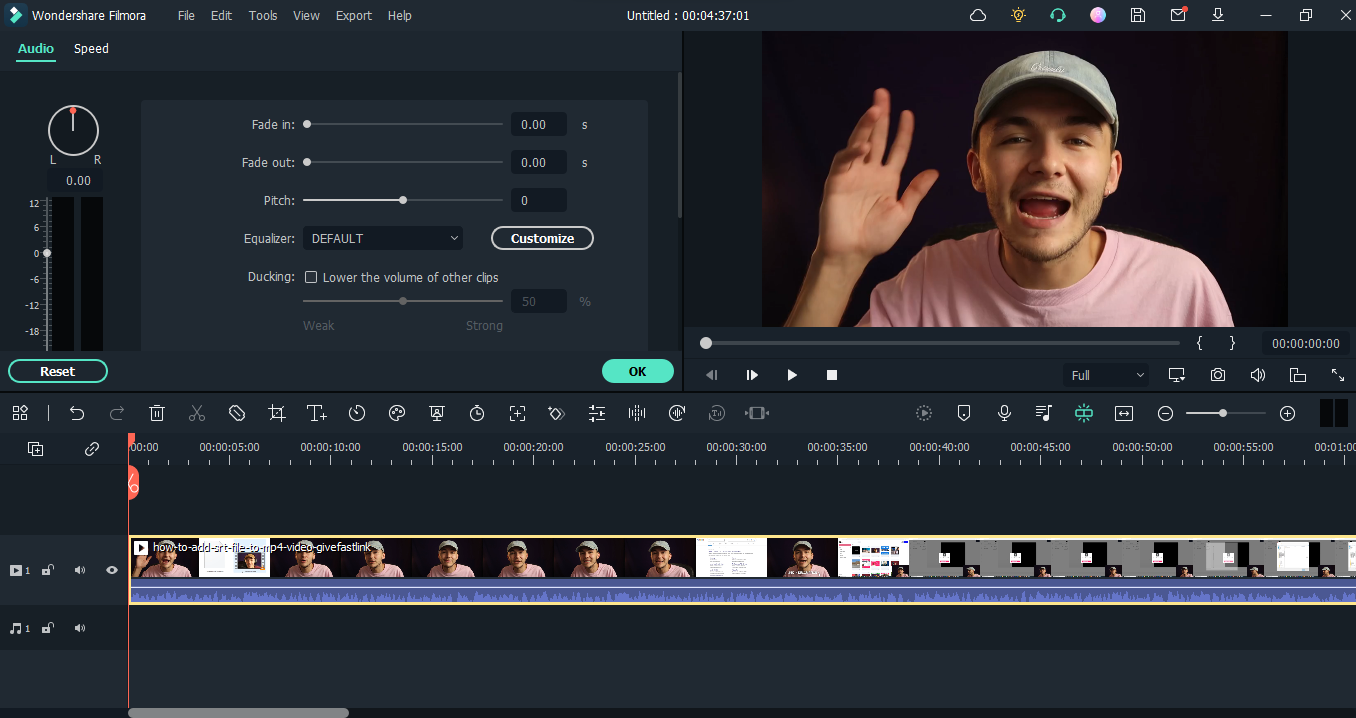
Step 5: Edit the Audio Aspect of the Video
To edit the audio part of the video, right-click on the video clip from the timeline and select Adjust Audio from the pop-up list.
- Tick the checkbox next to Ducking and use the relevant button to adjust the level of the audio fade in, fade out, etc.
Step 6: Add Speech-to-Text
To transcribe your video voiceover to text, right-click on the video clip and select Speech-to-Text. Choose the language you want the voiceover to be transcribed into in the next window that pops up on your screen and complete settings to convert speech to text.
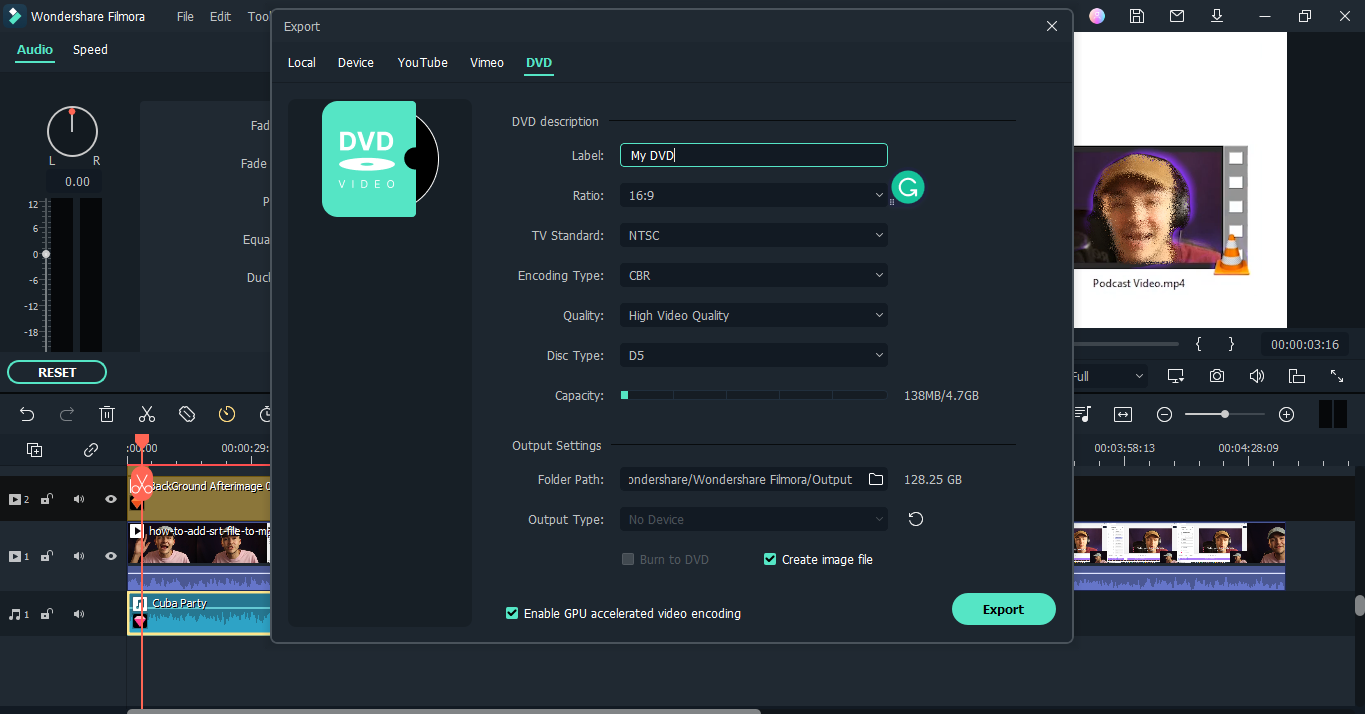
Step 7: Preview & Save Video
Once you’re done applying edits and changing settings in your videos, click the Play button to preview. If everything is fine, click Export, then enter the video file name and choose a location to save it or share it directly on your YouTube channel. Click the Export button at the bottom to complete.
Conclusion
Most people think video editing and creation are all about having video editing skills, but that’s not true. Top video editors for Windows, like Filmora, have made it easy for anyone, be they professionals or newbies, to create and edit videos using the finest modern tools.
With Filmora, you don’t need any expert to work on your videos. Instead, it’ll give you access to the right tools you need to make your videos high-quality. Honestly, you can never go wrong by choosing Filmora!