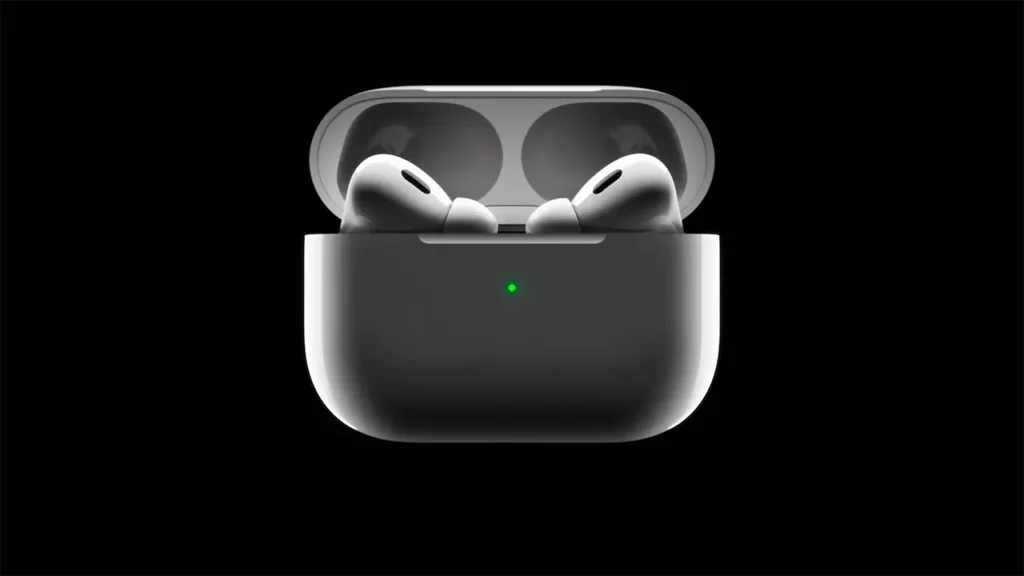
Airpods are effortlessly compatible with iPhone and other Apple devices. This is the reason connecting Airpods to a Windows PC is easy because they function like other Bluetooth devices. If you want to learn the simple methods on How to Connect AirPods to Windows 10, you are at the right place.
Apple AirPods are uniquely designed, leaving only a short tail hanging from the ear. If you’re trying to watch the newest streaming entertainment on a computer or block out background noise to concentrate on an at-home workout. It is one of the coolest gadgets to connect with for a seamless experience.
To learn new and easy methods about How to Connect Airpods to Windows 10? Refer to this step-by-step guide for instructions on attaching AirPods.
In This Article
How to Connect AirPods to Windows 10?

These steps will help you to connect your Airpods to Windows 10. Let me take you through each step for a better understanding.
Step 1: First, check that the case is closed and that both AirPods are fully charged. Verify that your Windows 10 computer can operate Bluetooth devices as well.
Step 2: Launch Windows 10’s Settings application. By typing Settings into the Windows 10 search bar and choosing the app when it displays, you may locate it. It has a cog-like symbol. Instead, you can simultaneously press the Windows key and I.
Step 3: Select Devices from the Settings menu.
Step 4: A screen titled Bluetooth & other devices will appear. Check the toggle at the top of the page to see if Bluetooth is on. Turn it on if it isn’t.
Step 5: Choose Bluetooth or another device to add.
Step 6: You will be able to select the type of device you want to pair with, then add a device. Choose Bluetooth.
Step 7: Take a pair of AirPods and lift the cover.
Step 8: For three to eight seconds, press and hold the round button on the back of your AirPods. Your AirPods’ charging light will ultimately begin to flash white. When this occurs, raise your finger and turn to view the Add a device option once more.
Step 9: After a while, the appearance of the AirPods could take a few seconds. When they do, they’ll probably initially show up as “Headphones” before loading as “AirPods” in Windows 10. Choose them.
Step 10: A notification stating that “Your device is set to go!” will appear.
That’s it! It was that easy to learn how to connect AirPods to Windows 10.
Wrapping Up
Your AirPods should now connect to Windows 10 automatically without any more extra effort. But, if you’ve already established a Bluetooth connection with another device, Windows might not re-establish the connection for you. For that, take your AirPods under the audio section of the “Bluetooth and other devices” page of the PC Settings app.
Here you go. It is that quick to connect AirPods to Windows 10. There are many articles on Path of EX that you can refer to for any query.
Frequently Asked Questions
How are AirPods connected to a laptop?
Choose Bluetooth under Quick Settings on a Windows laptop, then pick the Go to Settings > Add Connection option. When the button on the AirPods case starts to flash, open the case, Select Bluetooth, and then pick your laptop. Select Computer Preferences > Bluetooth on a Mac laptop. Connect by opening the AirPods case.
How do I attach my AirPods to my Mac?
Open System Preferences from your Mac’s Apple menu to connect your AirPods to a PC. Turn Bluetooth on by selecting Bluetooth. Open the lid of the AirPods case, insert your AirPods, and then press the button on the case till the status light flashes. Choose Connect.
What if only one Airpod working?
The connection procedure is the same whether you are using one AirPod or both AirPods. Simply remove one AirPod from its case, allow for your Windows 10 to recognize it, and the device should connect.
How to Connect AirPods to Windows 10?
Launch Settings>Devices>Bluetooth>Turn it On>Bluetooth>Add a Device>AirPods.
