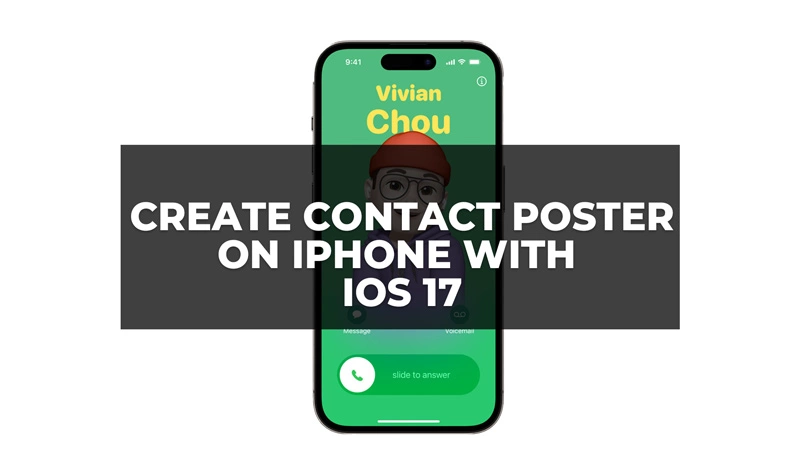
Are you tired of the same old, boring contact list on your iPhone? Well, say goodbye to plain and mundane because iOS 17 has introduced an exciting new feature that allows you to add contact posters! Imagine giving your contacts a visual representation that truly captures their essence and personality. Whether it’s a photo of a fun memory, a cool graphic, or a stylish design, the possibilities are endless. Let us find out How to Add Contact Posters in iOS 17.
Gone are the days of scrolling through a sea of text to find the right person. With contact posters in iOS 17, you can now easily spot your contacts at a glance. It’s not just about practicality; it’s about creating a visual connection and enhancing your overall communication experience. Get ready to showcase your creativity and make your contact list come alive with stunning posters that truly reflect the unique personalities of your friends, family, and colleagues.
Adding contact posters in iOS 17 is not only a way to personalize your device, but it’s also a chance to express yourself and strengthen your connections. So, join us as we dive into How to Add Contact Posters in iOS 17.
In This Article
What are Contact Posters in iOS 17?
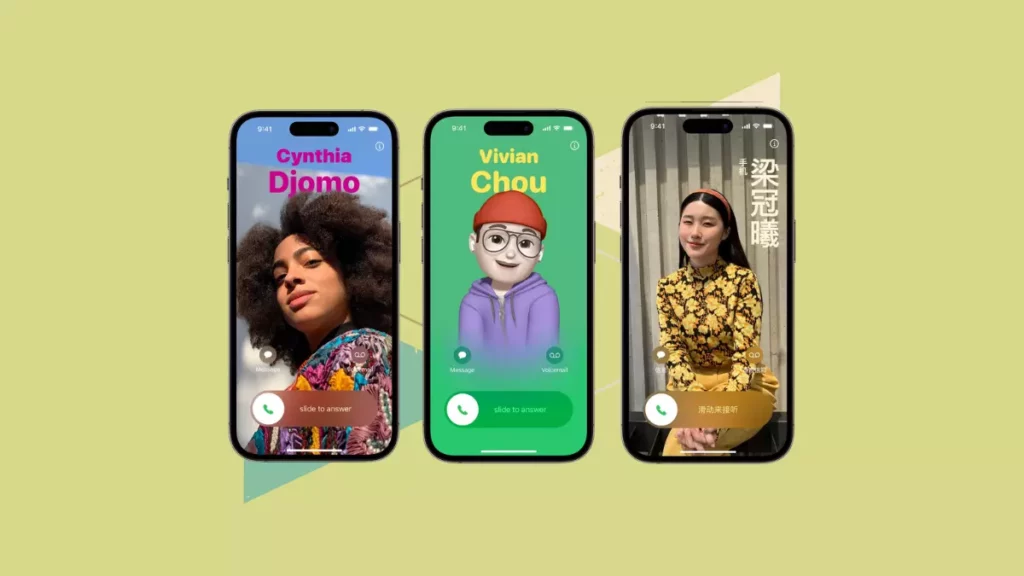
Contact Posters in iOS 17 are a new feature that allows users to create personalized contact cards for their contacts. When you receive a call or message from someone, their customized Contact Poster appears on your screen, displaying a visual representation of that person.
These posters can be customized with various elements such as photos, Memojis, and text, allowing users to add a touch of personalization and creativity to their contact interactions. With Contact Posters, iOS 17 offers a unique way to enhance the visual experience of connecting with others on your iPhone.
How to Add Contact Posters in iOS 17?
To learn how to add contact posters in iOS 17, follow the steps below:
1. Open the Phone app on your iPhone and navigate to the Contacts menu.
2. Locate and select your User Card to proceed.
3. Tap on the Contact Photo & Poster option and then choose the Edit button.
4. If it’s your first time setting up the Contact Photo, tap on the Customize option.
5. When prompted, select Contact Photo as your preferred choice.
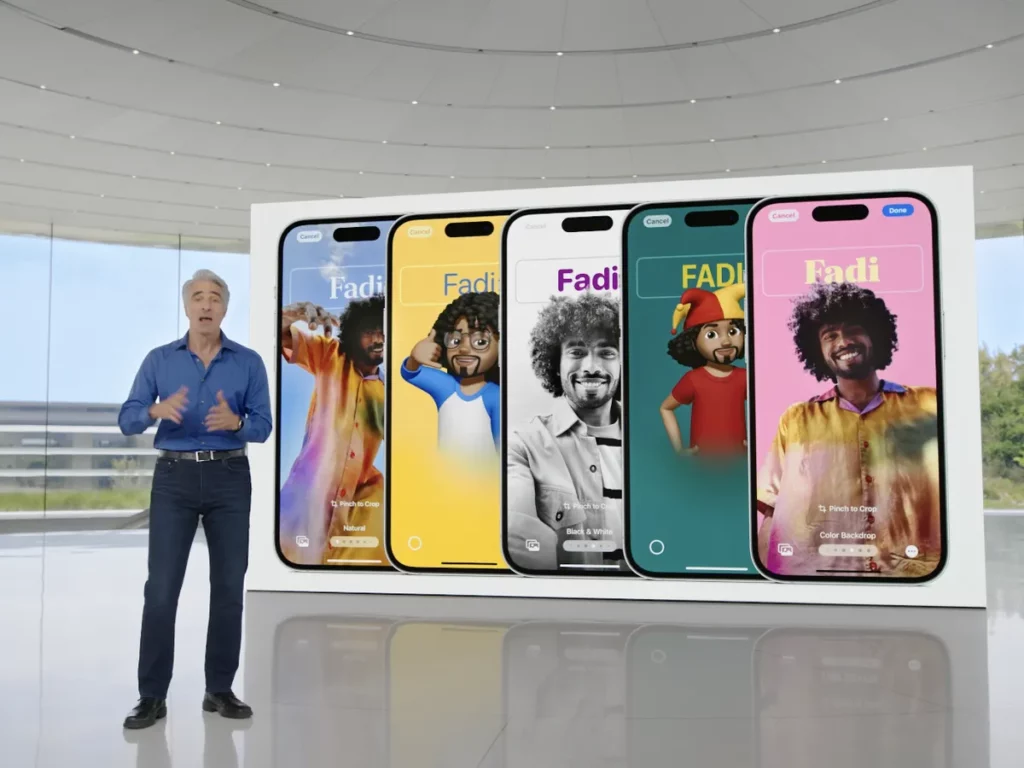
6. From here, you can personalize your Contact Photo by choosing options like Camera, Photos, Memoji, or Monogram.
7. If you opt for Memoji, select a memoji style and click Next.
8. Adjust the position and size of the design according to your preference, and then tap on Choose, followed by Next.
9. You will be requested if you want to Use This Photo Everywhere. Click on Use to share your Contact Photo or Poster with all synced contacts on your Apple ID.
10. You can now preview how your caller profile will appear to others.
11. Additionally, you can enable the Name & Photo Sharing choice and customize how you want to share your profile
How to Remove a Saved Contact Photo or Poster in iOS 17?
To remove a saved Contact Photo or Poster in iOS 17, follow these steps:
1. Launch the Phone app on your iPhone and access the Contacts menu.
2. Find and choose the contact for which you want to erase the Contact Photo or Poster.
3. Click on the option of Contact Photo & Poster.
4. In the edit mode, choose the Edit button.
5. Look for the existing Contact Photo or Poster and select it.
6. A menu will appear with options like Remove Photo or Remove Poster.
7. Tap on the appropriate option based on whether you want to delete the Contact Photo or Poster.
8. Confirm the deletion when prompted.
9. The Contact Photo or Poster will now be removed, and the contact’s profile will revert to the default appearance.
Wrapping Up
In conclusion, iOS 17 brings a delightful feature that allows users to add contact posters, adding a personal touch to their communication experience. With a variety of customization options like photos, Memojis, and text, contact posters offer a unique way to express your personality and stand out when receiving calls or messages.
By following a few simple steps in the Contacts app, you can create eye-catching contact posters that truly reflect who you are. So, why settle for a generic contact card when you can make a lasting impression with your own personalized poster? Upgrade your iOS 17 experience and let your contacts see a glimpse of your creativity and style with contact posters.
Hope this article helped you to know How to Add contact Posters in iOS 17 easily!
Frequently Asked Questions
1. Can I add multiple contact posters for different contacts in iOS 17?
Yes, you can add different contact posters for each contact in iOS 17. Simply follow the steps to customize the contact photo and poster for each individual contact in the Contacts app.
2. Will the contact posters be visible to others when I call or message them?
Yes, when you call or message someone, the contact poster you have set for that particular contact will be visible to them. It adds a personalized touch to your communication and allows them to see a unique representation of you.
3. Can I change or update my contact posters in iOS 17?
Absolutely! iOS 17 gives you the flexibility to update and change your contact posters whenever you like. Simply access the Contact Photo & Poster option in the Contacts app and make the desired changes to your contact poster.
4. Will my contact posters be synced across all my devices?
Yes, if you are using the same Apple ID on multiple devices, your contact posters will be synced across all of them. This ensures consistency in how your contact posters appear to your contacts, regardless of the device they are using to communicate with you.