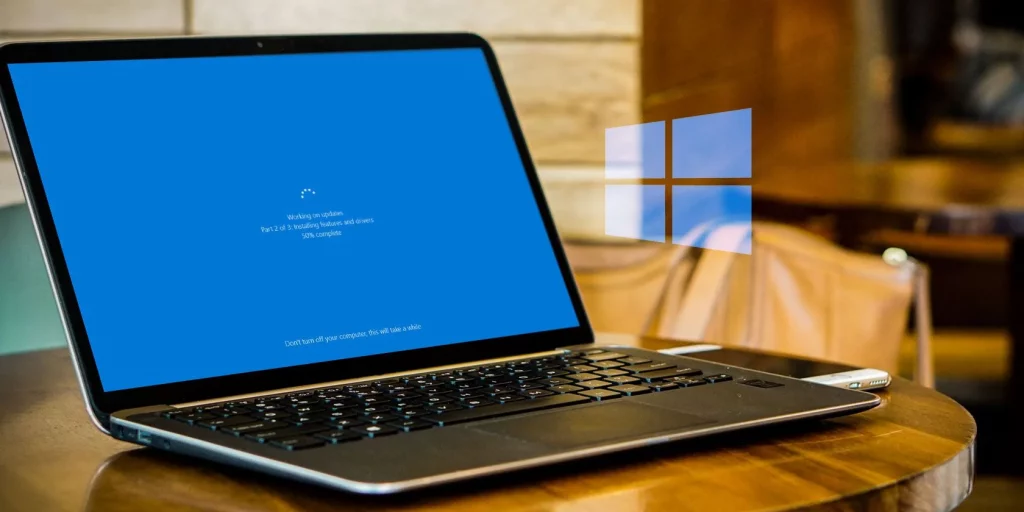
Windows Rollback loop is a Windows 10 starting loop fault in which you will be stuck on the blue screen. It appears on your desktop and asks you to choose a few options like; if you wish to exit and proceed to Windows Rollback (loop) or troubleshoot, as well as choosing your keyboard layout and language. Regardless of restarting your Windows, again and again, it will always return to the Windows 10 rollback loop screen. If you are frustrated with how to make it work normally, you are on the right page to know how to fix Windows Rollback Loop after Windows 10 Update.
When you have a critical task and are unable to log in, being stuck on the screen on your desktop is frustrating. These are frequent mistakes that you may encounter on your windows, and there are several causes for this. The most frustrating error that can occur on your Windows is Rollback Loop that occurs after Windows 10 update. I know it is annoying to see such errors on your desktop.
If you are thinking of resetting or reinstalling your Windows, don’t be in a hurry. Here, I am going to tell you the solution that can help you to know how to fix Windows Rollback Loop after Windows 10 update. Keep scrolling!
In This Article
How to Fix Windows Rollback Loop After Windows 10 Update | 4 Simple Methods
The most common reasons behind Windows Rollback Loop are due to the missing file error system, there is a problem with the disk on Windows, or due to a corrupted file system. Instead of resetting the desktop, you can fix the problem with troubleshooting. However, it needs the right solution so that the problem will be fixed once and for all. Although, the Windows 10 update is important for the smooth functioning of the operating system. However, some updates make it hard for your Windows to function smoothly.
If you are curious to know to fix Windows Rollback Loop after Windows 10 update, follow the steps below-
1. Restart your Desktop
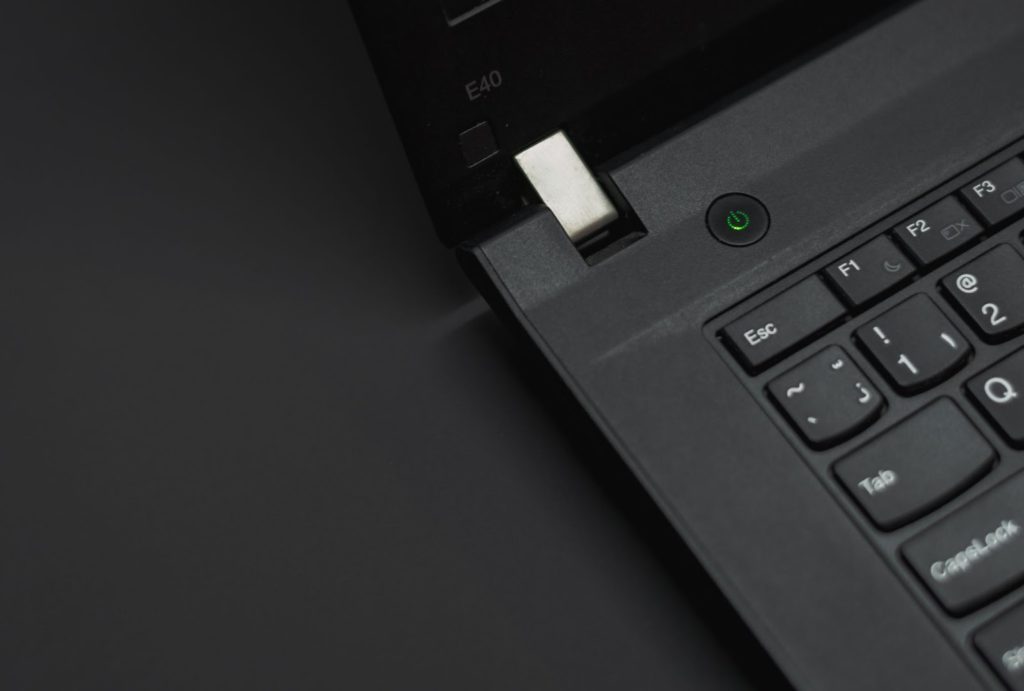
Restarting your desktop is the most common solution that we always opt for in an emergency if something happens to our Windows. Normally restarting your desktop solves the issues once and for all. If you find that you are stuck on the blue screen, simply hold your finger on the power button, shut down your desktop, and restart Windows. This is one of the easiest solutions on how to fix Windows Rollback loop after Windows 10 update.
2. Let the Windows Restart on its Own
If you are stuck on the blue screen due to the Windows Rollback loop, the first thing you can do is check the LED light. If you see that the light is blinking, don’t do anything to your desktop. Simply, wait for a few hours till it starts normally on its own. This method can fix Windows Rollback loop after Windows 10 update.
With the help of the hard drive image, you can also restore the Windows. All you have to do is, before updating, create a hard drive image. However, for the hard drive image, you need to create the hard drive image for your Windows. This will help you as a backup when you do the update for Windows. If you have already created a hard drive image, for this follow the few steps-
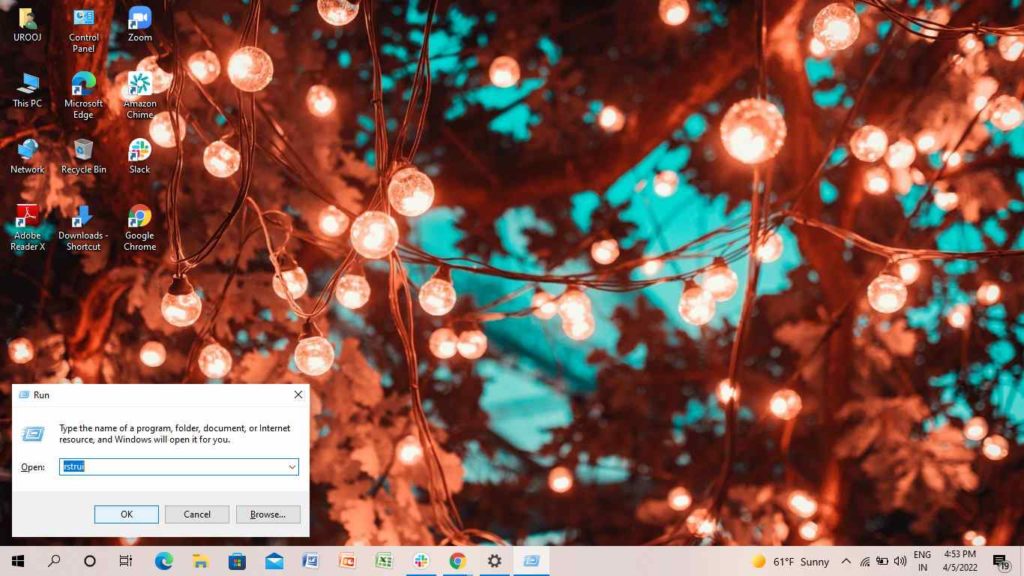
- On your keyboard, press the Windows key + R.
- Enter rstrui in the Run box.
- Tap on Ok.
4. Tap on Show more restore options.
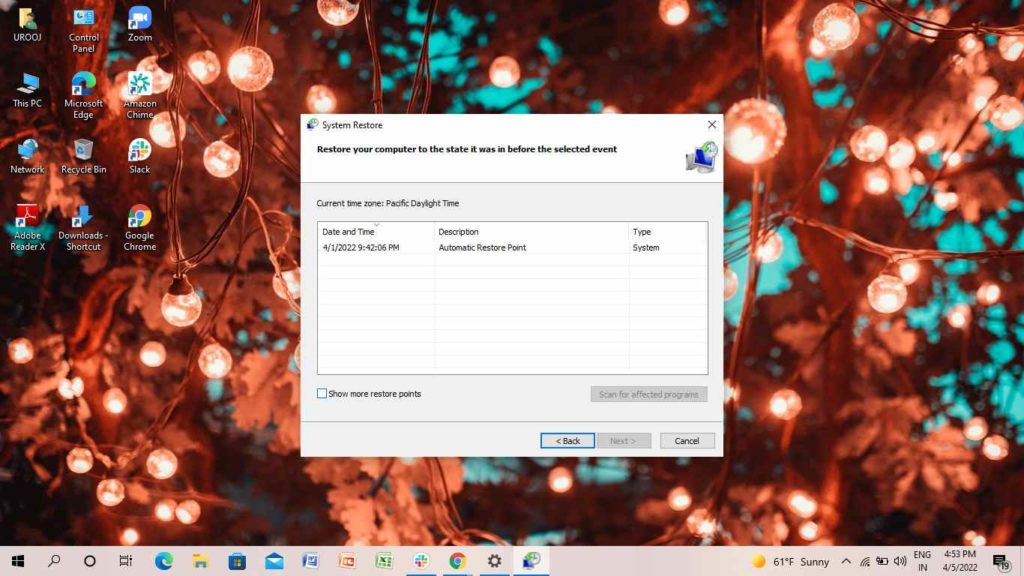
These steps will work only if you have created a hard drive image. So, if you want to fix Windows Rollback loop after Windows 10 update, create a hard drive image as a backup.
3. Windows Recovery Environment (Command Prompt)
Command Prompt can help you to fix Windows Rollback Loop after Windows 10 Update. If you want to know how to do it, follow the few steps-
Note:- To use Command Prompt, you need to be in the Windows Recovery Environment.
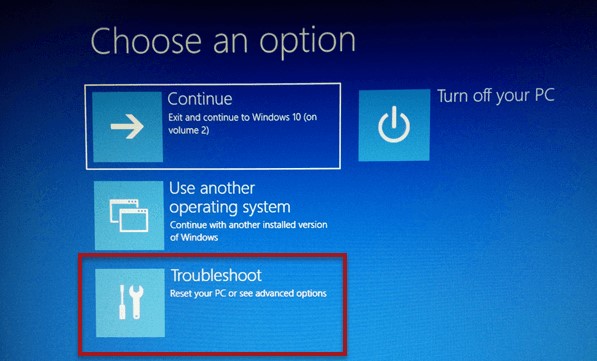
Recovery Mode Shortcut:- On your keyboard, press F8 or F11
- Once you are on the Recovery mode page, tap on Troubleshoot.
2. On the Advanced options page, tap on Command Prompt.
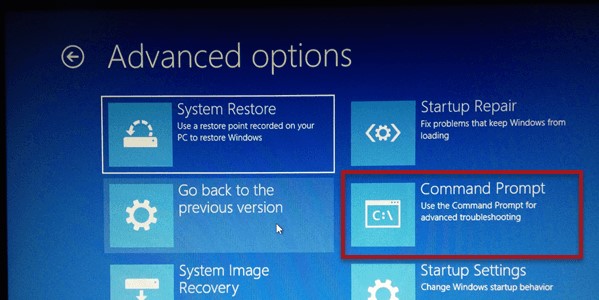
3. Once the Command Prompt starts, enter the following command :
- chkdsk c: /f
- sfc /scannow
- bootrec /fixmbr
- bootrec /fixboot
- bootrec /rebuildbcd
- bcdboot c:\windows /s c:
- Tap on Enter Key after typing each command.
If the above steps do not solve your problem, then only proceed to the next step.
4. Reinstall the Windows
Before we proceed on with this step, you need to make sure that reinstalling will delete all your data from the C drive. Reinstalling Windows can help you to fix Windows Rollback loop after Windows 10 update. Therefore, you need to keep the backup storage for your files before you tap on reinstalling. To reinstall the Windows, follow the steps below-
- Attach installation media(USB flash drive, DVD, or ISO file) to your desktop.
- Boot your desktop from it.
- Tap on Install Now.
- Type your Product key.
- Tap on Next.
- Choose the version of Windows for installation.
- Tap on Next.
- Choose the System drive and tap on Next.
Thus, with the use of the above steps, you understand how to fix Windows Rollback loop after Windows 10 update.
Wrapping Up
I hope you find this article useful to fix Windows Rollback loop after Windows 10 update instantly. Make sure if you opt for step 4 you need to be ready with the backup. Otherwise, you may lose access to your data. Keep visiting Path of EX for all the trending stuff. Now, it is time for a wrap-up.
Share your thoughts in the comment section. Feel free to share the article with your friends and let them know about how to fix Windows Rollback loop after Windows update 10. Stay tuned!