Suppose you want to reach your business to the maximum audience and grow your sales on Facebook. For this, you need to know how to create a Facebook location page. This will help you create awareness of your brand, and customers will reach you at the specified locations. This will help you get a good rating and reviews for your business.
Facebook is a vast platform and is used all around the world. For business owners, Facebook helps them promote their business products and services. However, you need to ensure it reaches the maximum audience by following a good marketing strategy.
Let’s dive into the main topic. Below, I have mentioned a series of steps that will help you to make your customers find your business easily. Just hold your phone and get started with the process to create a Facebook Location page.
In This Article
How To Create A Facebook Location Page

When you create a Facebook business page, the audience will know about your business. However, to make it convenient for all the users, you must create a Facebook location page. Go through the following steps below and create a Facebook location page.
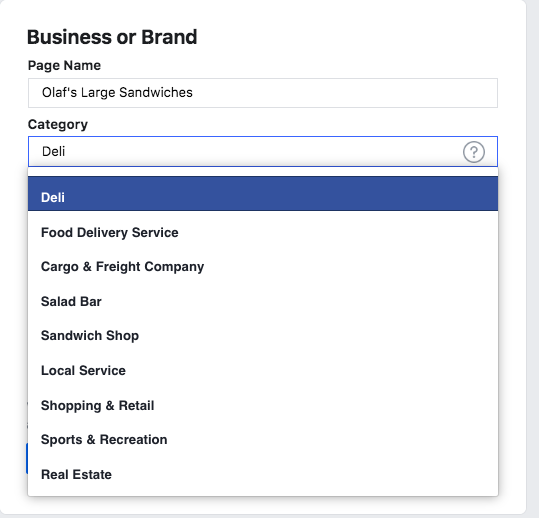
1. Create A Facebook Page
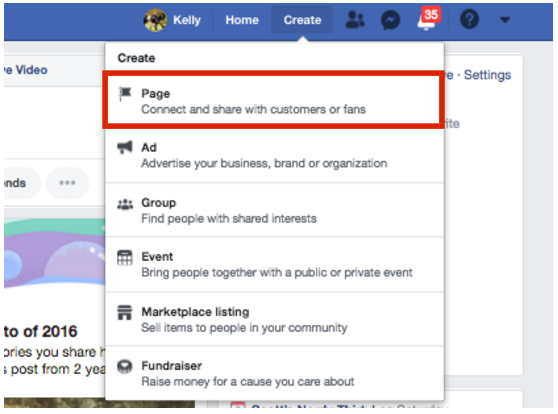
The first step is to create a Facebook page. If you want to know how to create a Facebook page, you need to fill in some details required for your business page. You can choose the business category that depends on the nature of your work so that you will serve the right customers at the right place.
Make sure you fill up other details to fulfill the criteria for creating the business page. You can skip this step if you have already created a page. This is the first step to create a Facebook Location page.
2. Select Pictures

The next step in how to create a Facebook Location page is selecting a profile picture and cover photo for your Facebook location image. You need to be careful while selecting a picture for your location page. The profile picture and cover photo will grab the attention of the customers. Make sure you select the pictures of your brand or the logo. After all, pictures have an enormous effect on people.
3. Tell Audience About Your Business
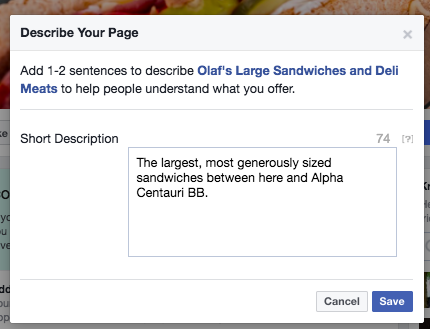
Before you start sharing your page with the target audience, make sure you tell the audience about your business or the organization. Adding a short description will grab the people’s attention, and they can get you on the search results. If you want to add a long description, you can add that later on. This will work best when you create a Facebook location page.
4. Create An Attractive User Name
The next step is creating an attractive username for your Facebook location page. Make sure you choose a unique username. Try to avoid using the complex name for your page.
A simple and attractive username will help you create a Facebook location page to achieve your business goals by grabbing all eyeballs on your page.
5. Fill The About Icon
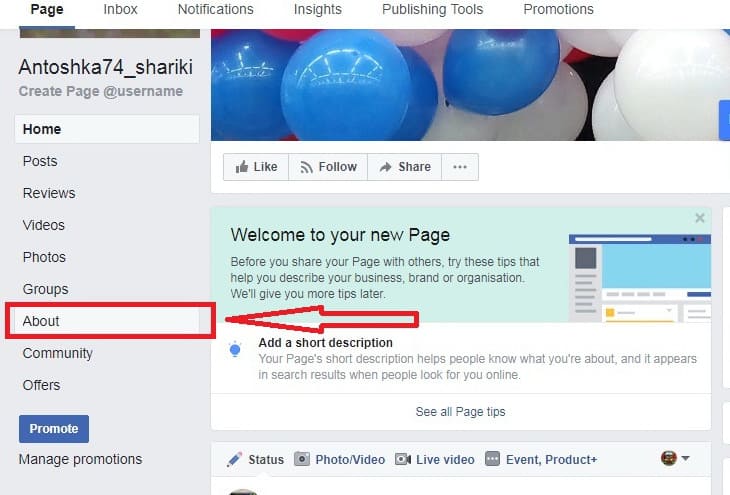
Once you have a clear idea to create a Facebook location page, make sure you fill the About section carefully. About is the important section that your audience will see. This will help you tell the audience about your business and what they can expect from you.
Make sure you fill in all the necessary details required by the people. You have to give them information about why they should follow your page, which will help you create a good engagement rate.
6. Start Inviting People
Once you have fulfilled all the necessary details to create a Facebook location page, the next step is to start inviting people to your page. Share your post with the amazing content that showcases your product or services. Bear in mind that the first impression creates the last impression. Make sure you post only good quality content and drive all the audience to your page.
Share your Facebook location page with your friends and family. To get more and more audience on your page, make sure you add the Follow us the logo to your Facebook Location page. You can also add a CTA(Call To Action) option on your page and ask about the customers’ reviews and ratings.
How To Add Location On Facebook Business Page
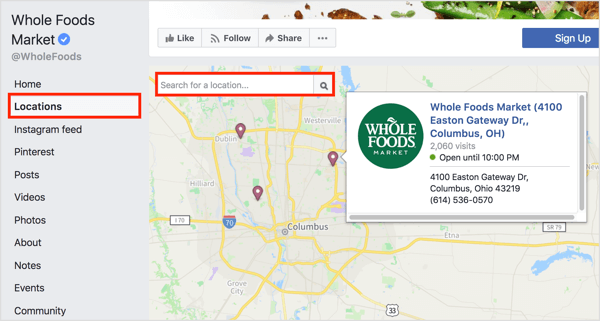
As you understand the steps to create a Facebook Location page, the next thing you can do is add a location on the Facebook business page.
- Open the Facebook application and click on the three horizontal lines on the top right of the screen(For Android users) or the bottom of the screen(For iOS users).
- Now, you will be directed to the Menu page and scroll through this page.
- You will see the various options and click on the Pages icon.
- Under the Pages icon, select your business page for which you want to add location.
- Once you have selected the business page, you will be directed to the new page, and here you will see the various options like Create, Ads, notifications, and More.
- Now, click on the More icon. Now scroll through this page. You will see the various options and click on the Edit page icon.
- You will be directed to the Update page info icon. Scroll through the options and click on the Location icon.
- You can select the street, city, zip/postal code, add service area, map location, and finally, click on the save icon.
Wrapping Up
So this was all about how to create a Facebook location page. You can use this Facebook location page to attract all the audience to your page. This will help you boost the business and gain the maximum reach of your business profile. Leave your thoughts in the comment section. Feel free to share the article with your friends. Have a nice day!